Visualizing Grain Structures in Superalloys: How Stereo Microscopy Aids Performance Assessment
The performance of superalloys in high-stress environments is strongly influenced by their microstructure, particularly the grain structure. The grain size, alignment, and distribution of phases within the alloy are crucial factors that determine mechanical properties such as strength, fatigue resistance, thermal stability, and creep resistance. For engineers working with superalloys in aerospace, power generation, and defense, understanding these properties at a microscopic level is essential for ensuring the reliability and performance of critical components. One of the most effective tools for visualizing and analyzing these grain structures is stereo microscopy, which offers significant advantages in inspecting superalloy components.

Stereo microscopes provide high-resolution imaging that enables engineers to examine the fine details of the grain structure in superalloys. By offering a three-dimensional view of the material, stereo microscopes allow for a comprehensive analysis of grain boundaries, phase distribution, and potential defects that could compromise the alloy's performance. This is particularly important for superalloy parts in demanding applications such as turbine blades, where the material must withstand extreme thermal and mechanical stresses over extended periods.
In industries like oil and gas and chemical processing, where components are subjected to high temperatures and corrosive environments, the ability to assess the microstructure of superalloys can directly impact their performance and lifespan. Stereo microscopy helps engineers detect critical features such as grain boundaries and phase separation, essential for evaluating material strength, fatigue resistance, and overall durability.
What is the Process of Visualizing Grain Structures in Superalloys?
Grain structure in superalloys is a crucial indicator of the material's quality and performance. Grain boundaries, which separate individual crystals or grains in the material, influence properties such as flexibility, strength, and resistance to thermal fatigue. Grain size, orientation, and distribution also play a critical role in how well the alloy will perform under extreme conditions, such as those found in jet engines or power plants.
Visualizing these grain structures requires highly specialized equipment. Stereo microscopes are ideal for inspecting superalloy parts because they offer high magnification, superior depth of field, and the ability to create 3D images. Stereo microscopes use two objectives to capture slightly offset images, which create a stereoscopic effect when viewed through the eyepieces. This ability to visualize the three-dimensional aspects of grain structures allows for a more precise assessment of how the material will behave in real-world conditions.
During the process, a sample of the superalloy is prepared, typically through polishing and etching, to enhance the visibility of its grain structure. The stereo microscope can then examine the sample, revealing key features such as grain alignment, phase boundaries, and inclusions or defects. These observations help engineers determine the alloy's suitability for specific applications, particularly in aerospace industries where material integrity is critical for performance under extreme conditions.
Visualizing grain structures is also crucial for assessing the quality of directional castings, ensuring that grain growth and orientation meet the required standards for high-stress components such as turbine blades and compressor discs.
The Function of Stereo Microscopy in Grain Structure Visualization
Stereo microscopy serves several critical functions in the analysis of superalloy materials. One of its primary roles is to magnify the surface of the superalloy to reveal the grain structure in high detail. The stereoscopic effect provided by the microscope’s dual optical path makes it possible to view grain structures in three dimensions, offering a clear understanding of the individual grains' size, shape, and orientation. This capability is vital for assessing material properties like grain flow, which can directly affect strength and fatigue resistance in high-performance components, such as those produced via superalloy directional casting.
Assessing Grain Structure for Mechanical Performance
In addition to grain alignment, stereo microscopes can also be used to identify defects such as inclusions, voids, or misalignment that could compromise the integrity of the material. For example, in turbine blades and other critical aerospace components, misaligned grains or inclusions can lead to stress concentration points, making the part more susceptible to failure. Stereo microscopes help identify such defects early before they lead to catastrophic failure in demanding applications like gas turbines or jet engines.
Impact of Processing Conditions on Grain Structure
Stereo microscopes can also help engineers assess the impact of processing conditions on grain structure. For example, in processes like vacuum investment casting or superalloy precision forging, the cooling rate and mechanical stresses can influence the development of grain boundaries. By using stereo microscopy to monitor these factors, manufacturers can ensure that the superalloy parts meet the required strength, flexibility, and thermal and mechanical stress resistance specifications. This is crucial for ensuring that components can withstand the extreme conditions they will face during operation.
Grain Structure Optimization for Enhanced Durability
By providing detailed 3D imaging of the grain structure, stereo microscopes help ensure that the final superalloy components possess the desired mechanical properties. This is particularly important for high-stress applications in industries such as energy, where component longevity and reliability are critical. With accurate grain structure analysis, manufacturers can optimize processing techniques to produce parts with enhanced durability and performance.
Superalloy Parts Requiring Grain Structure Visualization
Grain structure plays a crucial role in determining superalloy parts' mechanical properties and performance. Stereo microscopy is a vital tool for visualizing and evaluating the grain structure of components produced through casting, forging, CNC machining, and 3D printing. Ensuring the integrity of the grain structure is essential for the part's resistance to fatigue, thermal cycling, and stress, particularly in critical applications like aerospace and power generation. Below are the types of superalloy parts that benefit from grain structure visualization:
Superalloy Castings
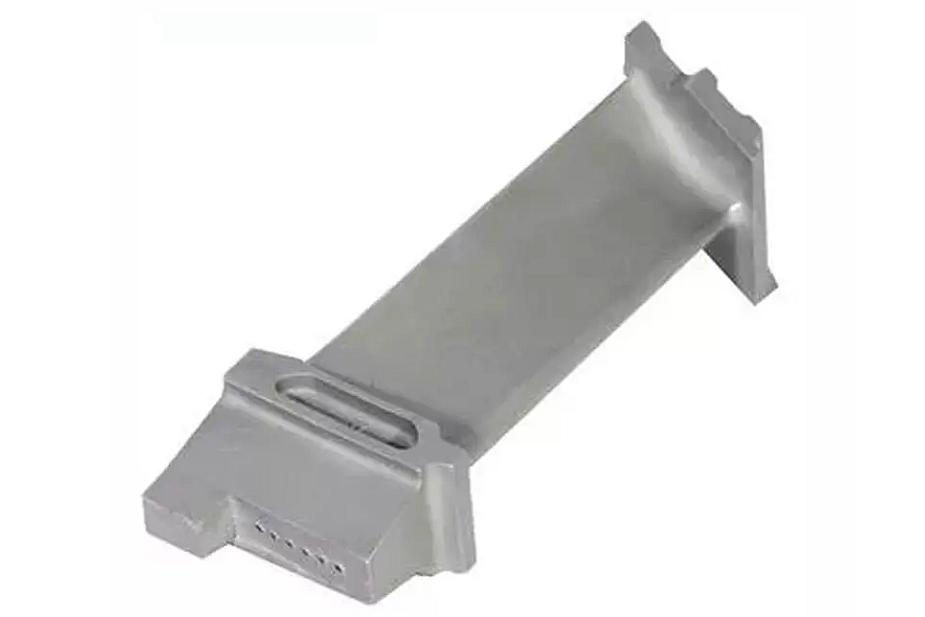
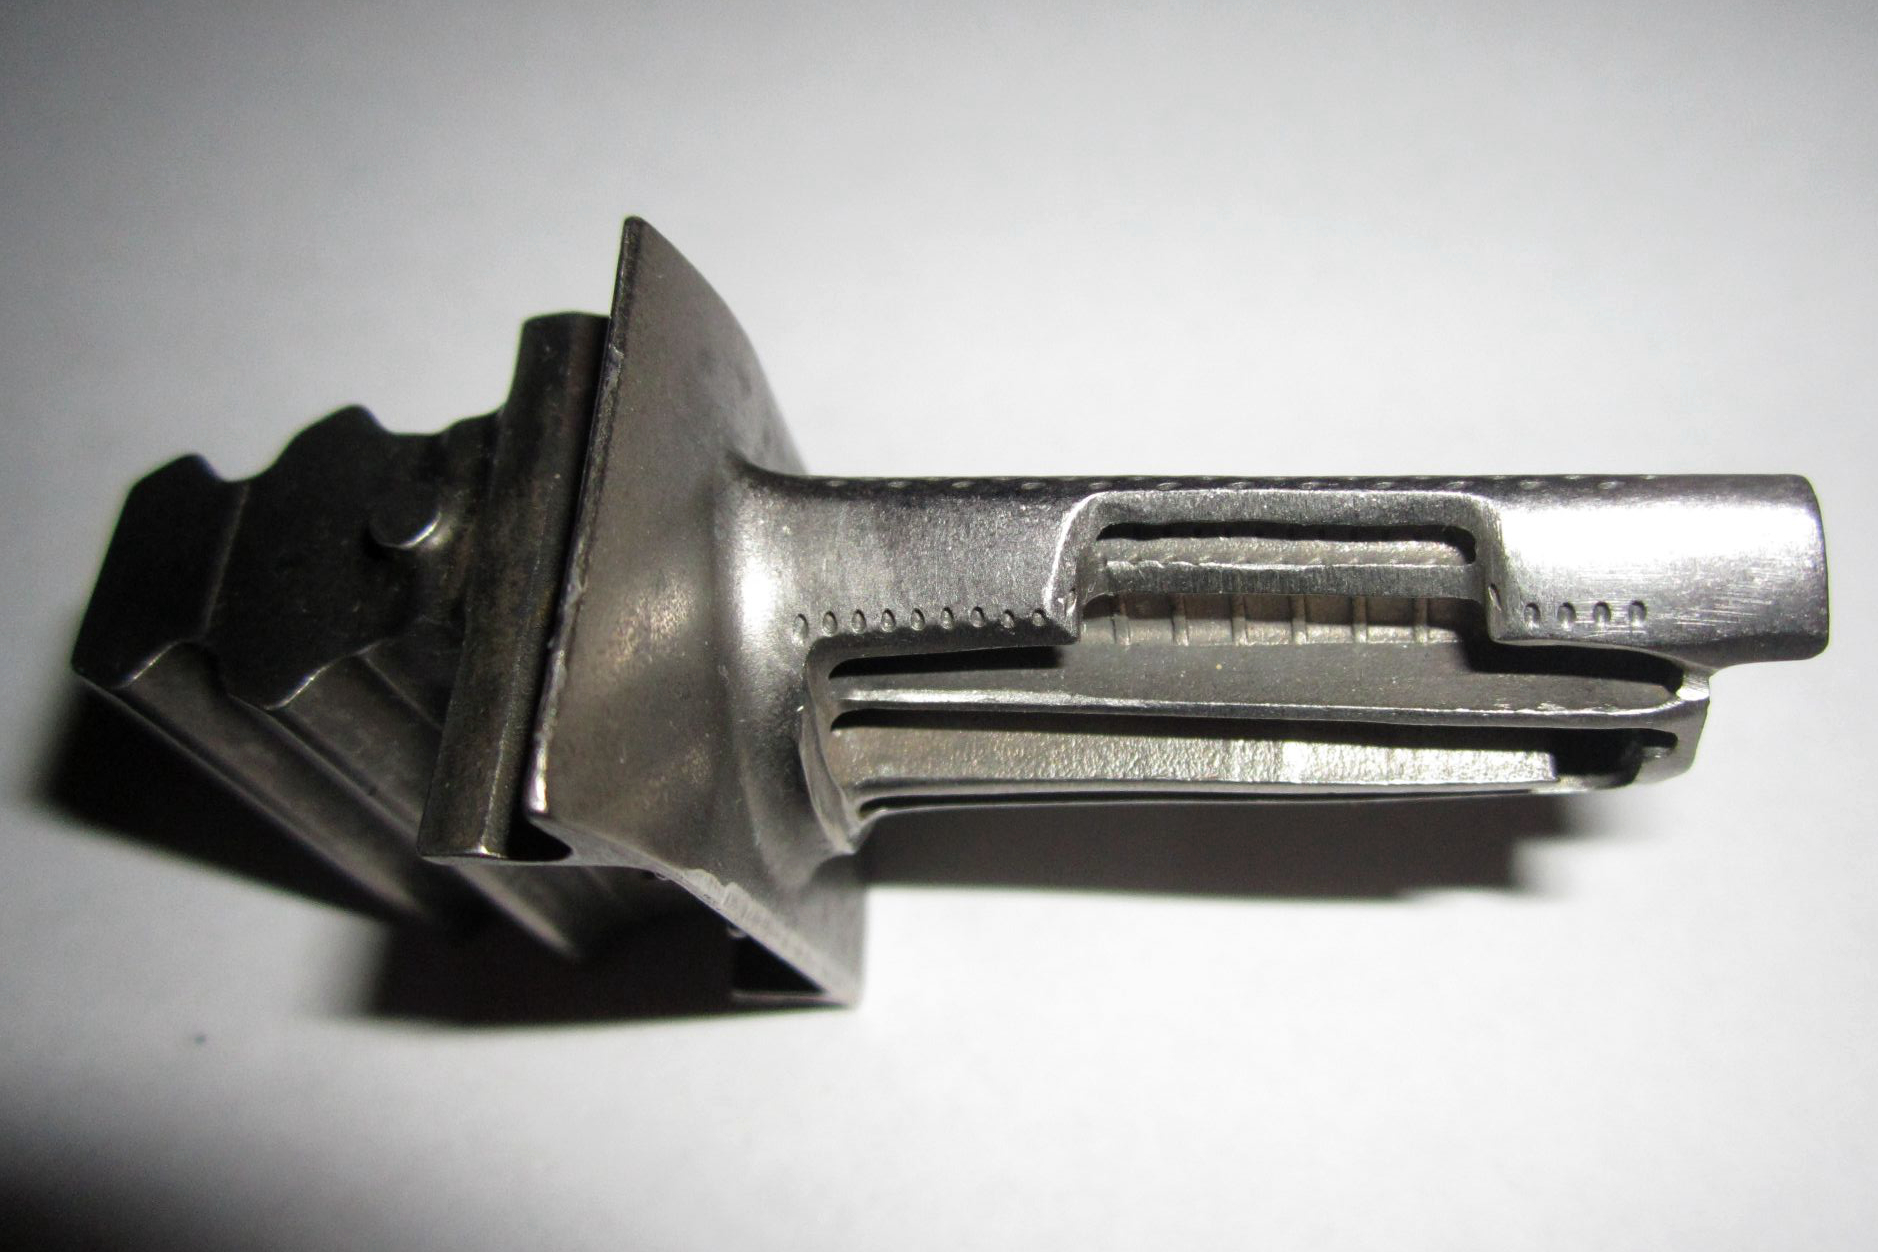
Superalloy castings, such as turbine blades, combustion chambers, and nozzle rings, are often subjected to high temperatures during casting. The grain structure of these castings is crucial for their performance under operational stress. Stereo microscopy examines the grain direction, size, and uniformity to ensure the component's strength and fatigue resistance. Single crystal casting, for example, offers superior resistance to thermal fatigue, and visualizing the grain structure helps verify that the material will perform well under extreme conditions. Inspecting for casting defects like porosity or cracks is also vital, as these can negatively impact the component's mechanical properties.
Forged Superalloy Parts
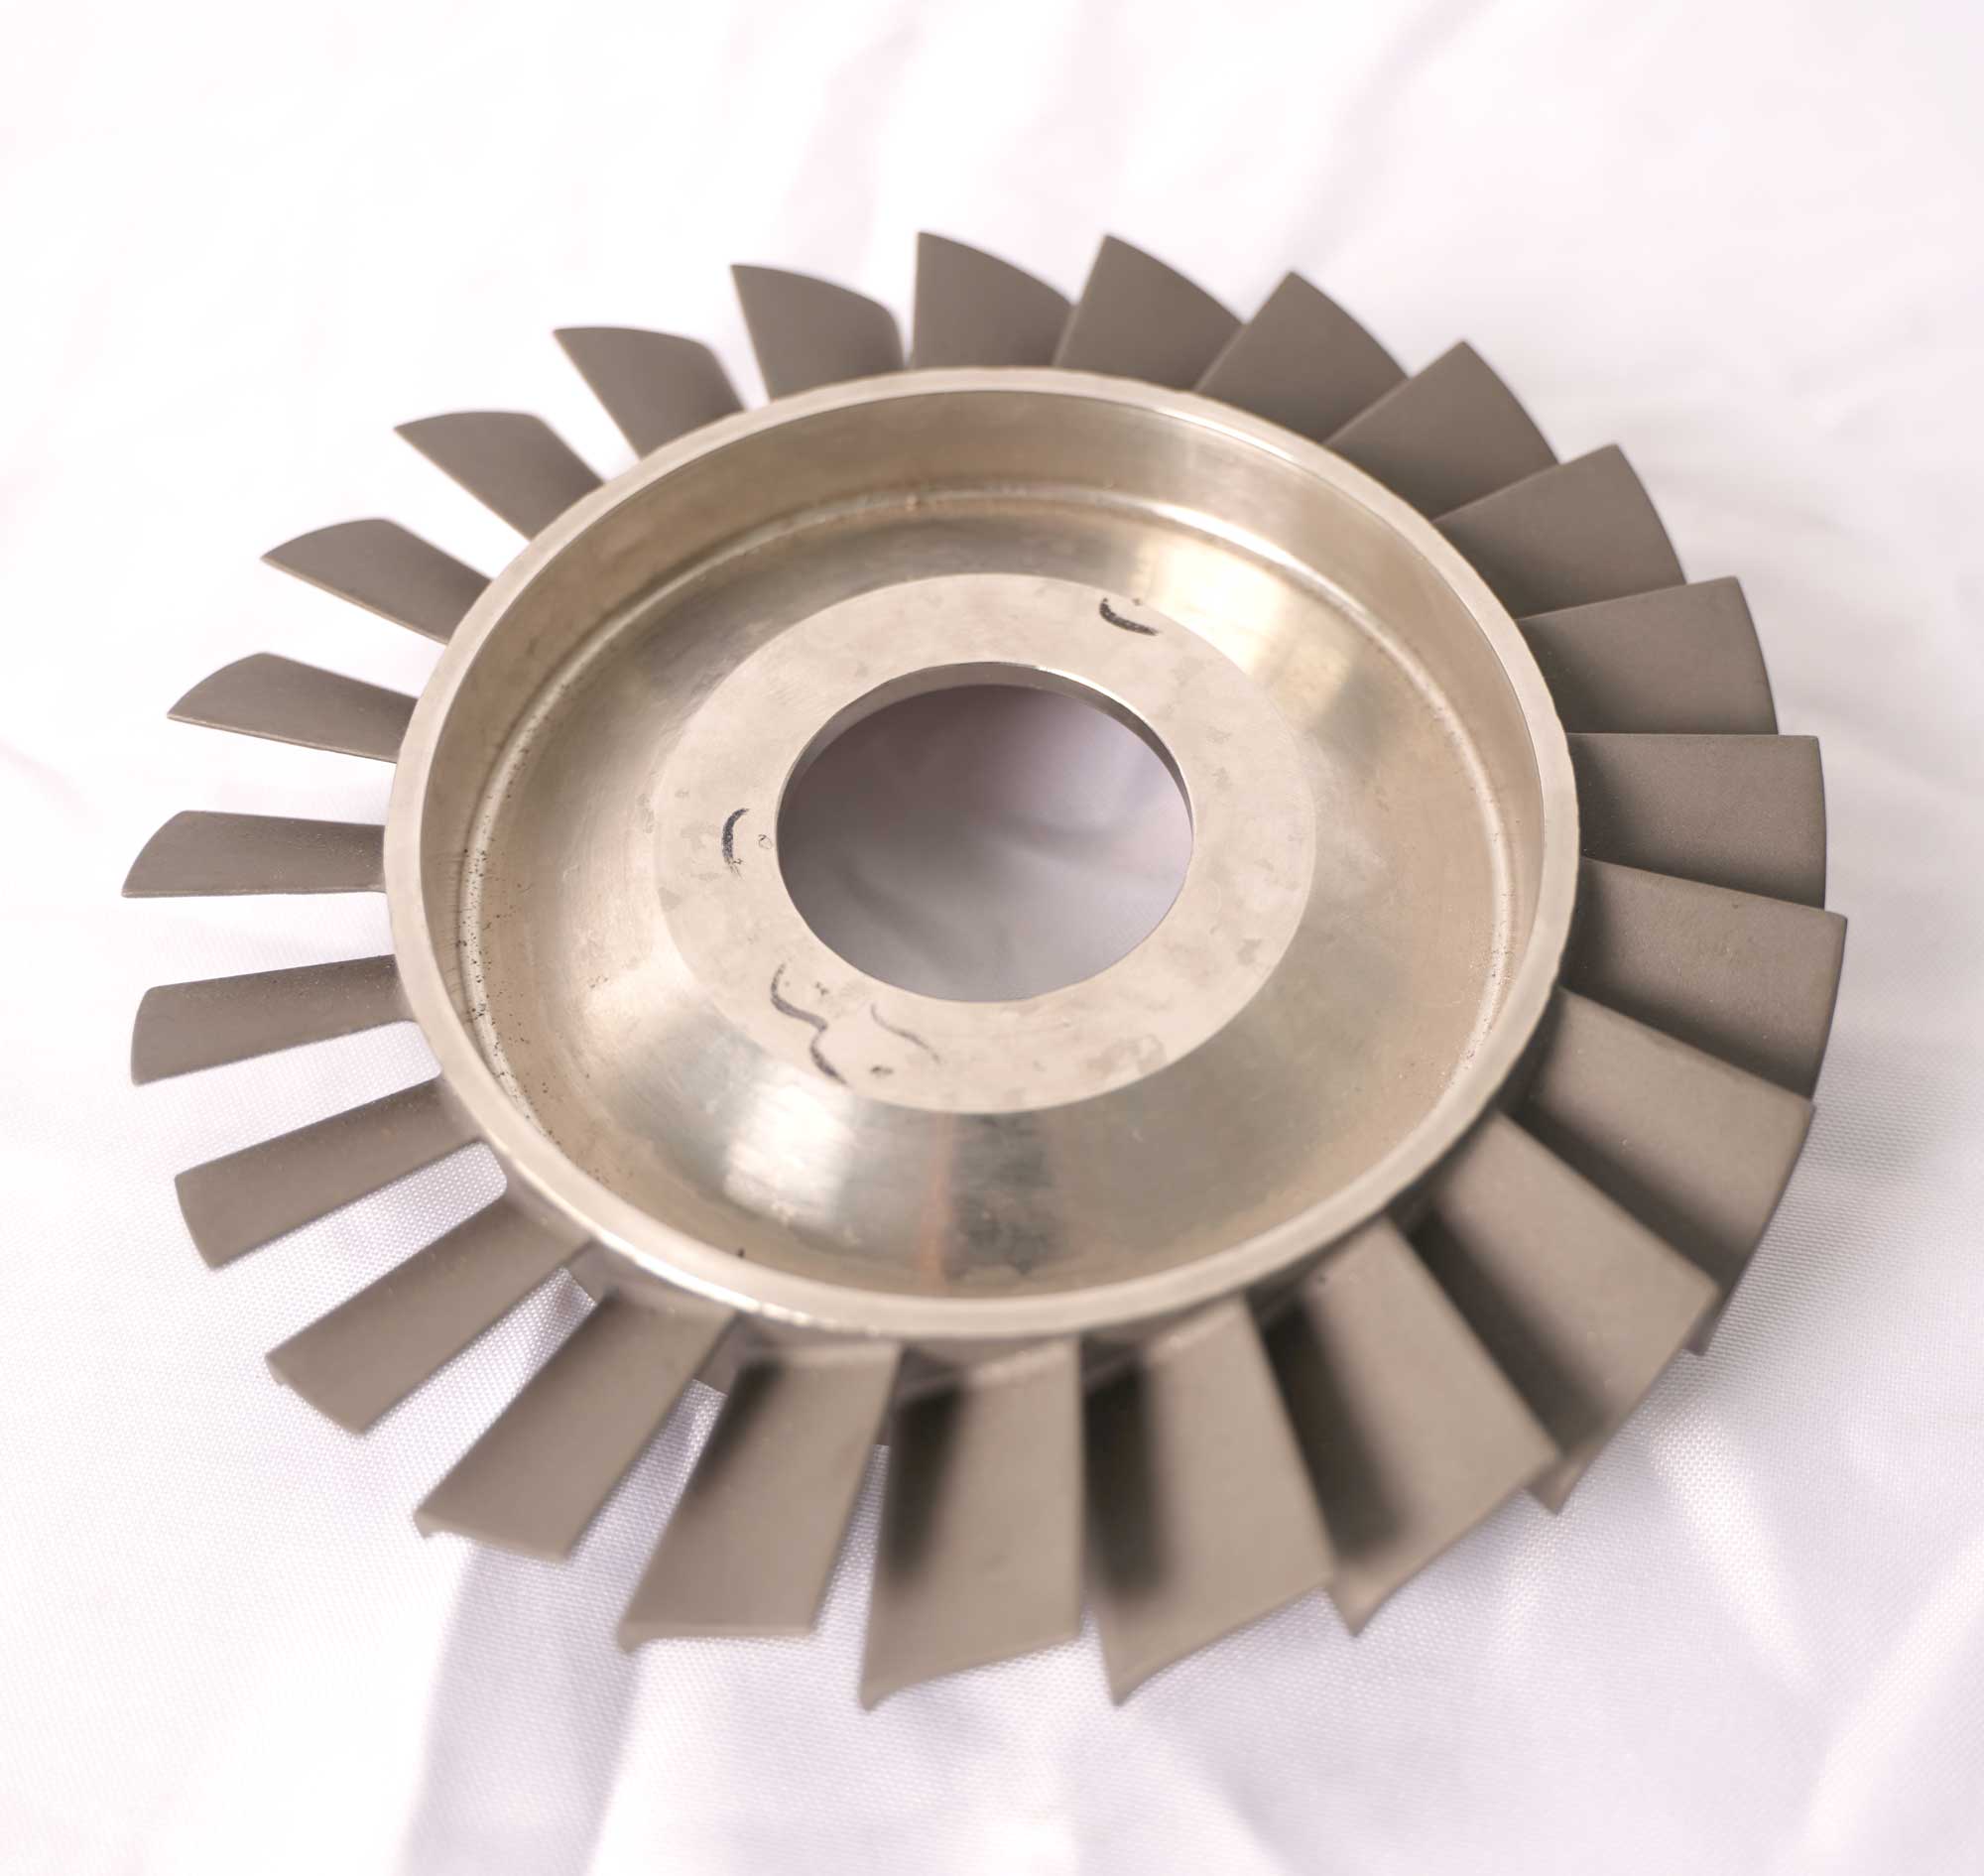
In forged superalloy components, such as turbine discs and compressor blades, the grain structure is critical in improving the part's mechanical strength and fatigue resistance. The forging process is designed to align the grain flow, enhancing the material's ability to withstand high-stress environments. Superalloy precision forging ensures that the grain structure is aligned correctly, but visualizing the grain structure through stereo microscopy is necessary to confirm the effectiveness of the process. Also, defects such as cracks or inclusions must be identified, as they can undermine the part's mechanical properties.
CNC Machined Superalloy Parts
Superalloy parts that undergo CNC machining, such as impellers and casings, often begin as billets or castings and are machined to precise tolerances. While machining ensures the desired shape and finish, it can disrupt the material’s grain structure. Stereo microscopes help verify that the grain structure remains intact and uniform after machining, ensuring the part will not suffer from stress concentration points or mechanical failure. This inspection is essential for components like turbine blades, where even slight alterations to the grain structure can affect fatigue resistance and overall strength.
3D Printed Superalloy Parts
Additive manufacturing, or 3D printing, is increasingly used to create complex superalloy components, especially in the aerospace and defense industries. However, the grain structure in 3D printed superalloy parts can differ significantly from that of traditionally cast or forged components due to the layer-by-layer deposition process. Stereo microscopy is essential for examining the grain structure in these parts, as it can help identify misaligned grains, porosity, or other defects that may compromise the part's mechanical properties. Depending on the findings, additional heat treatment or post-processing may be required to optimize the grain structure and ensure the part's performance.
Comparison with Other Grain Structure Analysis Processes
While stereo microscopy is a valuable tool for visualizing grain structures, it is not the only technique available for microstructural analysis. Several other methods, such as optical microscopy, scanning electron microscopy (SEM), and X-ray diffraction (XRD), are commonly used in conjunction with stereo microscopy to analyze superalloy materials comprehensively.
Optical Microscopy
Optical microscopy is often used to examine grain structures, but it has limitations in terms of magnification and depth of field. While it can provide detailed 2D images, it cannot offer the same stereoscopic effect that stereo microscopes can, making it less effective for visualizing complex 3D grain structures. Stereo microscopy, with its ability to offer actual 3D views, is superior, especially for evaluating the alignment and orientation of grains in superalloy materials.
Scanning Electron Microscopy (SEM)
SEM provides much higher magnification than stereo microscopes, allowing for examining submicron-scale features. However, SEM typically captures 2D images, which makes it difficult to assess the complete 3D grain structure. Furthermore, SEM is more expensive and requires more preparation and time than stereo microscopy. Stereo microscopes offer a cost-effective and faster method for observing grain structures in 3D, making them a highly efficient tool for routine inspections.
X-ray Diffraction (XRD)
XRD is useful for analyzing the crystal structures of superalloys but does not provide direct visual information about grain boundaries or defects. XRD is a complementary technique to stereo microscopy, as it can provide insights into the phase composition and crystallographic structure of the material, but stereo microscopy is necessary for examining the physical grain structure in detail, especially to evaluate grain boundaries, orientations and defects that may affect the material’s performance.
Industry and Application of Grain Structure Visualization in Superalloys
Grain structure visualization is essential across various industries where superalloys are used, including aerospace, power generation, oil and gas, and defense. Each industry relies on high-performance materials that withstand extreme temperatures, mechanical stresses, and corrosive environments. By using stereo microscopy to assess grain structures, manufacturers can ensure the reliability and performance of critical components.
Aerospace and Aviation
In aerospace and aviation, the performance of turbine blades, combustion chambers, and other engine components depends heavily on the material's grain structure. Grain size and orientation affect the material’s fatigue resistance and ability to withstand high temperatures. Stereo microscopy inspects these parts for defects and ensures they meet the rigorous demands of flight operations. A well-aligned grain structure is critical for ensuring that these components can endure the mechanical stresses of takeoff, flight, and landing without experiencing premature wear or failure.
Power Generation
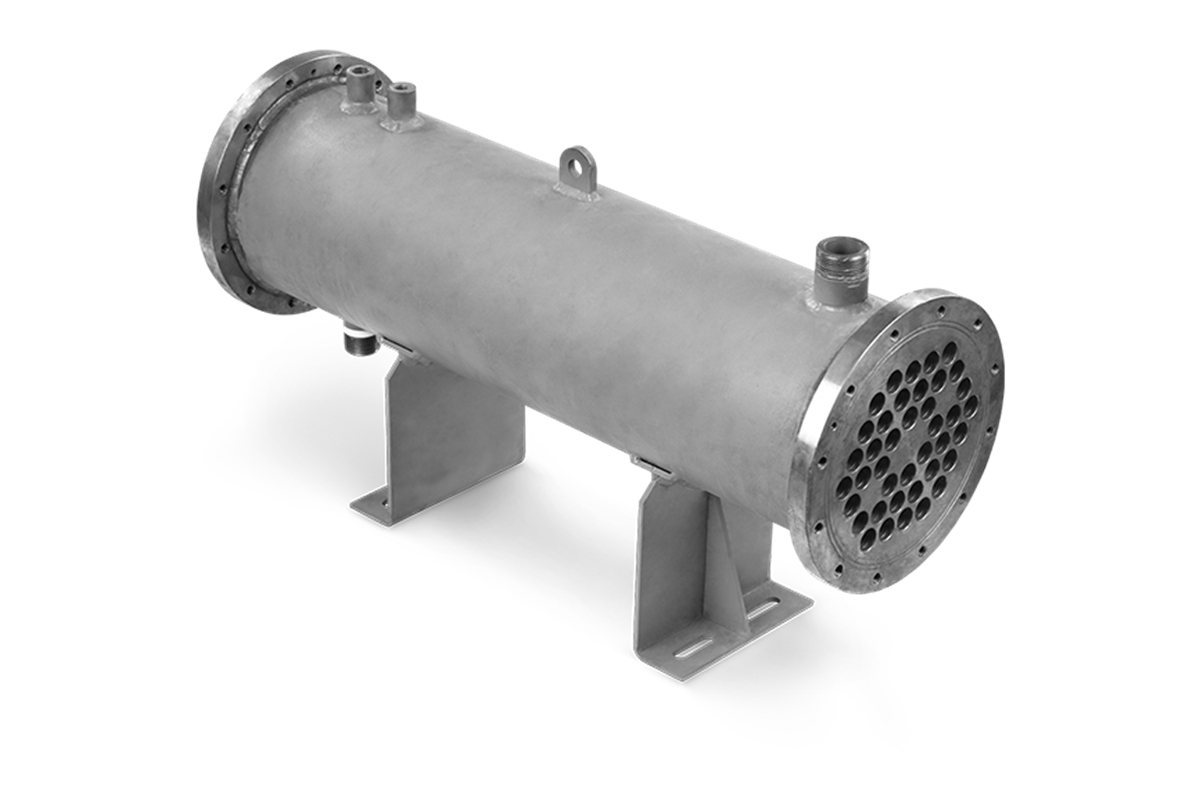
Superalloys used in gas turbines, reactors, and heat exchangers are subjected to extreme thermal and mechanical stresses in the power generation sector. Stereo microscopy helps assess the grain structure of these components to ensure they have the strength and thermal stability required for reliable long-term operation in power plants. A well-optimized grain structure increases the thermal fatigue resistance of turbine blades. It enhances the long-term durability of heat exchangers, ensuring consistent energy production and minimal downtime for maintenance.
Oil and Gas
In the oil and gas industry, superalloy components are used in pumps, valves, and pipeline fittings exposed to high pressures and corrosive environments. Visualizing the grain structure is crucial for ensuring that these components can withstand harsh conditions without failing. Stereo microscope inspection helps identify any inconsistencies in the grain pattern that could affect the material’s ability to resist wear, corrosion, or fracture under extreme operational pressures and temperatures, which is vital for maintaining the safety and efficiency of extraction and transport systems.
Defense and Military
Superalloy components used in missile parts, naval equipment, and military aircraft must have exceptional strength and durability to perform under extreme conditions. Stereo microscopy is critical for verifying that the grain structure meets the stringent requirements for these high-performance applications. By ensuring the grain structure is optimized for toughness and resistance to fatigue, manufacturers can enhance the operational reliability of military systems, ensuring they perform effectively in high-stress, high-risk environments.
Grain structure visualization through stereo microscopy plays a pivotal role in ensuring that superalloy components in these industries meet the rigorous demands of performance and safety. Properly characterized grain structures contribute to the enhanced mechanical properties and longevity of critical components used in aerospace, power generation, oil and gas, and defense applications.
FAQs
What role does grain structure play in the performance of superalloys?
How does stereo microscopy compare to other microscopy techniques for grain structure visualization?
Why is grain alignment important in superalloy components like turbine blades?
What types of superalloy parts benefit from stereo microscopy inspection?
How does stereo microscopy help identify defects in superalloy materials?


