The Role of Metallographic Microscopy in Superalloy Vacuum Investment Castings
Quality control is essential in manufacturing high-performance superalloy parts used in demanding industries such as aerospace and aviation, power generation, oil and gas, and military and defense. Metallographic microscopy is one of the most crucial techniques for ensuring the quality of these parts. This process involves examining the microstructure of materials to evaluate their properties and performance characteristics. When applied to superalloy vacuum investment castings, metallographic microscopy plays a vital role in assessing the integrity and reliability of components that will endure extreme conditions.

Metallographic microscopy allows manufacturers to examine the grain structure, phase distribution, and potential defects within the material, providing valuable insights into the alloy's strength, thermal resistance, and overall durability. For superalloys used in industries like marine and nuclear, this inspection ensures that each component can withstand the high pressures and temperatures it will face in critical applications such as turbine blades, combustion chambers, and reactor vessel components.
In vacuum investment casting, metallographic microscopy is particularly useful for detecting internal flaws like porosity, inclusions, or cracks that may not be visible on the surface. Identifying these defects early in the manufacturing process helps prevent costly failures in the field, ensuring that parts meet the highest safety and performance standards.
What is Metallographic Microscopy?
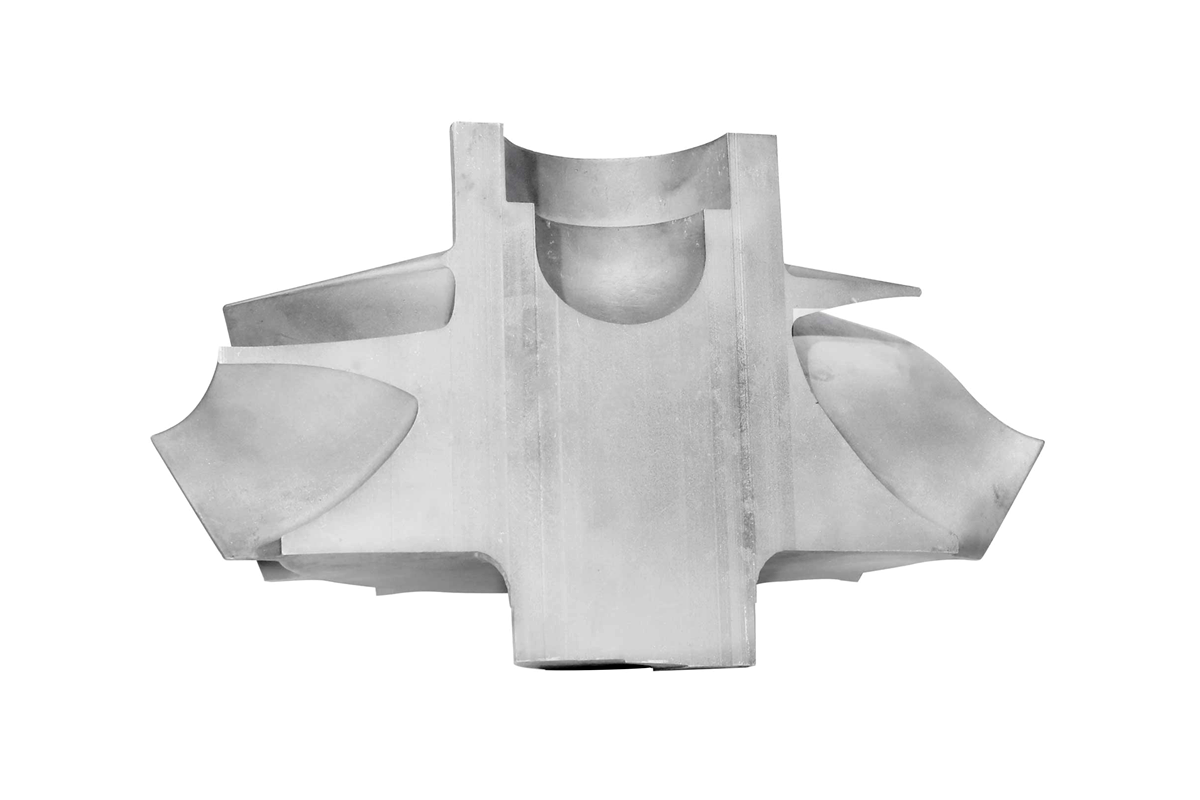
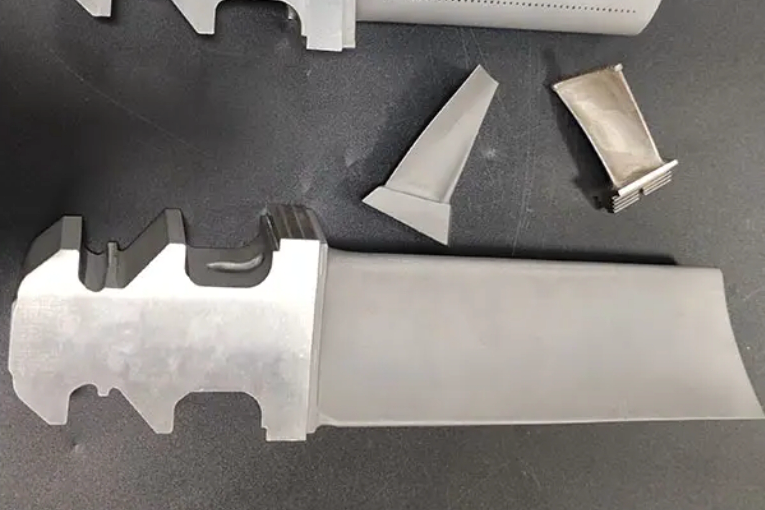
Metallographic microscopy studies the structure of metals and alloys at the microscopic level. This technique is used to evaluate materials' internal and external structure, which can reveal valuable information about their properties and potential weaknesses. The process typically involves several steps, starting with sample preparation. First, the material is cut into a small section and then polished to a mirror-like finish. This is followed by etching the surface with a chemical solution that reveals the material's grain structure and phase distribution. Finally, the sample is examined under a microscope, which can be either an optical or an electron microscope, depending on the level of detail required.
Optical microscopes offer a clear view of the material’s surface at low to moderate magnification, typically up to 1,000x. For higher magnification and more detailed analysis, scanning electron microscopes (SEM) can be used, which provide an even more detailed view of the sample’s surface structure, including the detection of microscopic defects.
The Function of Metallographic Microscopy in Superalloy Vacuum Investment Castings
In the context of superalloy vacuum investment castings, metallographic microscopy serves multiple functions critical to ensuring the quality and reliability of the cast components. These parts often undergo extreme thermal and mechanical stresses, so a thorough microstructure analysis is essential.
One of the most critical aspects of metallographic microscopy is microstructural analysis. By examining the casting's grain structure, phase distribution, and solidification patterns, engineers can assess whether the part was formed correctly during the casting process. This is particularly important because the quality of the cast microstructure directly impacts the material’s strength, fatigue resistance, and overall performance. For instance, in vacuum investment casting, understanding the grain structure can be crucial in determining the part’s suitability for high-stress applications like those found in the aerospace and energy sectors.
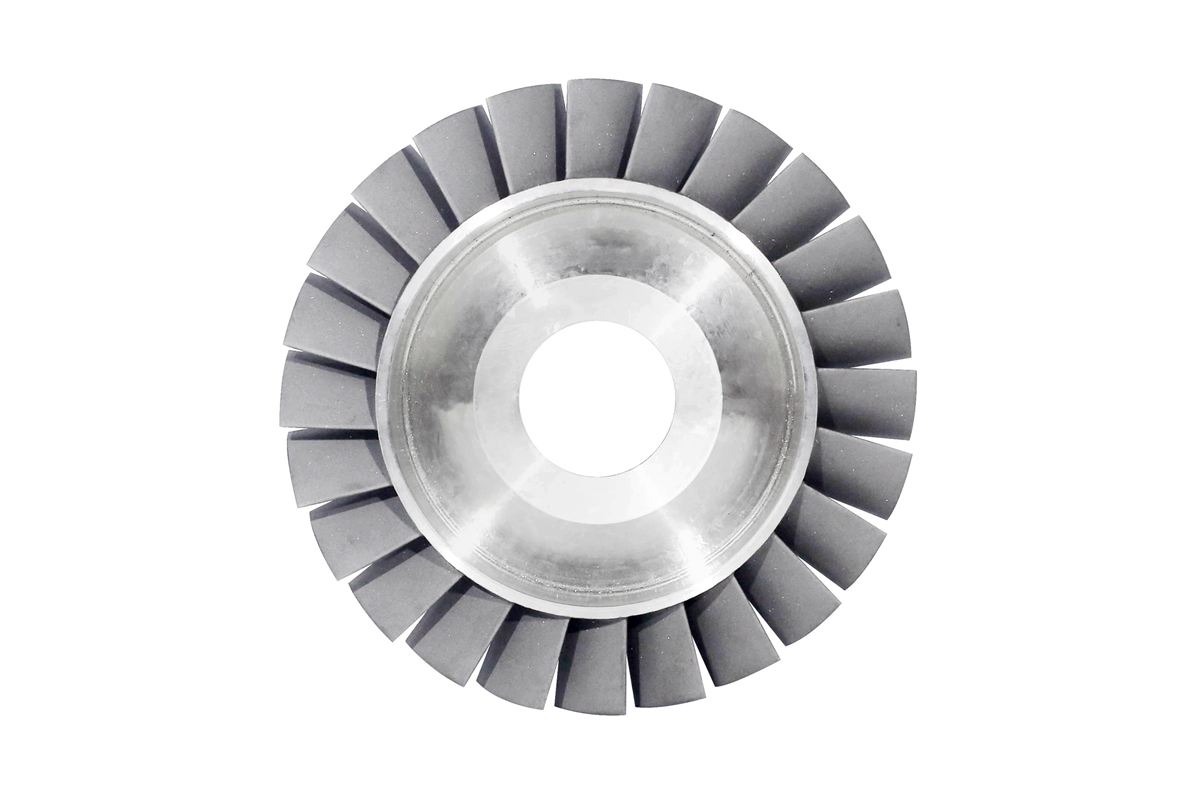
Defect detection is another crucial function of this process. Casting defects, such as porosity, inclusions, cracks, and microfractures, can all compromise the part’s structural integrity and cause failure in critical applications. These defects can be easily detected through metallographic microscopy, even if they are small and invisible to the naked eye. By identifying these issues early in production, manufacturers can make necessary adjustments before the parts are used in their intended applications. This is particularly important for superalloy turbine disc castings, where structural defects can result in catastrophic failure in turbine engines.
Another crucial role of metallographic microscopy is phase identification. Superalloys are typically made up of multiple phases, and the distribution of these phases affects the material’s properties. For example, certain phases can enhance the material’s ability to resist oxidation or improve its tensile strength at high temperatures. By examining phase distribution, metallographic microscopy helps ensure that the superalloy components meet the desired specifications and are suitable for their intended use. This is essential in processes like single crystal casting, where precise phase control is necessary to achieve the high-performance properties required for components like turbine blades.
Grain boundary evaluation is also essential. The orientation, size, and distribution of grains in the material can significantly affect its mechanical properties, such as strength, resistance to thermal fatigue, and overall durability. Through metallographic microscopy, engineers can assess grain boundaries and identify any irregularities that could weaken the part under stress. In high-performance applications, such as superalloy aerospace components, grain boundary control is a key factor in ensuring long-term performance under extreme conditions.
Lastly, metallographic microscopy plays a role in assessing the solidification and cooling rates of the casting. The cooling rate influences the final microstructure of the material, and uneven cooling can result in internal stresses or cracks. By examining the solidification structure, engineers can verify that the cooling process during casting was uniform and that the final part is free of defects that could lead to premature failure. This process is critical for advanced casting techniques, where precise control over cooling is required to produce high-quality components for aerospace and power generation industries.
Which Superalloy Parts Require Metallographic Microscopy?
Metallographic microscopy is essential for inspecting various superalloy parts, especially those used in high-performance and critical applications. This process helps detect defects that could compromise the material’s integrity, ensuring that parts meet the required standards for safety and durability. Below are some of the key superalloy parts that undergo metallographic microscopy:
Superalloy Castings
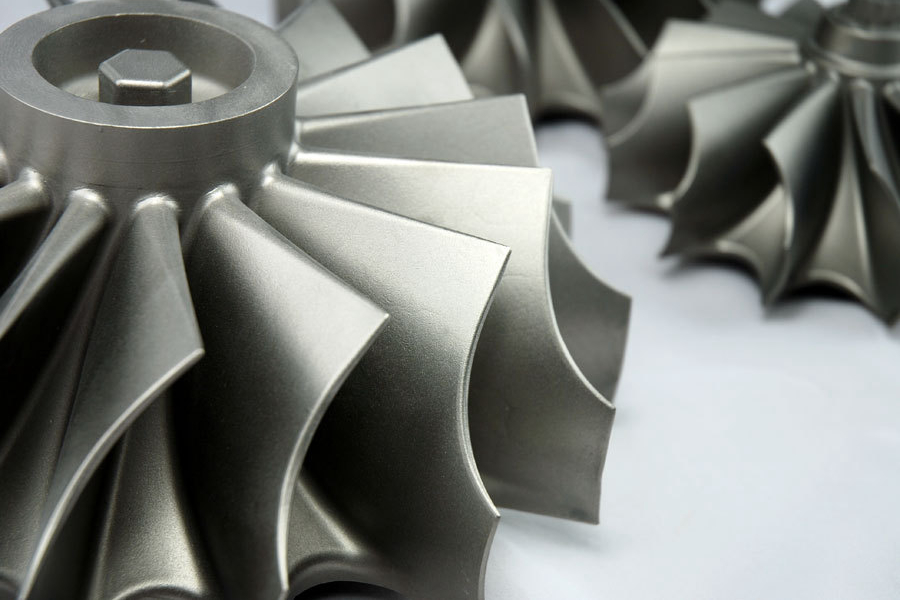
Superalloy vacuum investment castings, such as turbine blades, nozzle rings, and combustion chambers, are commonly subjected to metallographic microscopy. These components must withstand extreme operational conditions; even minor defects, like porosity or inclusions, can lead to catastrophic failures. Metallographic analysis helps ensure that the casting process has produced parts with the correct grain structure and no internal flaws, guaranteeing their reliability in aerospace and energy applications.
Forging Parts
Superalloy forging parts, including turbine discs, shafts, and blades, require metallographic microscopy to assess the grain structure and detect internal defects. The forging process alters the material’s microstructure, which is critical to the part’s mechanical properties. By inspecting the parts, manufacturers can verify that the grain flow is correct and that the parts are free from defects such as cracks or voids that could impair their strength or fatigue resistance.
CNC Machined Superalloy Parts
For CNC machined superalloy parts, used in applications such as aerospace and power generation, metallographic microscopy ensures that the machining process has not introduced defects or altered the material’s properties. Machining can cause work hardening or other changes, potentially weakening the material. Microscopic analysis verifies that the microstructure remains intact, ensuring that the parts maintain the strength and durability needed for critical applications.
3D Printed Superalloy Parts
With the growing adoption of 3D printed superalloy parts, particularly in aerospace and medical applications, metallographic microscopy is essential for verifying the quality of printed components. This inspection checks the bonding between layers and identifies any internal defects within the printed structure. Ensuring the integrity of each layer and confirming that the final part meets performance specifications is crucial for parts used in demanding, high-stress environments.
How Metallographic Microscopy Compares with Other Processes
While metallographic microscopy is a powerful tool for inspecting superalloy vacuum investment castings, it is often used with other techniques to understand the material's quality comprehensively. These complementary methods include:
X-ray Inspection: X-ray inspection is often used to detect internal flaws such as porosity or voids in castings. While it can detect volumetric defects, it does not provide the level of detail required to assess the microstructure or identify specific material phases. Metallographic microscopy, on the other hand, offers a more detailed examination of the material’s structure, including grain boundaries and phase distribution, making it a valuable complementary technique to X-ray inspection.
Scanning Electron Microscopy (SEM): SEM provides much higher magnification and resolution than optical microscopy, allowing for examining surface details at the nanoscale. SEM can also provide detailed topographic images of the material surface, helping to identify microstructural features like cracks and inclusions. SEM is often used alongside traditional metallographic microscopy to enhance the level of analysis, especially when examining areas with complex geometries or fine details.
Tensile and Mechanical Testing: Metallographic microscopy does not directly measure the mechanical properties of materials like tensile strength or hardness. However, it complements mechanical testing methods by providing valuable insights into the material’s internal structure. The combination of tensile testing and microscopy allows manufacturers to correlate material behavior under stress with specific microstructural features, such as grain size and phase distribution.
Chemical Analysis Methods (GDMS and ICP-OES): Glow Discharge Mass Spectrometry (GDMS) and Inductively Coupled Plasma Optical Emission Spectroscopy (ICP-OES) are chemical analysis techniques used to determine the alloy composition of superalloys. While these methods provide precise information about the chemical makeup of a material, they do not offer insights into the material’s microstructure. Metallographic microscopy, in contrast, examines the physical and structural characteristics of the material, providing a fuller picture of its suitability for high-stress applications.
Industry and Application of Metallographic Microscopy in Superalloy Vacuum Investment Castings
The importance of metallographic microscopy in superalloy vacuum investment castings extends across a wide range of industries and applications. In aerospace and aviation, for instance, turbine blades, nozzle rings, and combustion chambers must withstand extreme temperatures, high stresses, and fatigue. Metallographic microscopy is used to ensure that these critical parts meet the highest performance and reliability standards. For example, parts like superalloy jet engine components require detailed microstructural analysis to guarantee their ability to withstand extreme operating conditions.
In power generation, the quality of turbine blades, heat exchangers, and other components directly impacts the efficiency and safety of power plants. By using metallographic microscopy to detect defects and verify microstructure, manufacturers can ensure that these parts perform optimally over extended operational lifecycles. For components such as superalloy heat exchanger parts, ensuring a fine microstructure is essential to minimize the risk of fatigue and corrosion over time.
For the oil and gas industry, where components like pump housings, valve systems, and corrosion-resistant piping are subjected to harsh conditions, metallographic microscopy is crucial for detecting flaws that could lead to failures or breakdowns in critical infrastructure. Vacuum investment castings used for these parts, such as high-temperature alloy pump components, benefit from meticulous microstructure inspection to ensure their performance and longevity.
The military and defense industries rely on high-performance superalloy parts for missile systems, armor, and other mission-critical applications. Here, the durability and reliability of superalloy components are paramount, and metallographic microscopy is used to ensure that the materials meet the necessary specifications. For example, parts like superalloy missile segments require detailed analysis to verify their structural integrity under extreme stress.
Finally, in nuclear applications, where parts such as reactor vessels and control rods must endure high radiation and extreme temperatures, metallographic microscopy ensures that superalloy components maintain their structural integrity over time. Carefully examining components like nickel-based alloy control rod modules ensures their reliability and safety in demanding nuclear environments.
Metallographic microscopy is essential for ensuring the quality and reliability of superalloy vacuum investment castings in these industries, allowing manufacturers to meet the strictest performance standards in the most challenging environments.
FAQs
What is the difference between optical and scanning electron microscopy (SEM) in metallographic analysis?
How does metallographic microscopy help in detecting porosity in superalloy vacuum investment castings?
What role does metallographic microscopy play in ensuring the quality of 3D-printed superalloy parts?
Can metallographic microscopy be used for all superalloy components, including forged and machined parts?
How does metallographic microscopy complement other quality control techniques like X-ray inspection and chemical analysis in superalloy part manufacturing?


