Surface Geometry Inspection of Superalloy Single Crystal Casting Turbine Vanes
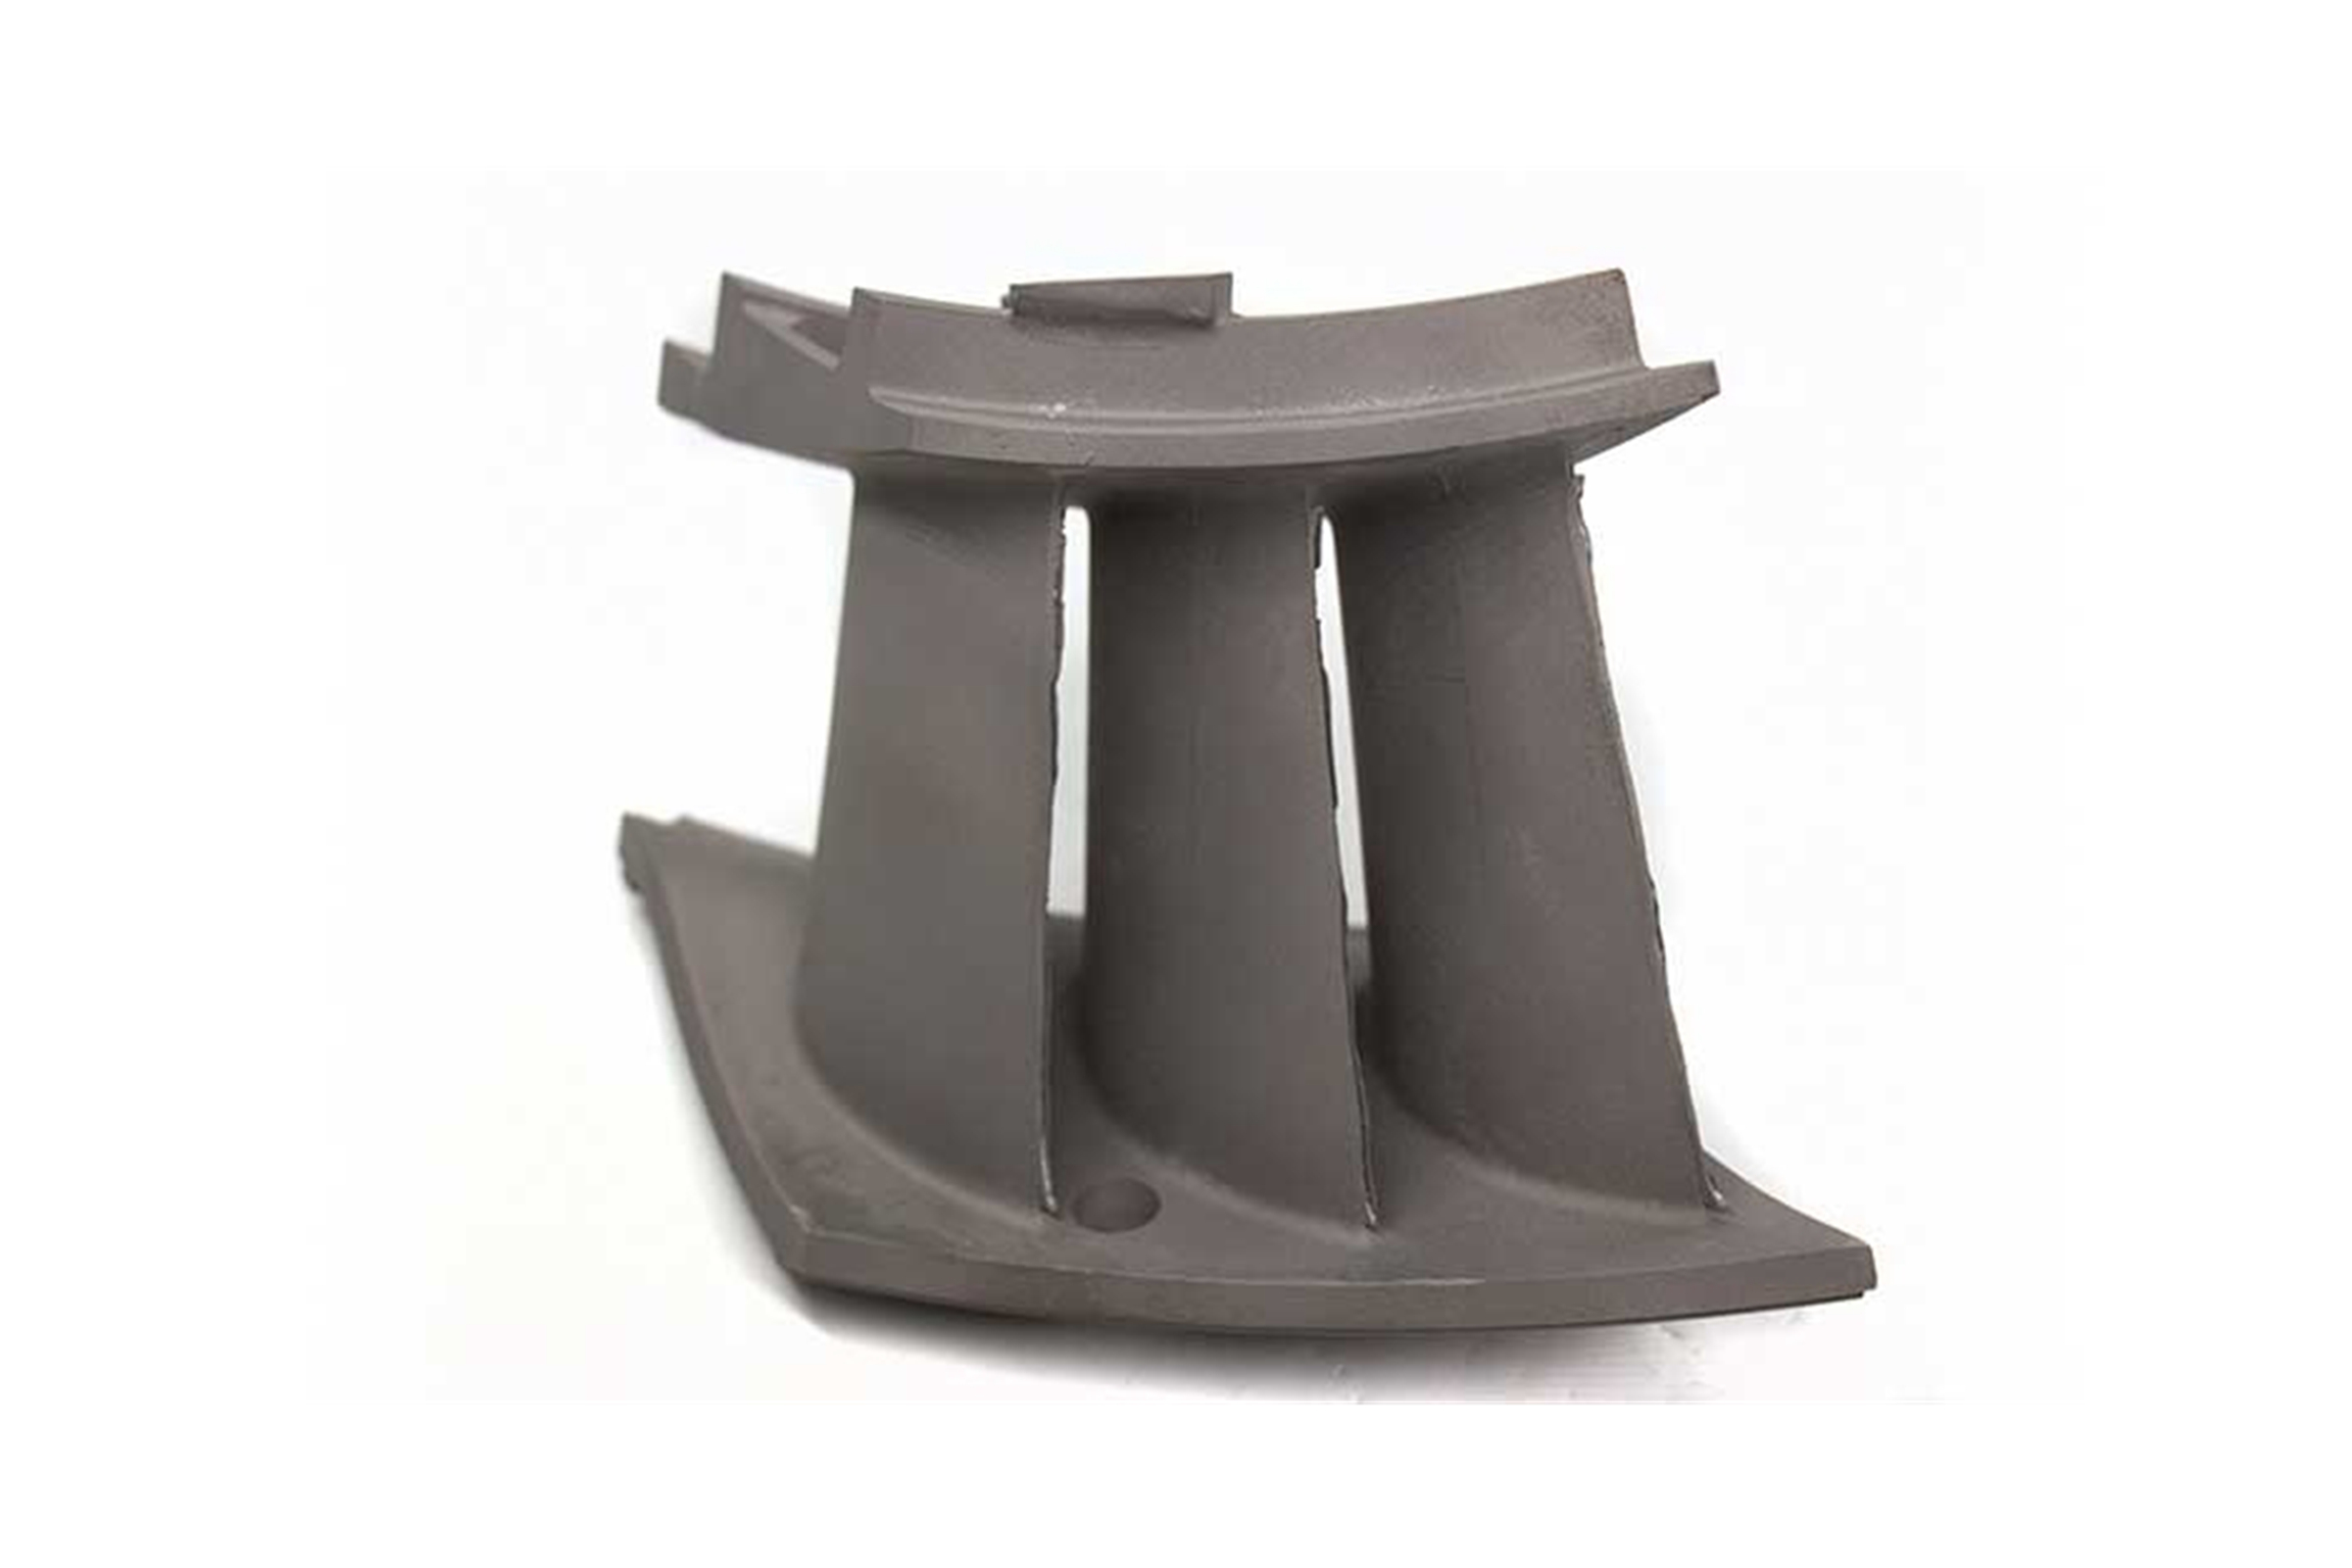
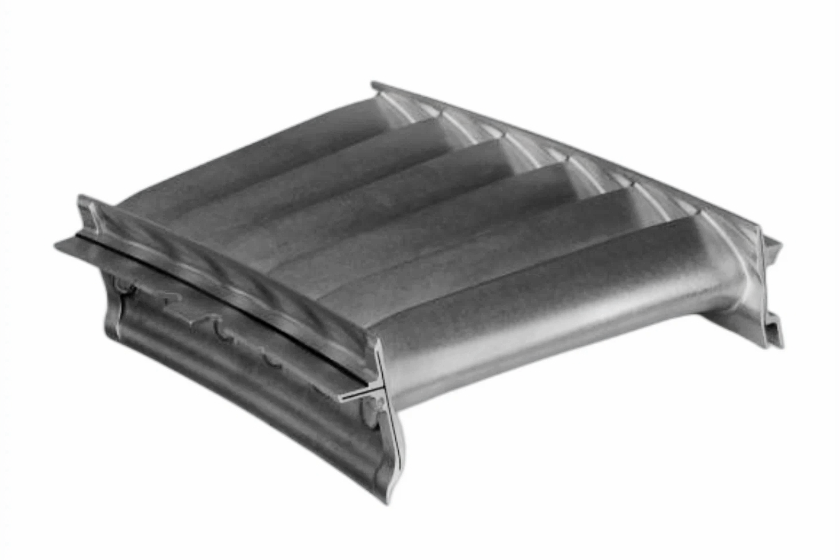
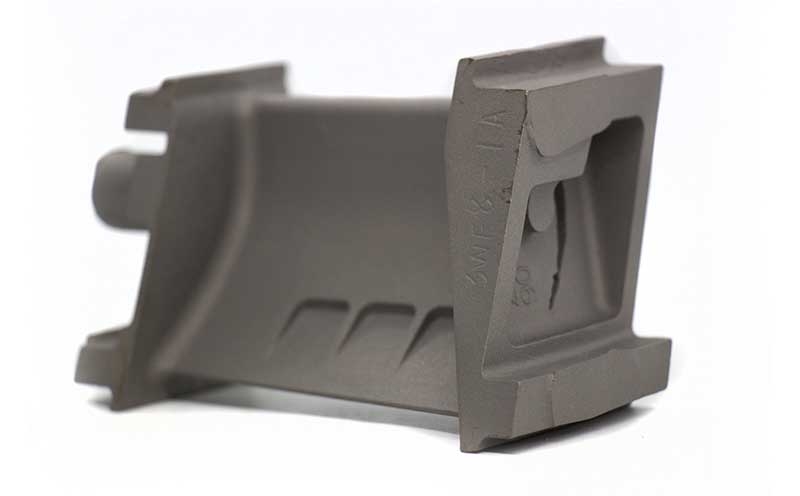
Surface geometry inspection is critical to manufacturing high-performance turbine components, particularly for superalloy single crystal casting turbine vanes. This process ensures that the vanes meet the stringent dimensional accuracy and surface finish requirements to withstand extreme operating conditions. The importance of surface geometry inspection extends beyond detecting surface defects; it also guarantees that turbine vanes are manufactured to meet the expected performance standards in industries like aerospace and aviation, power generation, and military and defense.

For turbine vanes, where precision is essential, even the slightest imperfection in surface geometry can lead to performance degradation, reduced efficiency, or failure under the extreme stresses and temperatures encountered in service. Advanced inspection techniques, such as 3D scanning, are employed to digitally capture the surface geometry and ensure that every vane is free from defects and meets the required tolerances. This level of inspection is crucial for maintaining the integrity and longevity of components that operate in some of the most demanding environments on Earth.
What is the Process of Surface Geometry Inspection in Single Crystal Casting?
Surface geometry inspection involves the measurement and analysis of the external surface features of a component, ensuring it meets the required specifications. In the case of superalloy single crystal casting turbine vanes, this process is vital in verifying that the turbine components are free from defects and manufactured to the necessary tolerances.
The most advanced techniques used in surface geometry inspection include non-contact methods like 3D scanning, optical profilometry, and coordinate measuring machines (CMM). These tools can provide detailed, high-resolution surface contours, roughness, and overall geometry data.
For turbine vanes made from superalloys like Inconel or Rene alloys, which are crucial in high-temperature environments, surface geometry inspection ensures that no imperfections, such as cracks, rough spots, or misalignment, will compromise the vane’s performance. Using non-contact inspection tools like laser scanners and structured light scanners allows for capturing detailed surface data without causing any damage to the part, a critical aspect of high-precision turbine component manufacturing.
The Function of Surface Geometry Inspection
The function of surface geometry inspection goes beyond simple measurement. The primary aim is to ensure the part meets all dimensional and surface finish requirements, as any irregularities can negatively impact the turbine’s performance, especially in high-temperature applications like those in aerospace and power generation.
Dimensional Accuracy and Surface Finish
In manufacturing superalloy turbine vanes, the dimensional accuracy of the surface is critical. The exact geometry of the turbine vane affects its aerodynamic efficiency, and any deviation could lead to significant performance issues, such as decreased efficiency or premature failure. This is particularly crucial in aerospace and power generation industries, where turbine vans operate in extreme temperature and stress conditions. For example, the single crystal casting process ensures the parts retain the desired crystalline structure, minimizing performance degradation under high thermal and mechanical stress.
A smooth, defect-free surface is required to ensure the vane can function under high thermal loads without premature wear or failure. The surface finish influences the vane’s resistance to oxidation, erosion, and corrosion, which are common challenges in high-temperature turbine environments. Even minor surface imperfections can cause localized stress concentrations, leading to cracks or fatigue, which could jeopardize turbine operation. Techniques like vacuum investment casting achieve a high-quality surface finish with minimal defects.
Detecting Defects and Imperfections
Surface geometry inspection is essential in identifying potential surface defects, such as cracks, pits, roughness, and misalignment. These defects can be detrimental to the performance of the turbine vanes. For example, microcracks, which are invisible to the naked eye, can rapidly propagate under high stress, causing catastrophic failure. Early detection through surface geometry inspection allows manufacturers to address such issues before the part reaches the final stages of production or service. Incorporating 3D scanning into the inspection process enhances defect detection, providing a more accurate surface map than traditional methods.
Manufacturers can prevent costly repairs and downtime by ensuring that surface defects are detected early. This process is also integral to maintaining the safety and integrity of high-performance turbines in sectors where failure can have severe consequences, such as aerospace or military applications. Precision forging and other advanced manufacturing methods also minimize defects in the final product.
Quality Assurance and Control
Surface geometry inspection ensures that all parts meet strict industry standards for quality and reliability. It is an integral part of quality control processes that guarantee the turbine vanes perform at their best throughout their operational life. In aerospace, power generation, and defense industries, the quality of each turbine vane directly affects the performance, safety, and longevity of the entire system. By using processes like superalloy CNC machining, manufacturers can further refine the surface to meet the highest tolerances.
Quality assurance in turbine vane production involves adhering to international standards and specifications. For instance, parts must meet ASTM standards or the specifications outlined by manufacturers like General Electric or Rolls-Royce, who demand the highest quality materials and components for their turbine engines. Surface geometry inspection plays a key role in certifying that the parts comply with these exacting standards, ensuring that each part meets critical application's durability and performance requirements.
Superalloy Parts Involved in Surface Geometry Inspection
Surface geometry inspection is critical for producing turbine vanes and other superalloy components. It ensures that the part meets stringent performance standards by verifying its surface quality and dimensional accuracy. The following superalloy parts are involved in surface geometry inspection at various stages of their production:
Superalloy Castings
For superalloy castings, especially single crystal turbine vanes, surface geometry inspection is essential to confirm the part’s integrity. Single crystal casting is a complex process where a single crystalline structure is grown to improve strength and resistance to thermal fatigue. Once the casting is completed, high-resolution scanning tools inspect the surface for defects like porosity, roughness, or misalignment. This ensures that the cast parts maintain their structural integrity for high-performance applications, such as in aerospace turbines.
Forging Parts
Forging is another widely used method for manufacturing superalloy turbine parts, particularly turbine blades and disks. Surface geometry inspection of forged components ensures that no defects, such as cracks or folds, have been introduced during the shaping process. Inspection tools like CMMs (Coordinate Measuring Machines) or 3D scanning devices ensure the part’s surface finish and dimensions align with the engineering specifications. This ensures the forged parts meet the stringent tolerances necessary for high-stress environments, such as power generation or aerospace.
CNC Machined Superalloy Parts
After casting or forging, many turbine vanes undergo CNC machining to achieve the desired final shape. During this refining process, surface geometry inspection is performed to verify that the part’s surface is smooth and free from machining defects. Laser scanning or optical profilometry detects minor discrepancies like tool marks or dimensional deviations. This step ensures that the final CNC machined parts meet the exact design specifications and can perform reliably in critical applications like gas turbines.
3D Printed Superalloy Parts
The advent of 3D printing, or additive manufacturing, has opened new possibilities for creating superalloy turbine vanes with complex geometries. However, 3D-printed parts require thorough surface geometry inspection to ensure the printed components meet the required standards. Non-contact methods like 3D scanning are ideal for inspecting 3D-printed superalloy turbine vanes. Scanning helps detect issues like surface roughness, misalignment, or dimensional deviations that may arise due to variations in the printing process or material deposition. Ensuring that the 3D printed parts meet precise specifications is crucial for their performance in high-demand applications, such as aerospace or energy.
Comparison with Other Processes
In addition to 3D scanning, several other inspection methods are used to assess the surface geometry of turbine vanes. Each method has its strengths and limitations, making it important to choose the right tool for each application.
Coordinate Measuring Machine (CMM) vs. 3D Scanning
Coordinate measuring machines (CMM) have long been a standard method for ensuring dimensional accuracy in turbine vane manufacturing. CMMs use a probe to physically contact the part at various points to determine its dimensions. However, this method can be time-consuming, especially for complex geometries, and it can potentially damage delicate surfaces. CMM checking is widely applied, but it becomes inefficient when measuring intricate geometries that require high precision, such as those found in superalloy turbine vanes.
3D scanning, in contrast, is a non-contact method that captures the entire surface geometry in a fraction of the time. The ability to create detailed 3-D models and map the surface without physical contact makes 3-D scanning ideal for inspecting turbine vanes, especially for those made from fragile superalloys or complex single-crystal structures. This high-resolution, non-contact approach also eliminates the risk of damage to the part, which is particularly important for components used in high-performance applications.
Optical Profilometry vs. X-ray Inspection
Optical profilometry is a technique used to measure surface roughness and features by shining light on the part and measuring the reflected signals. This is particularly useful for detecting acceptable surface defects, such as microcracks or minor irregularities significantly impacting turbine vane performance. However, optical profilometry is limited to surface analysis and cannot assess internal features or material integrity. It excels in inspecting the fine surface details of superalloy turbine blades, but it does not provide the full picture of the material's internal properties.
On the other hand, X-ray inspection can examine internal structures for flaws such as porosity or inclusions. While X-ray inspection is valuable for identifying internal defects, it cannot detect surface irregularities like those that affect aerodynamic performance. X-ray inspection is ideal for assessing the internal integrity of superalloy turbine components, but surface quality defects often go undetected. Thus, optical profilometry and X-ray inspection often complement each other in turbine vane quality control, providing a more comprehensive assessment of the external surface and internal material quality.
Industry and Applications of Surface Geometry Inspection
Surface geometry inspection plays a vital role across several high-performance industries, ensuring that turbine vanes meet the required standards for reliability and performance.
Aerospace and Aviation
In the aerospace and aviation, turbine vans are critical components in jet engines, which must withstand extreme temperatures and stress. Surface geometry inspection guarantees that the vanes are free of defects that could lead to catastrophic failures in flight. Whether for commercial airliners or military aircraft, the precision required for these components is of the highest standard. The inspection process ensures that turbine vanes maintain the necessary aerodynamic and thermal properties for optimal engine performance.
Power Generation
Gas turbines used in power generation operate under high thermal and mechanical stress. The efficiency of these turbines depends on the integrity of components like turbine vanes, making surface geometry inspection crucial for maintaining optimal performance and preventing failures. For example, turbine blades and vanes that are part of the superalloy heat exchanger parts are subjected to constant thermal cycling, which makes surface inspection critical for identifying cracks or wear that could reduce efficiency or lead to breakdowns.
Military and Defense
In military and defense applications, turbine vans are propulsion systems used in advanced fighter jets, missile systems, and other defense technologies. Surface geometry inspection ensures that the turbine components meet these critical applications' demanding performance and safety standards. Precision in components like superalloy armor system parts is also critical, as defects can compromise the performance of defense systems, particularly in high-stakes combat or extreme operational environments.
Marine and Oil & Gas
Offshore turbines and marine propulsion systems require turbine vanes that can operate under extreme conditions, including exposure to corrosive seawater and high pressure. In the marine and oil & gas industries, surface geometry inspection helps ensure that turbine components can withstand these harsh environments. Components used in offshore drilling and marine propulsion systems must meet stringent standards for corrosion resistance, dimensional accuracy, and overall integrity to ensure reliable performance under challenging operational conditions.
Through advanced tools such as Coordinate Measuring Machines (CMM) and scanning technology, surface geometry inspection ensures that turbine vanes and other critical components across these industries are fabricated to the highest standards, maintaining safety, performance, and longevity under extreme conditions.
FAQs
What are the primary methods used for surface geometry inspection in superalloy turbine vanes?
How does surface geometry inspection affect the performance of turbine vanes in high-temperature environments?
What types of superalloy parts require surface geometry inspection?
How does 3D scanning compare with other inspection methods for turbine vanes?
What industries benefit most from surface geometry inspection of turbine vanes?


