Surface Finish Quality: Ensuring Defect-Free Wax Patterns for Superior Superalloy Castings
In manufacturing superalloy castings, surface finish quality is a critical factor that influences the overall integrity and performance of the final part. Creating defect-free wax patterns is essential for achieving superior casting outcomes, mainly when producing high-performance superalloy components.
This blog delves into the manufacturing process of wax patterns, the types of superalloys typically used in investment casting, the post-processes comparison, testing methods, and industry applications, focusing on how surface finish quality enhances the precision and reliability of superalloy castings.

Manufacturing Process
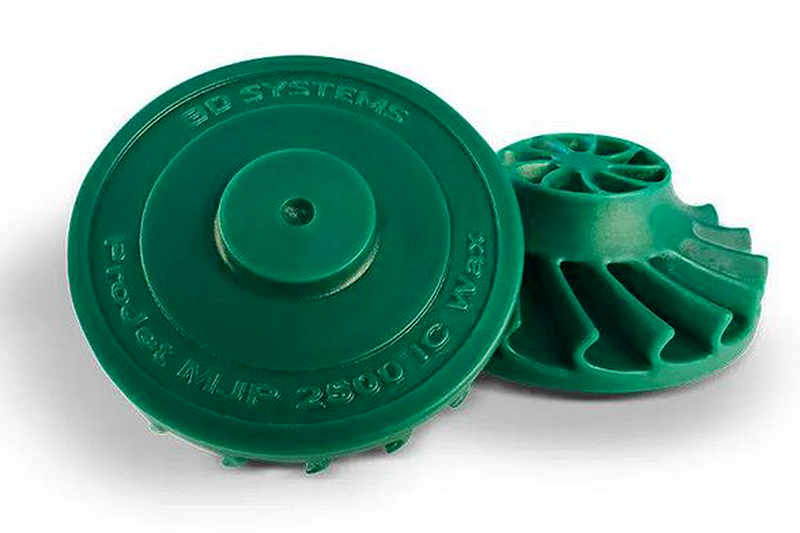
The first step in producing high-quality superalloy castings is the creation of accurate wax patterns. Wax pattern creation involves injecting molten wax into a mold, allowing it to cool and solidify in the desired shape. This pattern is a replica of the final casting and must have a flawless surface finish to ensure the success of the casting process. Precision wax pattern creation is critical to achieve the desired geometries and tight tolerances in high-performance applications.
Automated wax pressing has become a significant advancement in pattern creation. This process involves using a press to inject molten wax into a mold cavity under precise pressure and temperature conditions. The result is a uniform, defect-free wax pattern with superior surface quality, crucial for ensuring the casting's performance. Automated wax press solutions ensure that each wax pattern is consistent and eliminates human error, increasing the overall quality of the final product.
Precision in the manufacturing of wax patterns is essential, as even minor defects in the surface finish can lead to issues during the casting process. For example, irregularities such as cracks, bubbles, or uneven surfaces can result in defects in the final casting, such as porosity, cracks, or weak spots. Automated wax presses minimize such risks by controlling temperature, pressure, and cycle time, ensuring consistent, high-quality patterns every time. Automated wax press systems offer reliable solutions for creating defect-free wax patterns and minimizing production rework.
In contrast to manual wax pattern creation, which may introduce inconsistencies and defects, automated systems can produce wax patterns with high precision and repeatability. This technological advancement has significantly enhanced the overall efficiency of superalloy casting, reducing the risk of rework and improving production timelines. Efficiency in casting is significantly increased with automated wax pattern creation, ensuring that each pattern is identical and that the final casting process is streamlined.
Typical Superalloys
Superalloys are chosen for their ability to withstand extreme conditions such as high temperatures, corrosion, and mechanical stress. The most commonly used superalloys in investment casting include nickel-based, cobalt, iron, and titanium alloys. Each of these superalloys offers unique characteristics suited for specific applications.
Nickel-based Alloys
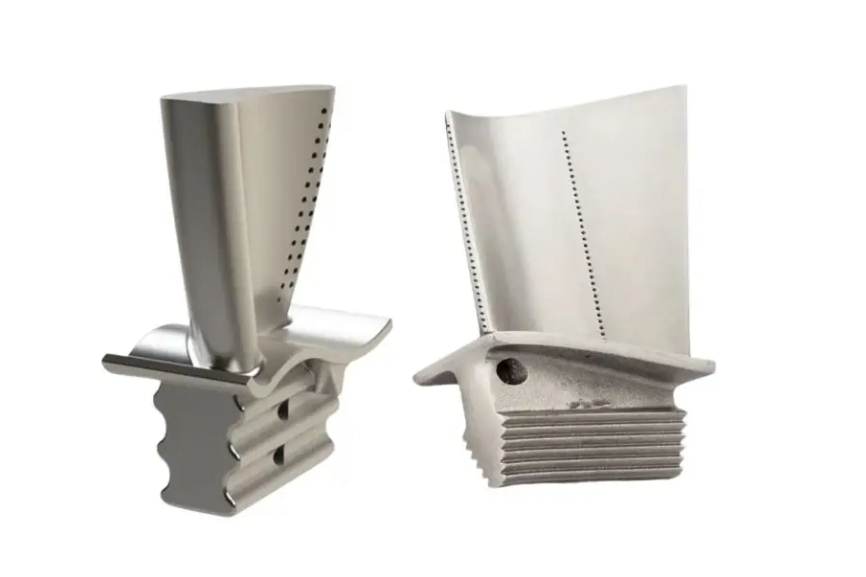
These alloys, including Inconel and CMSX series, are renowned for their high temperature and oxidation resistance. They are commonly used in aerospace applications, including turbine blades, compressor blades, and other high-performance components.
Cobalt-based Alloys
Cobalt alloys, like Stellite, are valued for their wear resistance and ability to maintain strength at elevated temperatures. These alloys are often used in gas turbines and other demanding applications where wear resistance is crucial.
Iron-based Alloys
Alloys such as Nimonic are a more cost-effective choice for components that still require high mechanical properties and performance at elevated temperatures. These alloys are often used in industrial and energy sector applications.
Titanium Alloys
Titanium alloys, such as Ti-6Al-4V, offer excellent strength-to-weight ratios and are frequently used in aerospace, automotive, and medical applications. They are particularly valued for their lightweight nature combined with superior strength and corrosion resistance.
Wax Pattern Quality
The surface finish quality of the wax pattern is essential when dealing with these superalloys, as even the most advanced alloys will not perform at their best if the casting process introduces defects. A smooth, uniform surface on the wax pattern helps ensure that the molten superalloy fills the mold properly, reducing the likelihood of defects such as shrinkage, miscasting, or poor surface texture.
Post-Processes Comparison
Once the wax pattern is created, it is subjected to several post-processes, including shell building, mold curing, and casting. The quality of the initial wax pattern directly influences the outcome of these subsequent steps.
Shell Removal and Heat Treatment: After the wax is melted, a ceramic shell is formed around the pattern. The mold is then heated to prepare it for the pouring of the superalloy. A smooth and uniform wax pattern ensures that the mold shell is free from cracks or imperfections, allowing for more consistent heat treatment. Heat treatment processes like annealing or solution heat treatment can influence the final microstructure of the casting, and a flawless wax pattern helps prevent heat-induced defects.
Machining and Surface Treatment: After casting, the superalloy component may undergo machining to achieve dimensional accuracy and surface smoothness. If the wax pattern has a rough or uneven surface, the casting will require more extensive machining to achieve the desired finish. Conversely, a well-formed wax pattern reduces the amount of post-casting machining required, improving efficiency and cost-effectiveness. The smoother the initial pattern, the fewer defects will be present in the final casting, reducing the need for extensive finishing processes. Surface finishing is a critical part of this process.
Inspection and Quality Control: High-quality wax patterns also improve post-casting inspection processes. Methods such as X-ray inspection, ultrasonic testing, and visual inspection detect internal and external defects in the castings. A defect-free wax pattern minimizes the chances of casting defects like voids, cracks, or porosity, which would otherwise necessitate rework or replacement of the parts. Material testing ensures compliance with specifications and guarantees part integrity.
The smoother and more precise wax pattern makes it easier to achieve the desired surface finish and dimensional tolerance in the final casting. This not only reduces costs but also improves the overall reliability of the casting, ensuring that it meets the stringent standards required for high-performance applications.
Testing for Dimensional Control
Dimensional superalloy component accuracy is verified through various testing methods, including destructive and non-destructive techniques. One of the most common methods for checking dimensional accuracy is using a Coordinate Measuring Machine (CMM). CMMs can measure a component's physical geometry by using a probe to contact the component's surface and compare the measurements to the CAD model. This ensures that the component is within the specified tolerances.
Non-destructive testing (NDT) techniques such as X-ray inspection, CT scanning, and ultrasonic testing are widely used to inspect cast components' internal and external quality. X-ray and CT scans help detect internal defects such as voids, cracks, and inclusions, which could affect the component's structural integrity. Ultrasonic testing, on the other hand, is used to identify internal flaws and measure wall thickness in castings.
3D scanning and laser scanning are also used for dimensional verification, especially for more complex geometries. These techniques allow manufacturers to capture detailed surface profiles of cast components and compare them to the design specifications, ensuring the casting is tolerable. These scanning technologies are highly effective at detecting subtle dimensional variations that could impact the component's fit and function.
Testing for dimensional control is integrated into quality control processes, ensuring that every component meets the strict requirements of the aerospace, defense, and power generation industries. This helps guarantee the reliability and performance of the parts throughout their lifespan.
Testing
The testing phase ensures that superalloy castings meet the necessary mechanical and material specifications. Various testing methods are employed to assess the quality of the wax patterns and the final castings.
Dimensional Accuracy and Surface Integrity Testing: The first test often performed on the wax pattern is dimensional verification. This is typically done using Coordinate Measuring Machines (CMM) and 3D scanning to ensure the pattern meets the required tolerances. A high-quality surface finish ensures that these tests reveal accurate measurements, reducing the chances of errors during the casting process.
Surface Roughness Testing: Profilometry is often used to measure the surface roughness of the wax pattern. A smooth, defect-free surface ensures the casting’s strength and performance. Surface roughness directly affects the material’s fatigue strength, corrosion resistance, and mechanical properties. Smooth wax patterns minimize the need for additional post-processing and help achieve the desired surface quality in the final casting.
Fatigue and Stress Testing: After the casting process, the component undergoes mechanical testing, including tensile, compression, and fatigue testing. The surface finish quality of the wax pattern plays a significant role in ensuring that the final casting can withstand mechanical stresses without failure. Components with rough surfaces or defects are more susceptible to fatigue, cracking, and wear, leading to failure in critical applications such as turbine blades and aerospace components.
Industry and Application
The importance of surface finish quality in wax patterns extends across numerous industries where superalloy components are used. Whether in aerospace, power generation, defense, or automotive manufacturing, ensuring a defect-free surface finish is crucial for producing reliable, high-performance parts. A smooth and accurate surface finish in the wax pattern directly influences the quality and performance of the final component, especially in high-stress and high-temperature environments.
Aerospace and Aviation
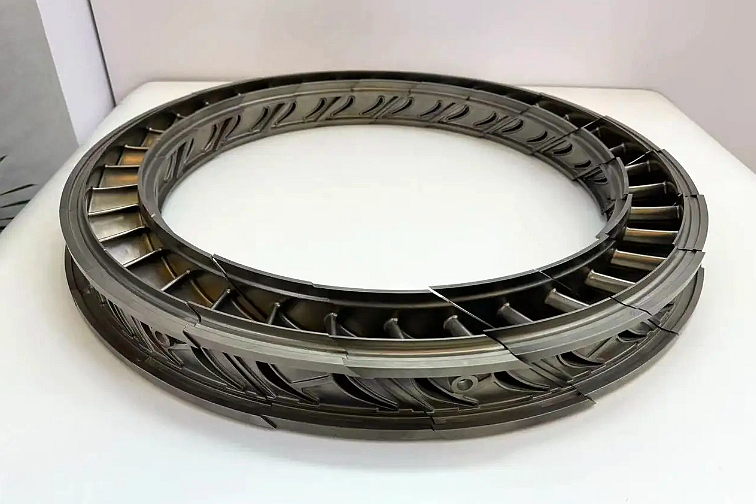
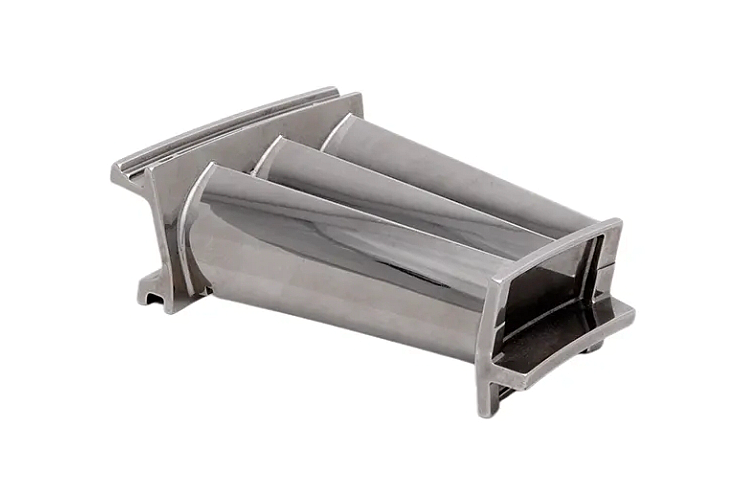
In the aerospace and aviation sector, superalloys manufacture turbine blades, compressor blades, and combustion chambers for jet engines. These components must endure extreme temperatures, pressures, and mechanical stresses, and their performance depends heavily on the quality of the wax patterns used in their casting. A defect-free wax pattern ensures that the final part has the required structural integrity, aerodynamic properties, and resistance to wear and corrosion. For example, superalloy jet engine components require precise surface finishes to maintain performance and reliability during flight operations.
Power Generation
In power generation, superalloy castings are critical in components like gas turbines, heat exchangers, and other high-temperature parts. The quality of wax patterns influences these components' efficiency and longevity. A smooth surface finish reduces the potential for corrosion and wear, ensuring that these parts perform reliably over extended periods in demanding environments. For example, superalloy heat exchanger parts require a high-quality surface finish to maintain thermal efficiency and resist degradation in high-pressure systems.
Defense and Military
Superalloy castings are used in missile components, armor-piercing projectiles, and other high-performance military applications in the defense and military sectors. The precision and surface quality of the wax patterns are critical in ensuring that these components can withstand the demanding environments in which they operate. Defect-free patterns contribute to the strength and reliability of the final parts, ensuring mission success. For example, superalloy missile segments are cast to high-quality standards to withstand the intense heat and stress of missile propulsion.
Automotive and Marine
Superalloy castings are also used in the automotive and marine industries, particularly in turbochargers, exhaust systems, and marine turbines, where wear resistance and high-temperature performance are paramount. A well-formed wax pattern ensures that these components can withstand harsh operating conditions, improving the performance and longevity of the vehicles or vessels they are used in. For example, superalloy exhaust system parts require a high-quality surface finish to resist heat-induced degradation and maintain structural integrity under high-stress conditions.
In all these industries, the quality of the wax pattern is a critical factor in ensuring that superalloy components meet the stringent standards for performance, safety, and reliability. A defect-free surface finish not only enhances the strength and durability of the final part but also ensures that these components can operate efficiently and effectively under extreme conditions.
FAQs
What is the role of surface finish quality in the investment casting of superalloys?
How does automated wax pressing contribute to a defect-free surface finish for wax patterns?
What are the common types of superalloys used in investment casting, and how does surface finish impact their performance?
What post-processing methods benefit from a smooth and defect-free wax pattern?
How are dimensional accuracy and surface integrity tested in superalloy castings after removing the wax pattern?


