Stress Resistance Evaluation of Directional Casting Components: Leveraging CT Imaging
Evaluating stress resistance in superalloy directional castings is critical to manufacturing components in high-performance applications such as aerospace and aviation, power generation, and military and defense. Stress resistance determines the ability of a material to withstand external forces and maintain structural integrity under extreme conditions, including high temperatures, mechanical loads, and corrosive environments. In these industries, failure of critical parts due to inadequate stress resistance can have catastrophic consequences. One of the most advanced methods for assessing stress resistance is CT imaging (Computed Tomography), a powerful tool that provides deep insight into the internal structure of superalloy parts.

CT scanning plays a crucial role in evaluating the stress resistance of superalloy components by detecting internal defects such as cracks, voids, and inclusions that could compromise the material’s ability to resist stress. This method is precious for critical components used in aerospace-grade metal fuel system modules and other high-stakes applications where even minor structural weaknesses can lead to catastrophic failures. By utilizing CT imaging, manufacturers can ensure that superalloy parts have the necessary stress resistance to perform reliably under demanding conditions.
What is Stress Resistance Evaluation Using CT Imaging?
Stress resistance evaluation refers to analyzing the internal structural integrity of materials, especially under stress, to predict how components will perform under operational conditions. This evaluation involves identifying areas of weakness that might lead to material failure, such as cracks, voids, or inclusions, which could significantly compromise the part’s performance.
CT (X-ray) Imaging, in the context of stress resistance evaluation, is a non-destructive testing (NDT) method that creates detailed 3D images of a component by scanning it with X-rays. It enables manufacturers to visualize internal features, flaws, and material density variations that might not be visible using traditional methods like visual inspection or X-ray. The CT scan allows a "virtual cross-section" of the part to be analyzed, providing insights into stress distribution and potential weak spots that could cause failure under stress.
In directional castings, which aim to create uniform grain structures to enhance mechanical properties, defect detection is crucial for ensuring the parts' long-term reliability. CT imaging plays a pivotal role by allowing engineers to examine the internal microstructure and detect inconsistencies, such as porosity or cracks, that could affect the casting’s ability to resist stresses. This non-invasive inspection method ensures that parts meet the standards for high-stress applications like turbine engines or aerospace components.
CT imaging provides higher precision in identifying defects that might be overlooked with other conventional testing methods. Material testing and failure analysis using CT imaging significantly contribute to ensuring the safety and longevity of critical superalloy parts.
The Function of CT Imaging in Stress Resistance Evaluation
The primary function of CT imaging in evaluating stress resistance is its ability to provide a detailed, three-dimensional view of a part's internal structure. This feature is essential in the context of high-performance components that are subjected to extreme mechanical and thermal stresses. By visualizing the internal architecture, CT imaging helps engineers identify potential failure points caused by irregularities such as air pockets, voids, and inclusions that could compromise the material’s ability to resist deformation or fracture. In the case of superalloy directional castings, such defects can be hidden within the material, making them challenging to detect with traditional inspection methods, thus highlighting the value of CT in ensuring component integrity.
For example, CT imaging can detect microcracks, small fissures, or inconsistencies in the grain structure of superalloy components that are not visible on the surface. Even though seemingly minor, such defects could propagate over time under repeated loading, leading to catastrophic failure. By identifying these flaws before the part is put into service, manufacturers can adjust the casting process or rework the part, thus enhancing the component’s overall stress resistance and reliability. In high-performance sectors such as aerospace and energy, where the failure of turbine blades or heat exchangers can have serious consequences, CT imaging provides critical insight into the structural health of castings.
CT imaging also provides a unique advantage in evaluating the stress distribution across the component. By simulating how the part would behave under real-world conditions, engineers can predict areas likely to experience high stresses, enabling them to optimize the design or modify the manufacturing process to prevent premature failure. This predictive capability makes CT imaging an invaluable tool in enhancing the performance and lifespan of high-stress parts, especially in industries like aerospace, where the durability and reliability of turbine components are paramount.
Superalloy Parts That Benefit from Stress Resistance Evaluation via CT Imaging
Stress resistance evaluation via CT (Computed Tomography) imaging is critical in ensuring that superalloy components can withstand the extreme stresses they face in high-performance applications. These parts must meet stringent standards for both mechanical and environmental resilience. The following superalloy parts particularly benefit from CT imaging-based stress resistance evaluation:
Superalloy Castings
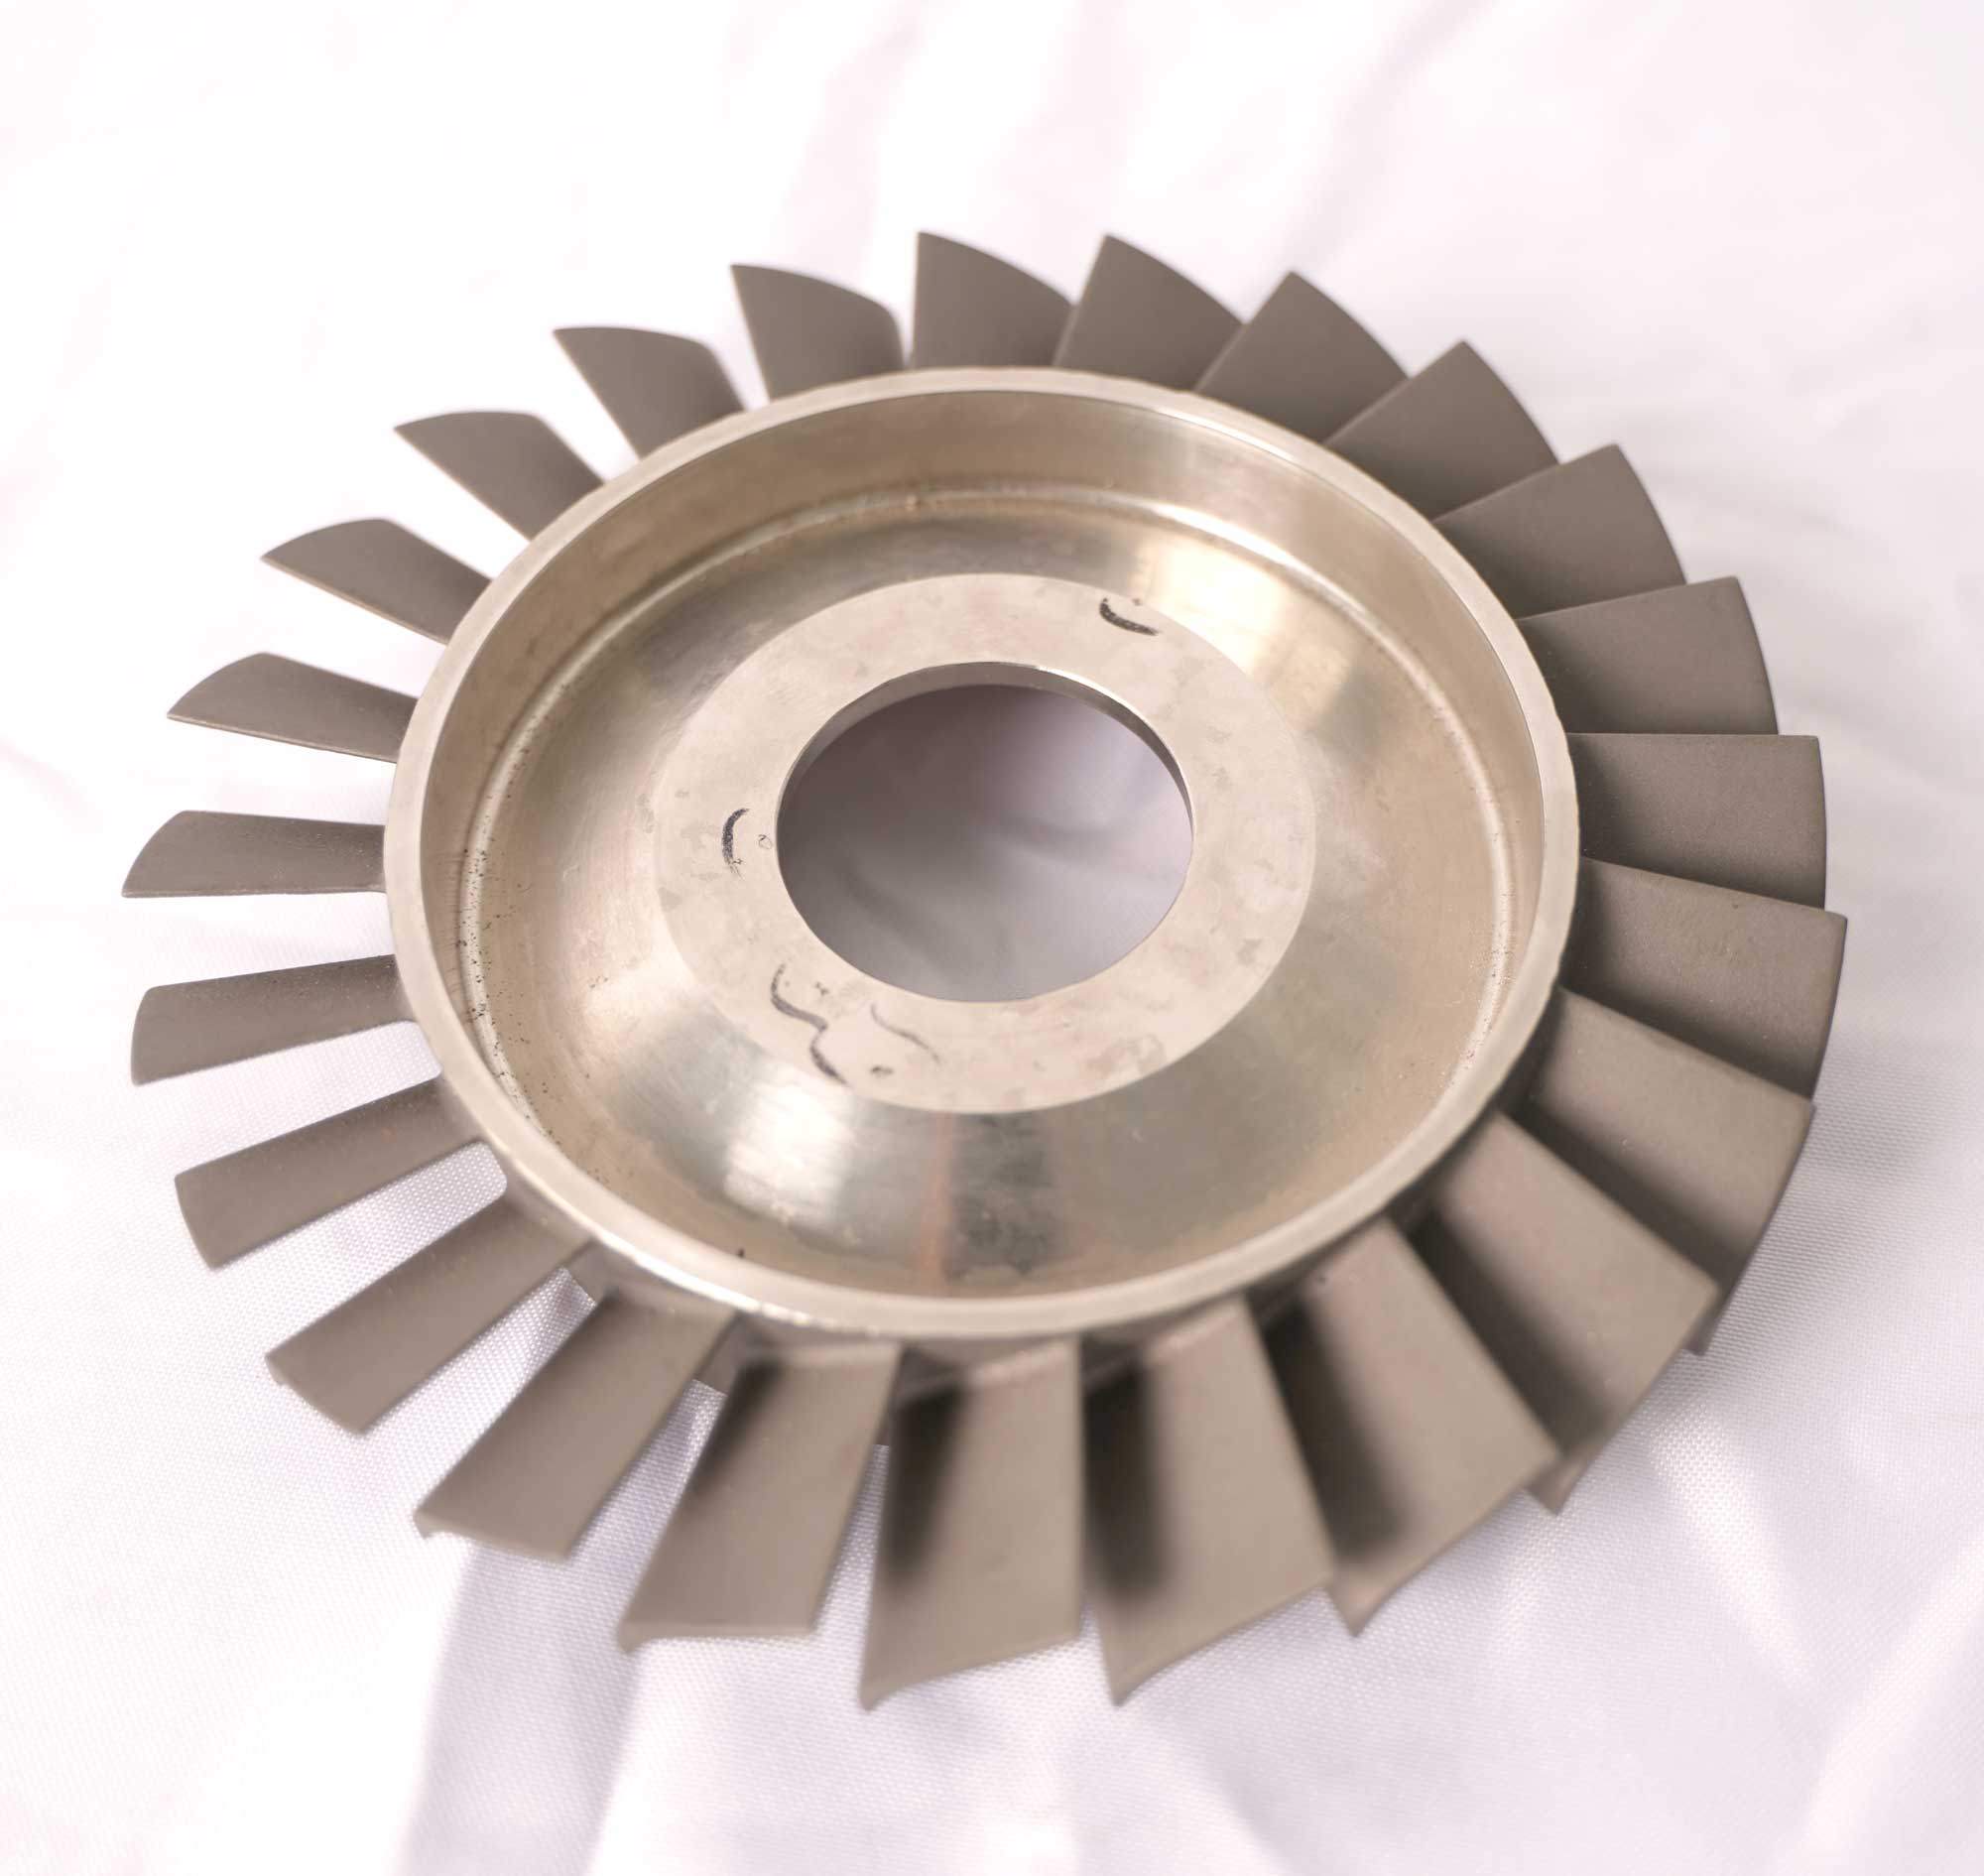
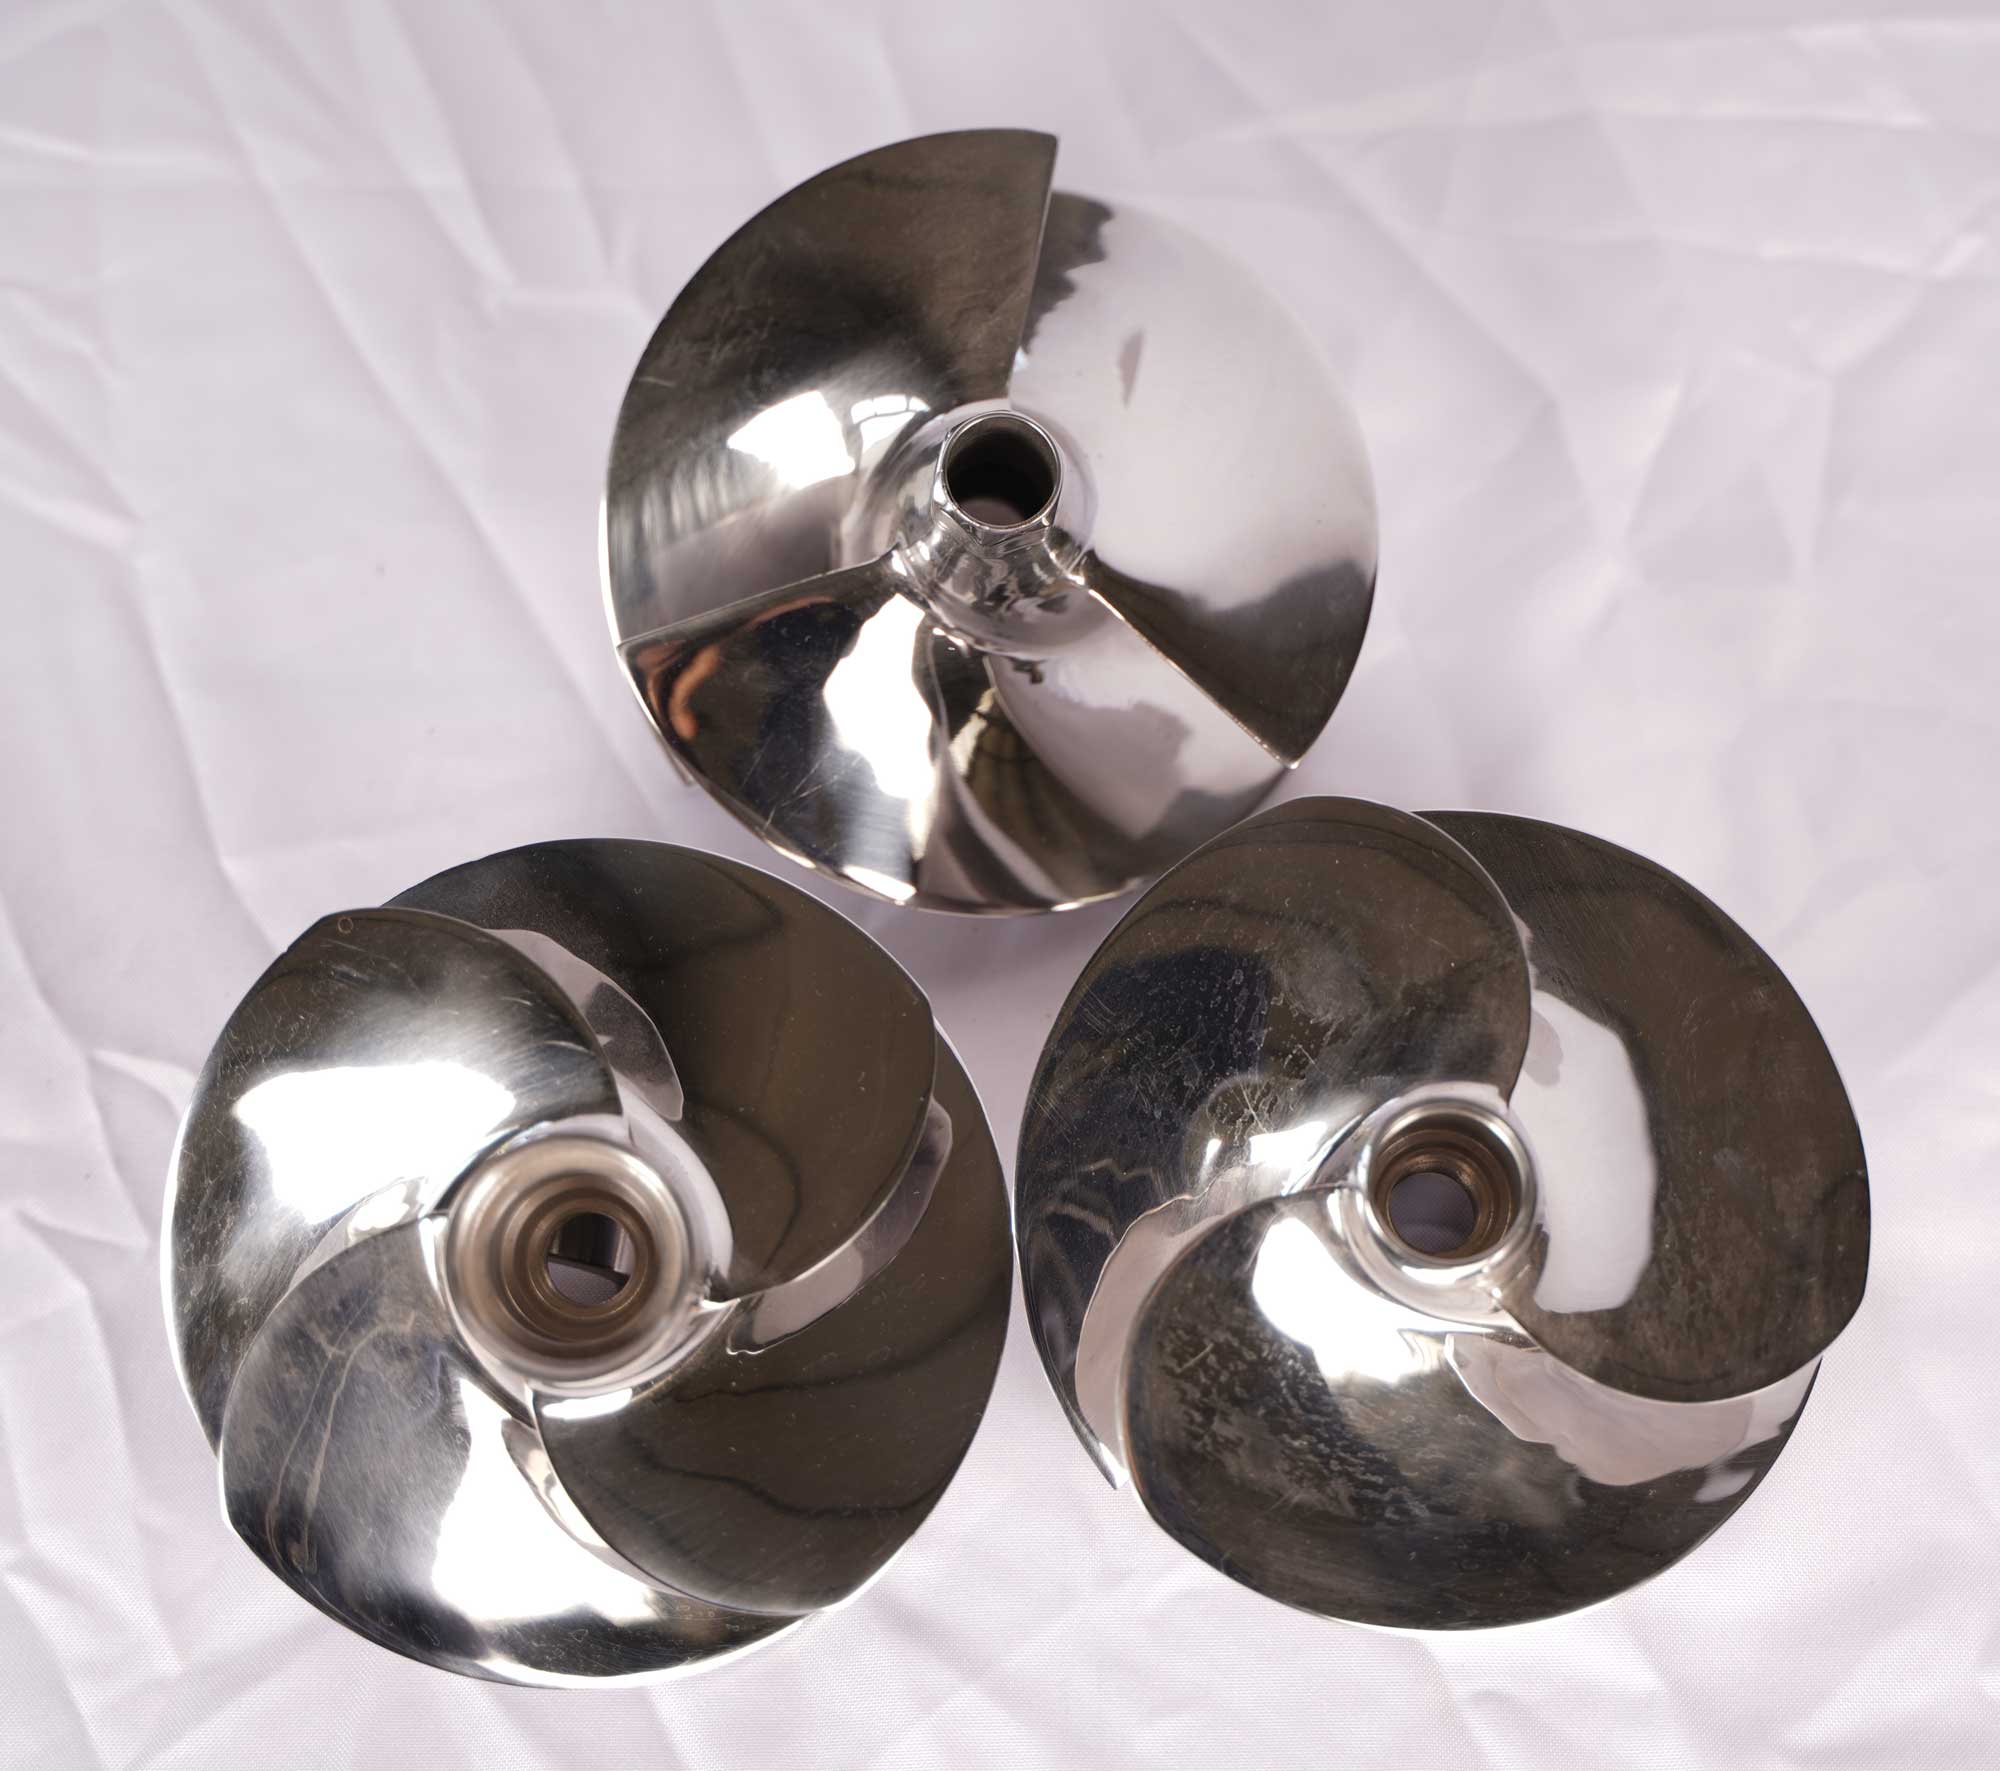
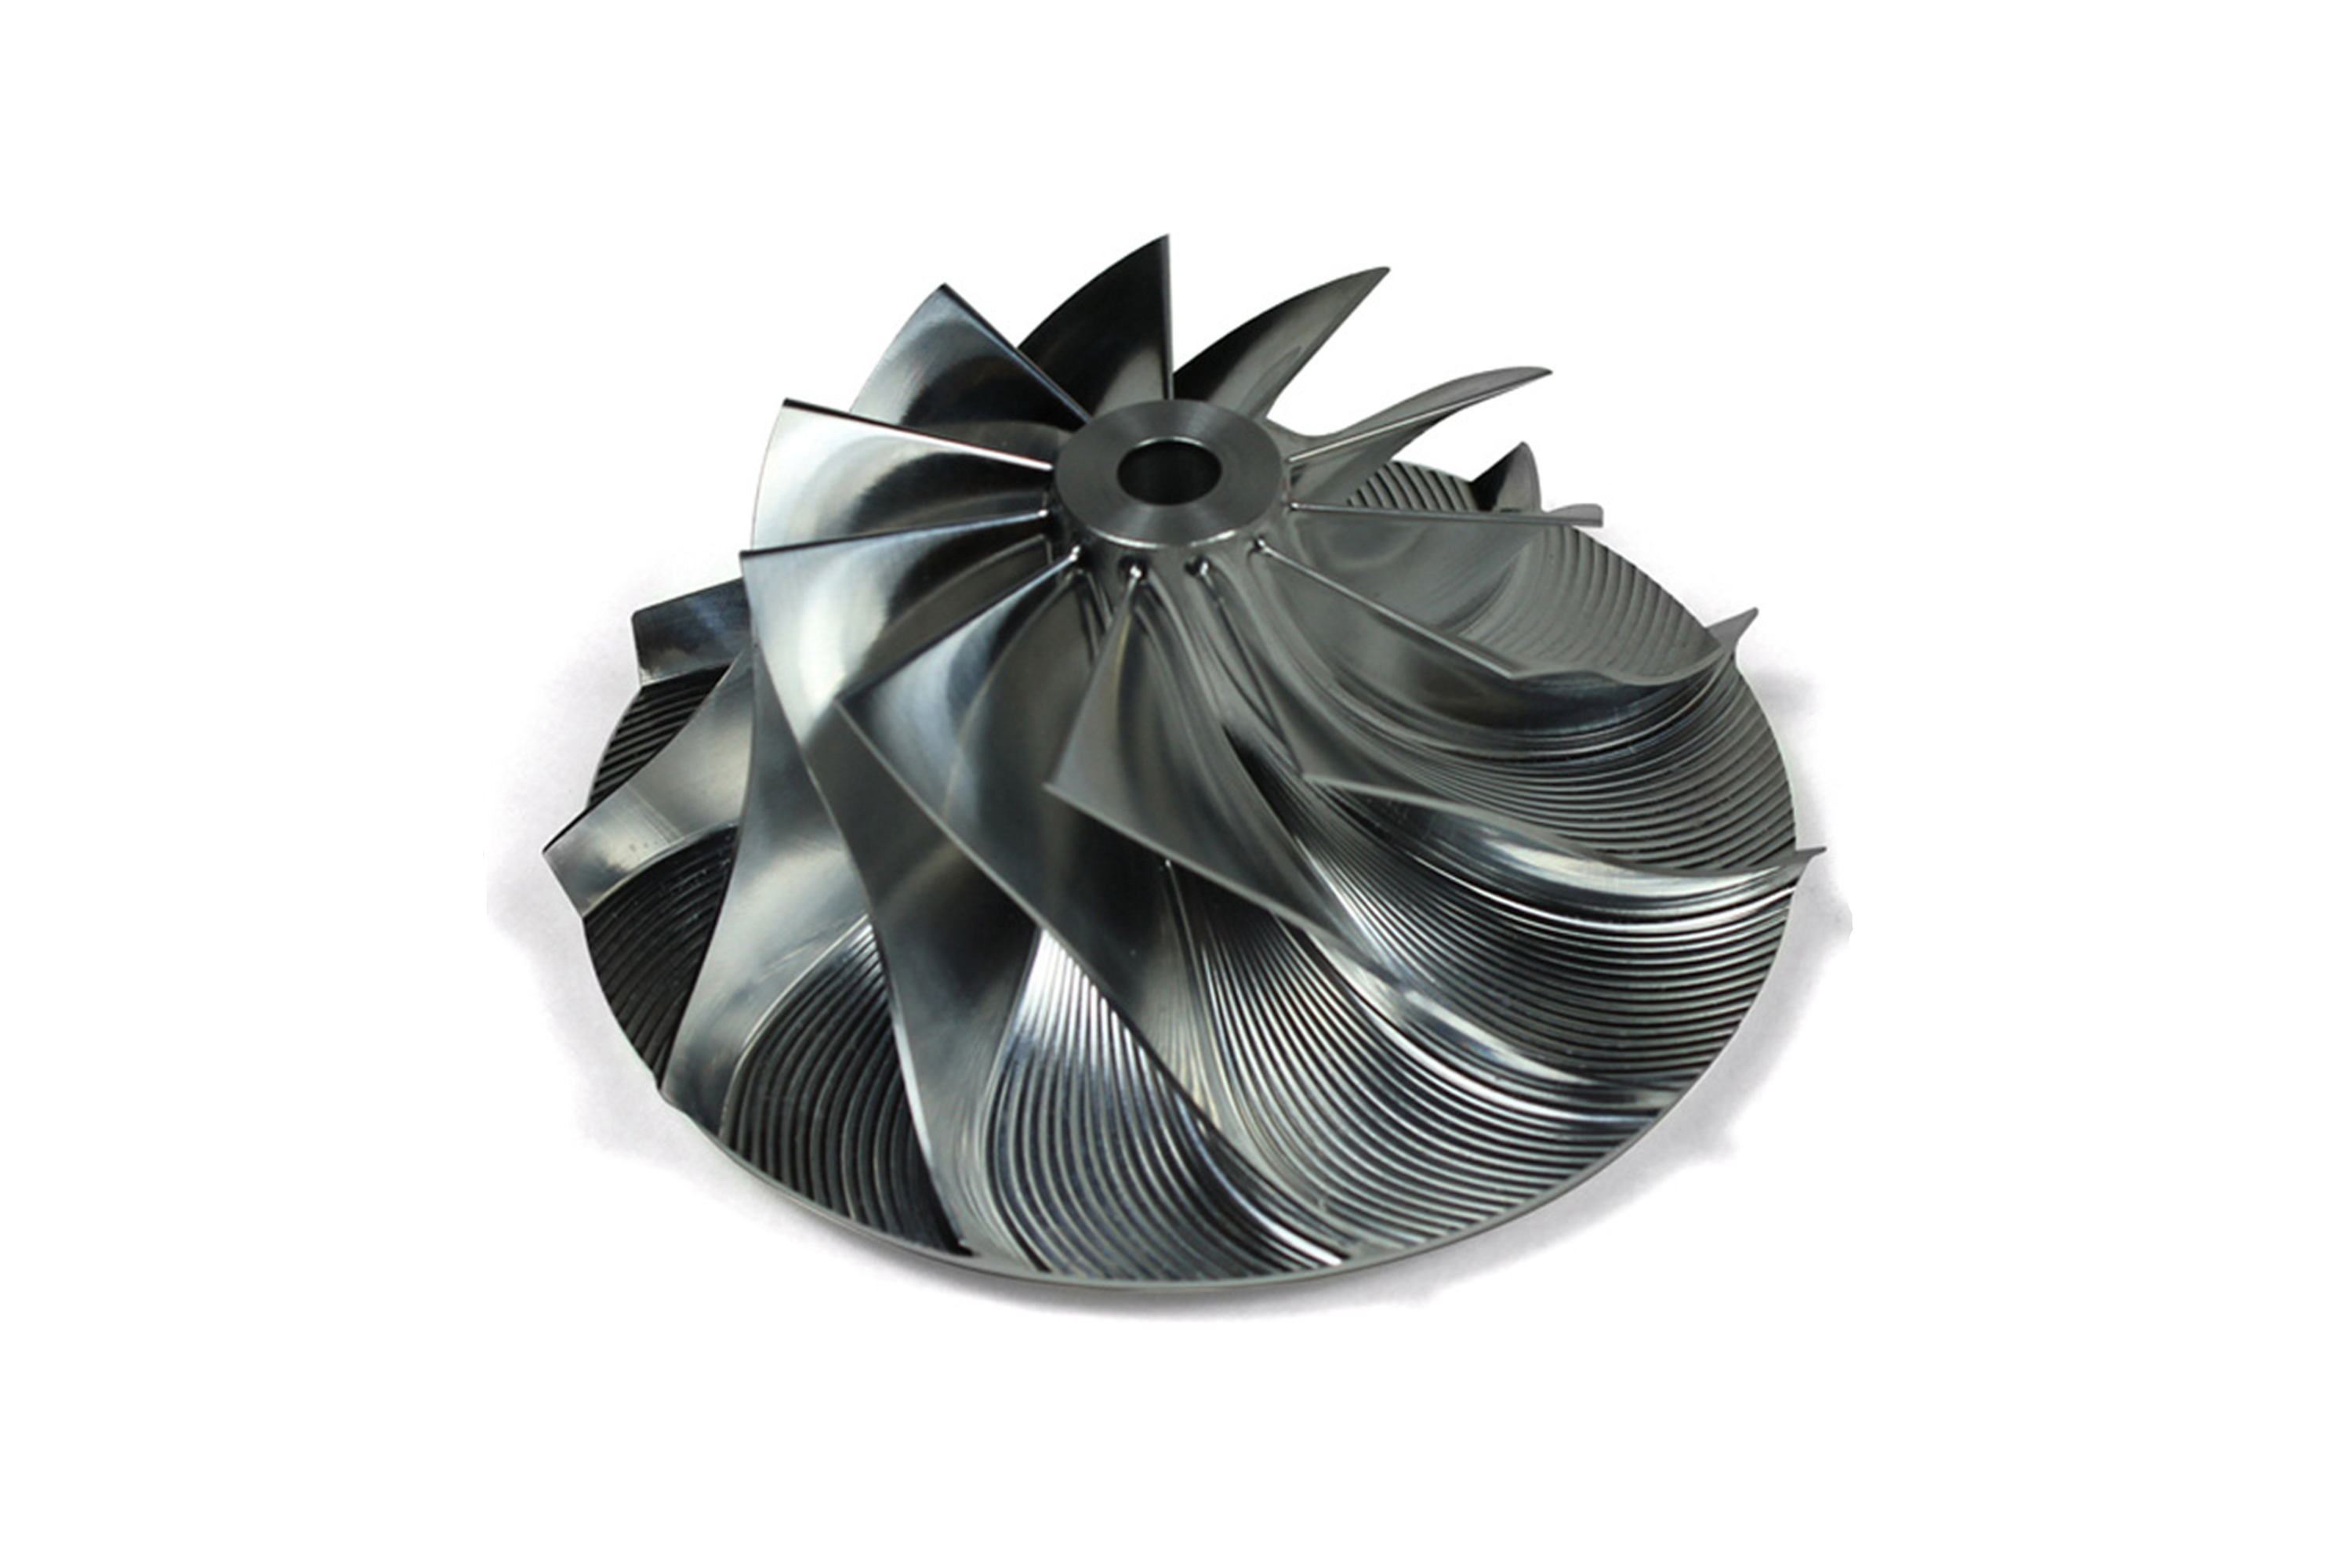
Superalloy castings, such as turbine blades, combustion chambers, and impellers, are essential in high-stress environments like aerospace and power generation. Directional castings are prone to defects like porosity, cracks, and inclusions, which can significantly impact their stress resistance and overall performance. CT imaging offers a detailed view of the internal microstructure, allowing engineers to detect flaws that may otherwise remain hidden. By identifying these defects early, manufacturers can ensure that the casting process is optimized for strength and durability under operational stress.
Superalloy Forgings
Forged superalloy parts must withstand extreme thermal and mechanical stresses, including turbine discs, impellers, and other critical components. CT imaging is essential for evaluating the internal structure of forged components to ensure they can endure operational conditions without failure. The technology helps identify internal fractures, voids, and inclusions that could compromise the part's structural integrity under pressure. This is especially important in industries like aerospace, where forged parts like turbine discs must perform reliably under extreme conditions.
CNC Machined Superalloy Parts
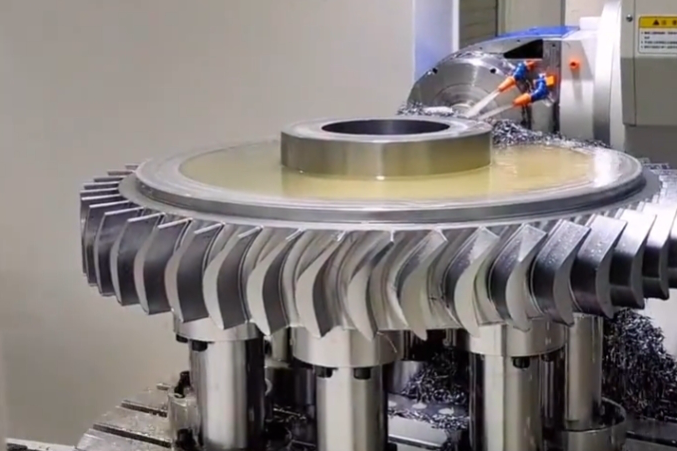
After superalloy castings are machined into their final form, superalloy CNC machining plays a critical role in shaping components for precise performance. However, machining can sometimes introduce microfractures or surface irregularities that affect the part's stress resistance. CT imaging provides a non-destructive means of assessing the internal stress distribution and identifying potential defects, ensuring that the final machined component maintains its strength and durability in demanding applications such as gas turbines and aerospace engines.
3D Printed Superalloy Parts
The increasing use of superalloy 3D printing in high-performance sectors presents unique challenges in ensuring part integrity. Additive manufacturing can introduce irregular material deposition, microcracks, and porosity, which may not be immediately visible. CT imaging is an essential tool for evaluating the internal integrity of 3D-printed superalloy parts. It helps detect defects early in production, ensuring that the parts meet the required strength and stress resistance for critical applications like aerospace and power generation.
By utilizing CT imaging for stress resistance evaluation, manufacturers can ensure that superalloy castings, forgings, CNC machined parts, and 3D printed components are free from defects that could compromise their performance in extreme environments. This technology provides the insights necessary to maintain high-performance superalloy parts' safety, reliability, and longevity.
Comparison with Other Evaluation Processes
While CT imaging is one of the most powerful tools for stress resistance evaluation, it is not the only method available. Several other techniques are used to assess the integrity of superalloy components, and each has advantages and limitations when compared to CT imaging.
Traditional Visual Inspection
Visual inspection is often the first step in quality control but is limited to detecting only surface defects. It cannot reveal internal issues like cracks or voids within the material. Unlike CT imaging, which can detect hidden flaws, visual inspection provides a relatively shallow view of a part's integrity. This makes it an initial check but insufficient to evaluate internal material properties comprehensively.
X-ray Inspection
Traditional X-ray inspection is often used instead of CT imaging for internal inspection. However, X-rays typically provide a two-dimensional view of a component, making detecting flaws in complex geometries more challenging. X-ray inspection can identify larger internal flaws, but CT imaging, with its ability to generate detailed three-dimensional scans, is far more effective at identifying internal defects and stress points in intricate superalloy parts.
Ultrasonic Testing
Ultrasonic testing uses sound waves to detect defects within materials. While it detects surface and near-surface flaws, it is less effective for evaluating internal stress distribution. Ultrasonic testing is excellent for surface-level issues but falls short regarding comprehensive internal analysis. CT imaging, in contrast, provides a more comprehensive view of the part’s internal structure and stress behavior, making it a better tool for stress resistance evaluation.
Metallographic Microscopy
Metallographic microscopy involves examining the microstructure of a material under a microscope to assess its grain structure and detect defects. While this method helps evaluate surface features and material composition, it cannot assess the part's internal structure in three dimensions. Metallographic microscopy provides insight into the material's microstructure, but CT imaging offers a more complete picture by visualizing the entire internal structure, making it indispensable for thorough integrity evaluation.
Tensile Testing
Tensile testing measures a material's response to a pulling force and is commonly used to determine strength and flexibility. However, it does not provide information about internal structural defects. Tensile testing is valuable for determining a material's strength but cannot identify hidden flaws or predict failure due to internal defects. CT imaging complements tensile testing by revealing these weaknesses, offering a more complete understanding of the material’s stress resistance and performance under real-world conditions.
Industries and Applications Benefiting from CT-Based Stress Resistance Evaluation
CT-based stress resistance evaluation plays a crucial role across several industries where superalloy components are subjected to extreme stresses. These industries require parts with superior strength and resistance to fatigue, cracking, and failure, making stress resistance evaluation critical to ensuring safety and operational efficiency.
Aerospace and Aviation
In the aerospace and aviation industry, components such as turbine blades, combustion chambers, and engine casings are subjected to high thermal and mechanical stresses. CT imaging helps ensure that these parts are free of internal defects and can withstand the rigors of flight. For example, superalloy turbine blades must be stress-resistant to handle the intense forces and thermal gradients during operation. CT-based stress resistance evaluation ensures their longevity and performance in critical applications.
Power Generation
Power plants operate efficiently on turbine discs, heat exchangers, and other high-stress components. Power generation systems demand parts that handle extreme thermal cycling and high pressures. Stress resistance evaluation using CT imaging ensures that these parts, such as superalloy heat exchanger parts, can endure the harsh conditions of energy production without failure, optimizing both safety and efficiency in power plants.
Oil and Gas
Components used in drilling, pipelines, and downhole tools in the oil and gas industry are subjected to extreme mechanical stresses and harsh environments. CT imaging helps assess the integrity of these parts, such as high-temperature alloy pump components, reducing the risk of failure and improving operational safety. Stress resistance evaluation ensures these components can withstand corrosion, fatigue, and high-pressure conditions in offshore and onshore operations.
Marine
In the marine industry, superalloy components used in naval applications, such as turbines, propulsion, and exhaust systems, must resist fatigue and cracking. CT imaging allows manufacturers to ensure that these critical parts, like superalloy turbine blades, are stress-resistant and reliable in harsh marine environments, where exposure to saltwater and high mechanical stresses can accelerate wear.
Military and Defense
Stress resistance evaluation is crucial for military-grade components like missile segments, armor plates, and turbine blades in the military and defense industry. These parts must endure extreme conditions, including high pressure, impacts, and thermal stresses. CT imaging helps ensure the strength and durability of these parts, such as superalloy armor system parts, which are critical for safety and performance in defense applications, including armored vehicles and missile systems.
Nuclear
In the nuclear industry, components such as reactor vessels and fuel rods must maintain structural integrity under high stress and radiation. CT imaging allows for thoroughly evaluating these parts, ensuring safety and reliability in nuclear power generation. For example, superalloy reactor vessel components are subjected to extreme pressures and temperatures. CT-based stress resistance evaluation helps ensure they meet the rigorous standards for nuclear safety.
CT-based stress resistance evaluation is essential in these industries to guarantee that superalloy components meet the required strength, fatigue resistance, and durability under extreme operational conditions. This technology ensures critical components' safety, reliability, and longevity across a range of high-performance applications.
FAQs
What are the benefits of using CT imaging for stress resistance evaluation in superalloy components?
How does CT imaging compare to traditional X-ray inspection for assessing internal defects?
What superalloy parts benefit the most from CT-based stress resistance evaluation?
How can CT imaging be used to optimize manufacturing processes in high-stress industries?
What other non-destructive testing methods can be combined with CT imaging for comprehensive evaluation of superalloy components?


