Reduce the Crack Propagation of Superalloy Directional Castings with Industrial CT
Crack propagation is a significant concern in producing superalloy directional castings, mainly when these parts are used in critical applications where reliability and performance are paramount. Superalloys, by design, are meant to withstand extreme temperatures, pressures, and mechanical stresses, but any internal defect, such as cracks or voids, can compromise the material's integrity, leading to failure. One of the most effective methods for identifying such defects early in the production process is using Industrial Computed Tomography (CT). This advanced technology is crucial in reducing the risk of crack propagation by enabling manufacturers to detect and analyze internal flaws before they can evolve into more severe issues.

The application of CT scanning in producing superalloy components ensures that even the most minor cracks are detected early. This is particularly important for parts used in high-stress environments, such as aerospace-grade metal fuel system modules and military and defense applications, where the failure of a component could have catastrophic consequences. By using CT scanning, manufacturers can ensure the integrity of superalloy parts, reducing the potential for crack propagation and improving the reliability of critical systems.
What is Industrial CT in Superalloy Directional Casting?
Industrial CT is a non-destructive testing method that uses X-rays to capture detailed cross-sectional images of an object. These 2D images are then reconstructed into a three-dimensional model, providing a comprehensive view of the internal structure of a component. In the case of superalloy directional castings, Industrial CT(GE) offers a non-invasive means of inspecting the cast parts for internal cracks, voids, or other structural imperfections that could lead to crack propagation.
The process begins with casting placed into the CT scanner, where X-ray beams are passed through the component. As the X-rays pass through the part, different materials within the component absorb them to varying degrees. The scanner collects the data and reconstructs it into a 3D digital image, which can be analyzed for signs of defects. This method offers high-resolution imaging ideal for detecting small cracks or flaws that might not be visible through traditional inspection methods.
In superalloy directional casting, defect detection is crucial for ensuring the integrity of turbine blades and other critical components. Industrial CT helps manufacturers detect these issues early, ensuring that parts meet the high standards required for demanding applications.
The Function of Industrial CT in Reducing Crack Propagation
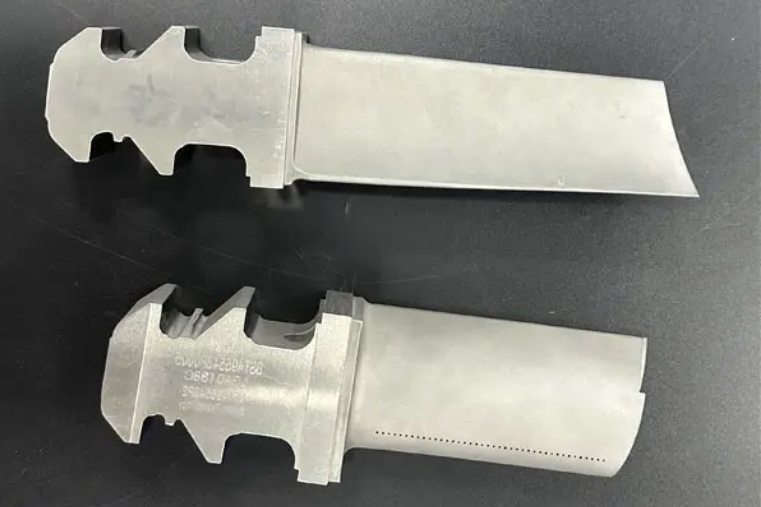
The main function of Industrial CT in superalloy directional castings is its ability to detect internal flaws that could propagate into larger cracks under stress. Superalloy components, particularly those used in high-stress applications such as turbine blades, exhaust systems, and heat exchangers, must be free from internal defects to perform reliably over time. Small cracks, voids, or inclusions in the material can significantly weaken the part, making it more susceptible to failure under operational conditions. For instance, the superalloy directional casting process is particularly critical in ensuring the structural integrity of parts like turbine blades, where internal defects can directly affect performance.
Industrial CT technology provides precision and detail that other inspection methods often cannot match. By identifying potential weak points before the component is subjected to further processing or use, manufacturers can take corrective actions to prevent the growth of cracks. This might involve adjusting the casting process to reduce the likelihood of defects or reworking the part to remove any internal issues. Additionally, Industrial CT is vital in monitoring the microstructure refinement through vacuum heat treatment, ensuring that internal inconsistencies do not compromise the final product.
One of the key advantages of using Industrial CT is that it enables manufacturers to inspect the entire 3D structure of the part. This holistic view of the component allows for a more thorough analysis of potential weaknesses that may be missed by traditional inspection methods, which often rely on 2D imaging or surface-level inspections. By identifying and addressing defects early, the risk of crack propagation is significantly reduced, ensuring the long-term reliability and safety of the part. This advanced inspection technology helps maintain high standards of part integrity in the aerospace, energy, and automotive industries, where even minor flaws can lead to catastrophic failure.
Superalloy Parts That Benefit from Industrial CT
Industrial CT (Computed Tomography) is a powerful tool for inspecting superalloy parts, particularly those used in high-performance applications. This non-destructive testing method is essential for detecting internal flaws that could compromise critical components' quality, durability, and safety. Here are some key superalloy parts that benefit from Industrial CT inspection:
Superalloy Castings
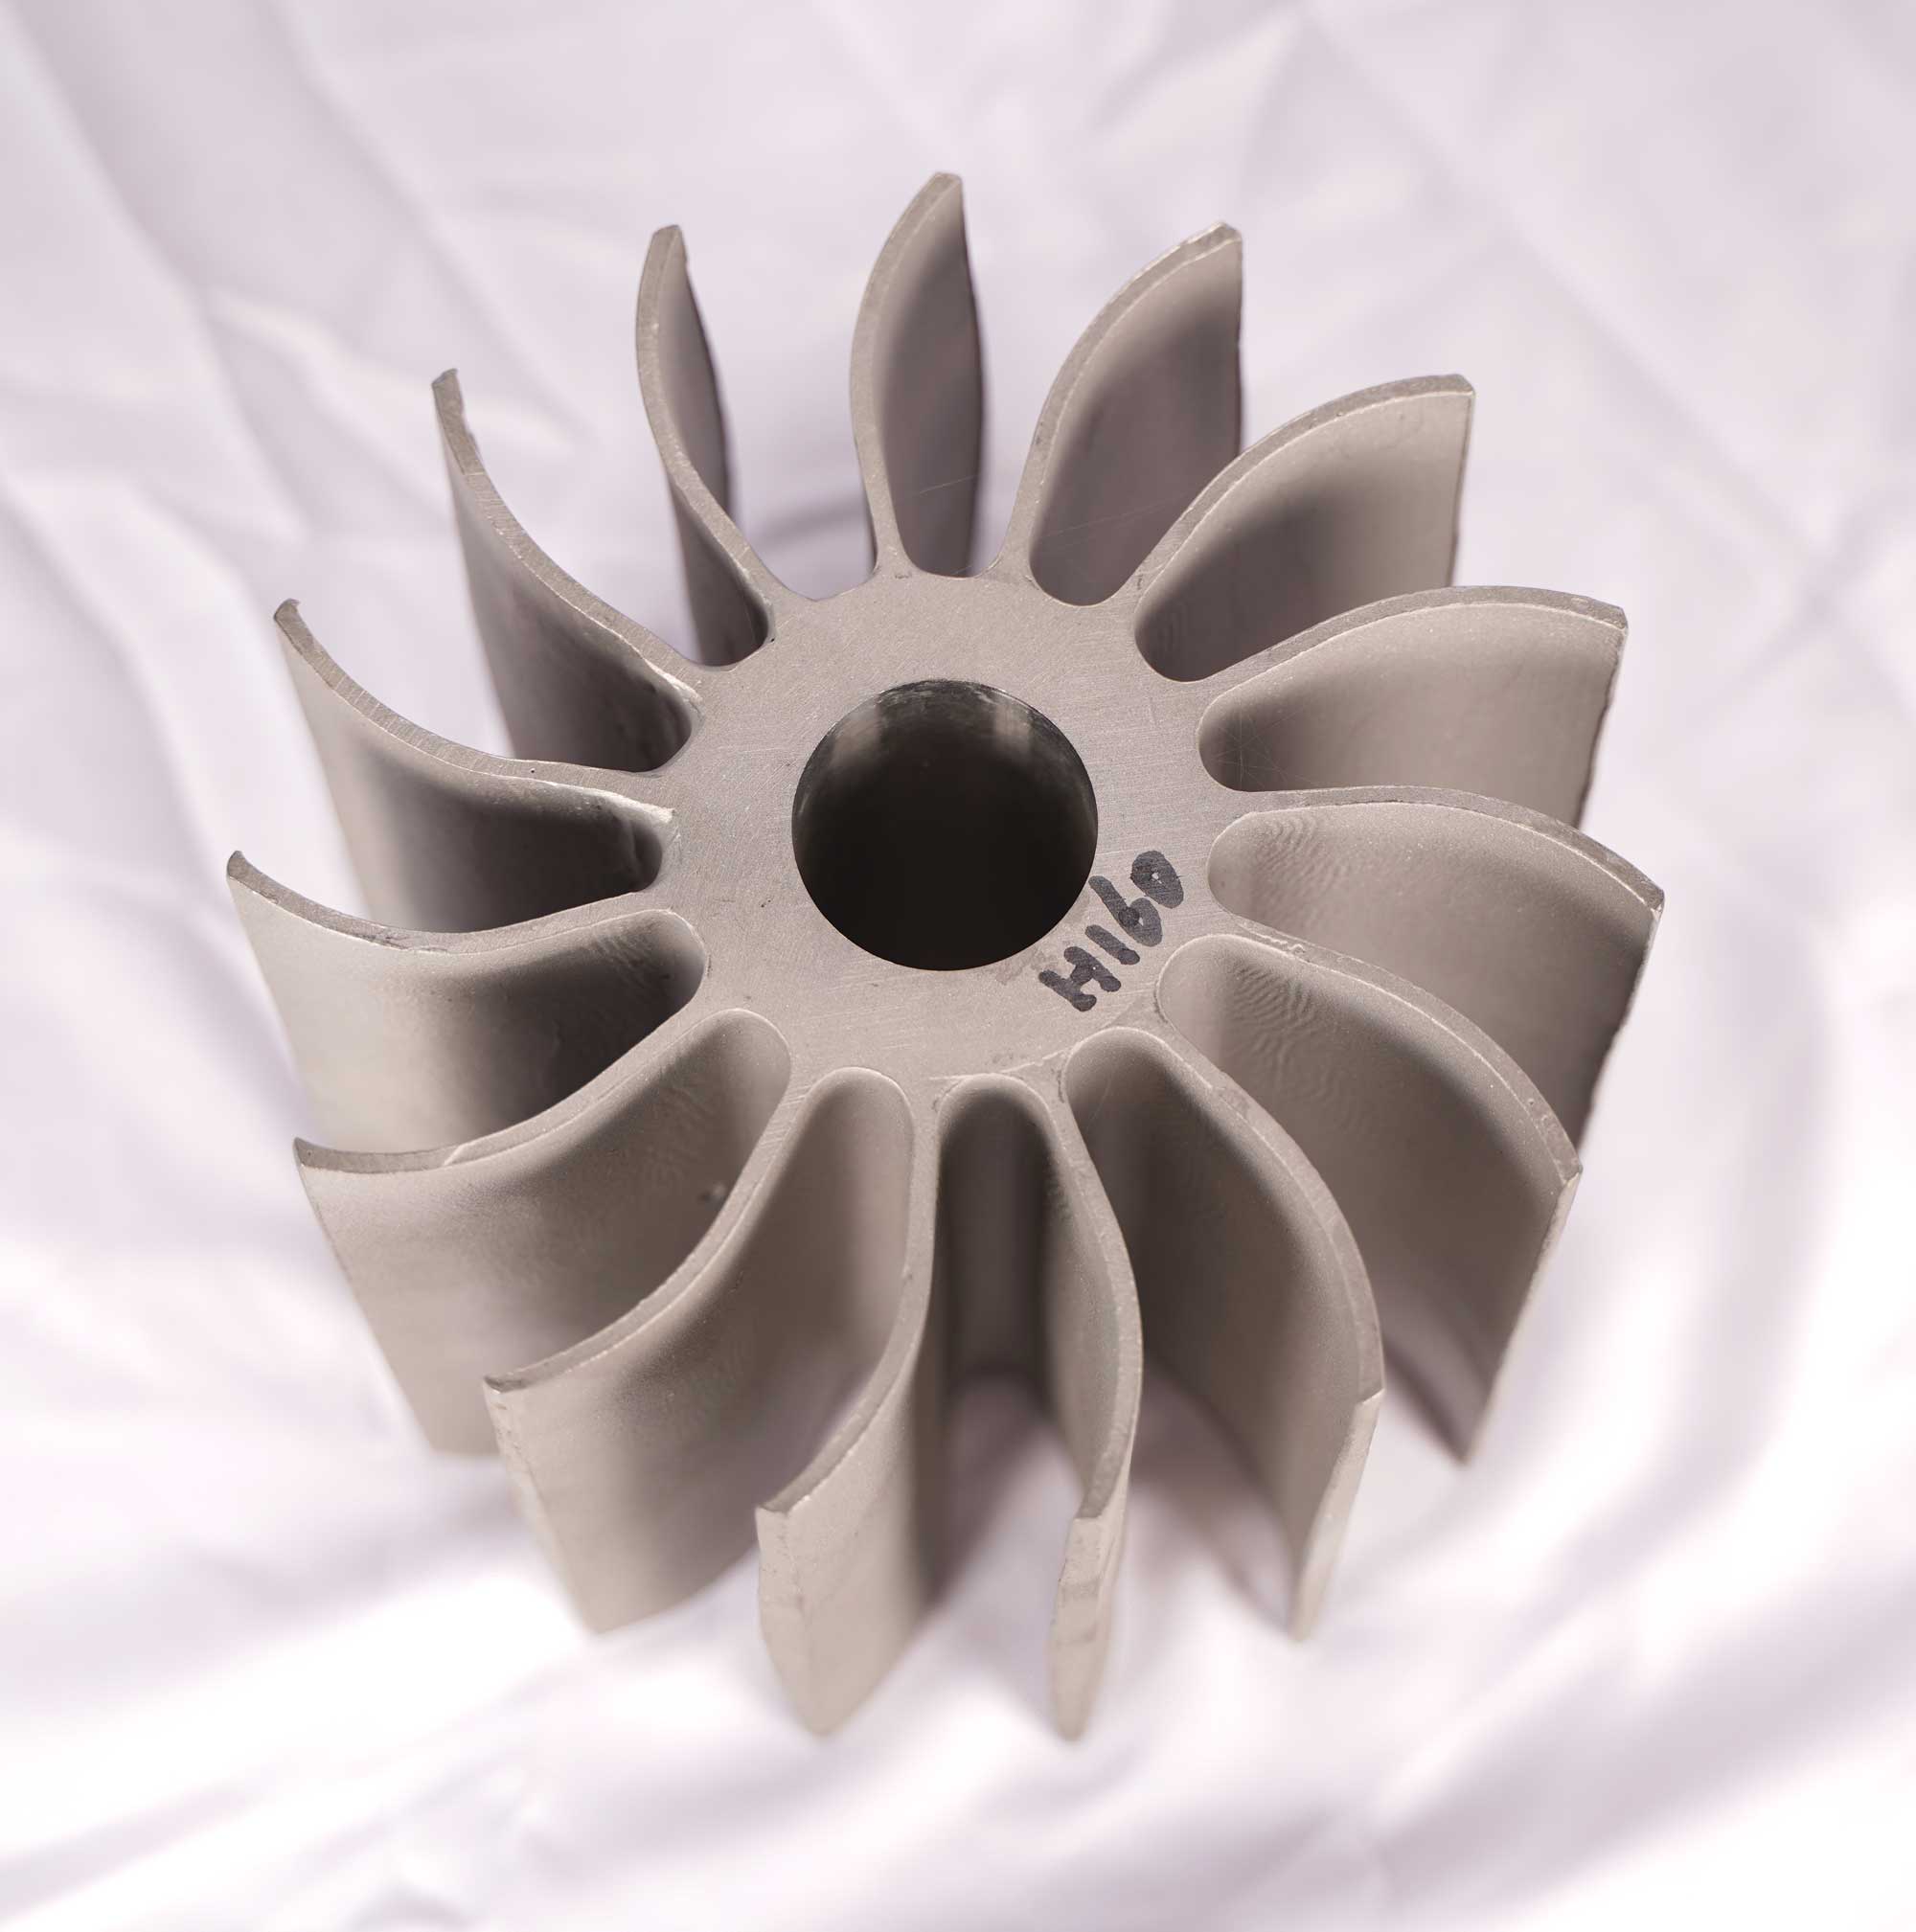
Superalloy castings, especially directional castings, are vulnerable to defects like microcracks, porosity, and shrinkage voids. Superalloy directional casting benefits significantly from Industrial CT, which enables a detailed inspection of the internal structure of the castings. By identifying defects early in the production process, manufacturers can make necessary adjustments to enhance the final product's strength, durability, and resistance to crack propagation. This ensures that the castings meet stringent performance requirements in aerospace and power generation industries.
Superalloy Forgings
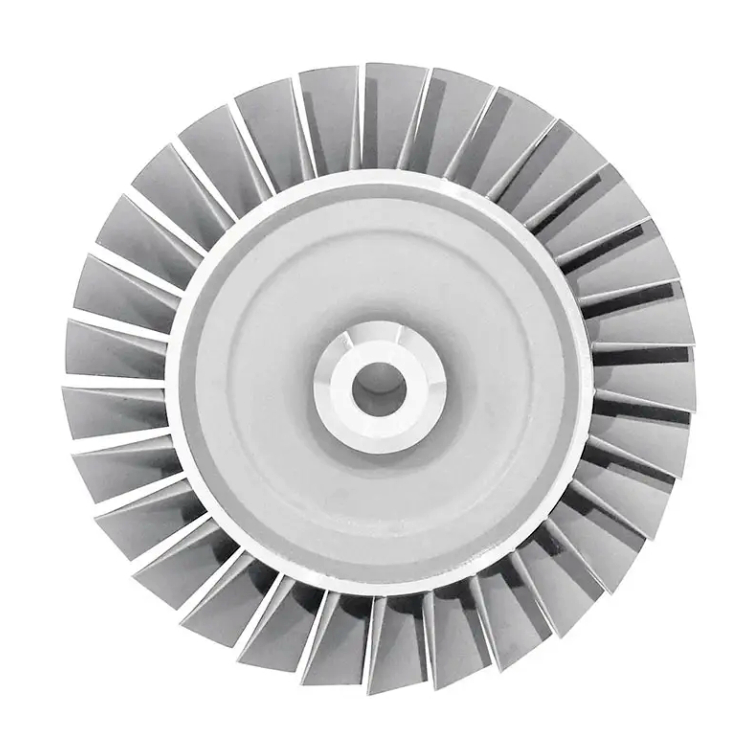
Forged superalloy parts, including turbine discs and impellers, experience extreme stresses during the forging and operational stages. Industrial CT scanning is essential for detecting internal flaws that may have occurred during the forging process. It can identify non-metallic inclusions, cracks, or voids that could lead to material failure under operational stress. For parts like turbine discs, critical in power generation and aerospace applications, ensuring internal integrity is vital for safety and performance.
CNC Machined Superalloy Parts
After machining superalloy castings into their final form, they must thoroughly inspect them to confirm internal integrity. Superalloy CNC machining can sometimes introduce undetected stress concentrations or surface defects. Industrial CT offers a more comprehensive assessment, identifying internal defects or microcracks that may compromise the part's performance. This is especially important for components used in high-stress applications such as gas turbines or aerospace engines.
3D Printed Superalloy Parts
As superalloy 3D printing becomes more common in manufacturing high-performance components, especially in aerospace, ensuring the internal quality of 3D printed parts is crucial. The additive manufacturing process can sometimes lead to internal defects due to inconsistent material deposition or other factors. Industrial CT is an excellent tool for detecting these internal flaws, ensuring the parts meet the same rigorous standards as traditionally manufactured superalloy castings or forged components. This level of inspection ensures the reliability and safety of 3D-printed superalloy parts in demanding industries.
Manufacturers can detect and correct any internal defects by utilizing Industrial CT to inspect these superalloy components, ensuring the parts are safe, durable, and high-performing in critical applications.
Comparison with Other Inspection Processes
While Industrial CT is highly effective in detecting internal defects and reducing the risk of crack propagation, it is essential to understand how it compares with other inspection processes commonly used in superalloy parts manufacturing.
X-ray Inspection
X-ray inspection is one of materials science's most common non-destructive testing methods. However, traditional X-ray techniques often provide only 2D images, making detecting complex internal defects challenging. In contrast, Industrial CT generates 3D images, offering a more comprehensive and detailed view of the internal structure of the part. This makes Industrial CT far more effective for detecting microcracks, voids, and other flaws that may not be visible in a single 2D X-ray image. In addition, X-ray inspection still plays a vital role in detecting surface or more significant internal defects, but Industrial CT’s ability to visualize detailed internal geometries is unmatched.
Metallographic Microscopy
Metallographic microscopy involves examining a material’s microstructure using optical or electron microscopy. While this method provides valuable information about the material’s properties, it typically requires the part to be sectioned or polished, which can be time-consuming and destructive. Metallographic microscopy allows for high magnification, but its limitations in 3D visualization make it challenging to analyze complex geometries. Industrial CT, on the other hand, is non-destructive, allowing for examining the entire part without the need for sectioning. Additionally, Industrial CT provides a 3D view of the part, which is impossible with traditional microscopy techniques.
Ultrasonic Testing
Ultrasonic testing uses sound waves to detect internal defects in materials. While it is effective for detecting certain types of flaws, it is less effective for inspecting complex geometries or for accurately locating minor defects in certain materials. Industrial CT, with its ability to generate high-resolution 3D images, is often superior for detecting small cracks and internal defects in superalloy parts. Ultrasonic testing may still be ideal for fatigue and mass optimization, but for comprehensive internal analysis, Industrial CT proves more advantageous.
Tensile Testing
Tensile testing is used to measure the strength of a material by applying a pulling force until the material breaks. While this can provide helpful information about the material’s mechanical properties, it cannot detect internal cracks or flaws before they lead to failure. Tensile testing is valuable for determining overall material strength but lacks the preventative capabilities of Industrial CT. The ability to detect defects long before the part is subjected to any stress or failure makes Industrial CT a proactive tool for preventing issues like crack propagation, which tensile testing cannot assess.
Traditional Visual Inspection
Visual inspection is often used as a first step in quality control, but it is limited in its ability to detect internal flaws. Even the most skilled inspectors may miss small cracks or voids that could lead to crack propagation. Visual inspection is helpful for surface defects but cannot identify issues hidden within complex geometries. Industrial CT, with its ability to provide detailed 3D imaging, is far more effective at identifying hidden defects and ensuring the part's integrity, making it a vital step in the overall quality assurance process.
Industries and Applications Benefiting from Industrial CT in Superalloy Directional Castings
Industrial CT is crucial in industries where superalloy parts are used in high-stress and high-performance applications. This advanced inspection technology helps detect internal defects and ensures the structural integrity of complex components made from superalloys. Some of the critical industries and applications that benefit from this inspection method include:
Aerospace and Aviation
In the aerospace and aviation industry, superalloy parts such as turbine blades, combustion chambers, and impellers must withstand extreme temperatures and mechanical stresses. Industrial CT helps ensure that these parts are free from internal defects that could cause catastrophic failure in flight. For example, in manufacturing superalloy jet engine components, CT scanning can detect cracks, voids, and other flaws compromising engine performance or safety.
Power Generation
In power generation, components like turbine discs, heat exchangers, and gas turbines are critical for efficiently operating energy systems. Industrial CT ensures that these high-temperature alloy parts meet the rigorous standards for strength, durability, and crack resistance. For instance, industrial CT inspects superalloy heat exchanger parts, ensuring they are free from defects that could compromise thermal performance and lead to failure under high operational stresses.
Oil and Gas
The oil and gas industry relies heavily on equipment such as drilling components, pumps, and downhole tools, which must endure harsh, high-pressure environments. Industrial CT scanning plays a crucial role in detecting internal flaws that could compromise the reliability and safety of these parts. For example, high-temperature alloy pump components in the oil and gas sector benefit from industrial CT to ensure they meet safety and operational standards before deployment in challenging environments.
Marine
In the marine industry, components like jet engine parts, turbine blades, and exhaust systems must perform reliably under high stress and in corrosive environments. Industrial CT ensures the internal integrity of these parts before they are deployed in service. Components such as superalloy turbine blades are subject to extreme conditions, and industrial CT scanning helps identify hidden defects that could jeopardize their performance in critical applications.
Military and Defense
Superalloy components used in military and defense applications, such as missile segments and armor systems, are critical for safety and performance in high-stakes situations. Industrial CT is used to detect defects that could impair the functionality of these parts under combat or extreme conditions. Superalloy armor system parts, for example, must meet stringent integrity standards, and industrial CT ensures that they can withstand impacts and high-stress environments.
Nuclear
In the nuclear industry, reactor vessel components and other parts used in nuclear power generation require the highest level of integrity. Industrial CT ensures that these components meet the exacting standards for safety and reliability. Superalloy reactor vessel components are subject to high radiation, pressure, and temperature conditions, and industrial CT is vital in detecting internal flaws that could lead to failure in the nuclear power generation process.
Industrial CT is an indispensable tool for inspecting superalloy directional castings in these industries. It ensures that critical components are free from internal defects and can meet the demanding requirements of high-performance applications across various sectors.
FAQs
What are the key advantages of using Industrial CT over traditional X-ray inspection for superalloy directional castings?
How does Industrial CT improve the detection of microcracks in superalloy castings?
Can Industrial CT be used for all types of superalloy parts, including those manufactured by 3D printing?
What role does Industrial CT play in ensuring the structural integrity of turbine blades in aerospace applications?
How does the use of Industrial CT impact the overall quality control process in superalloy parts manufacturing?


