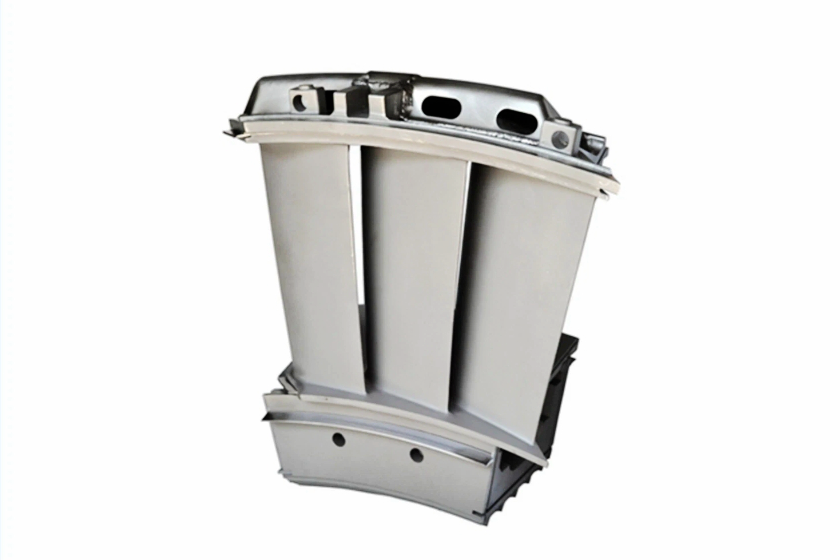
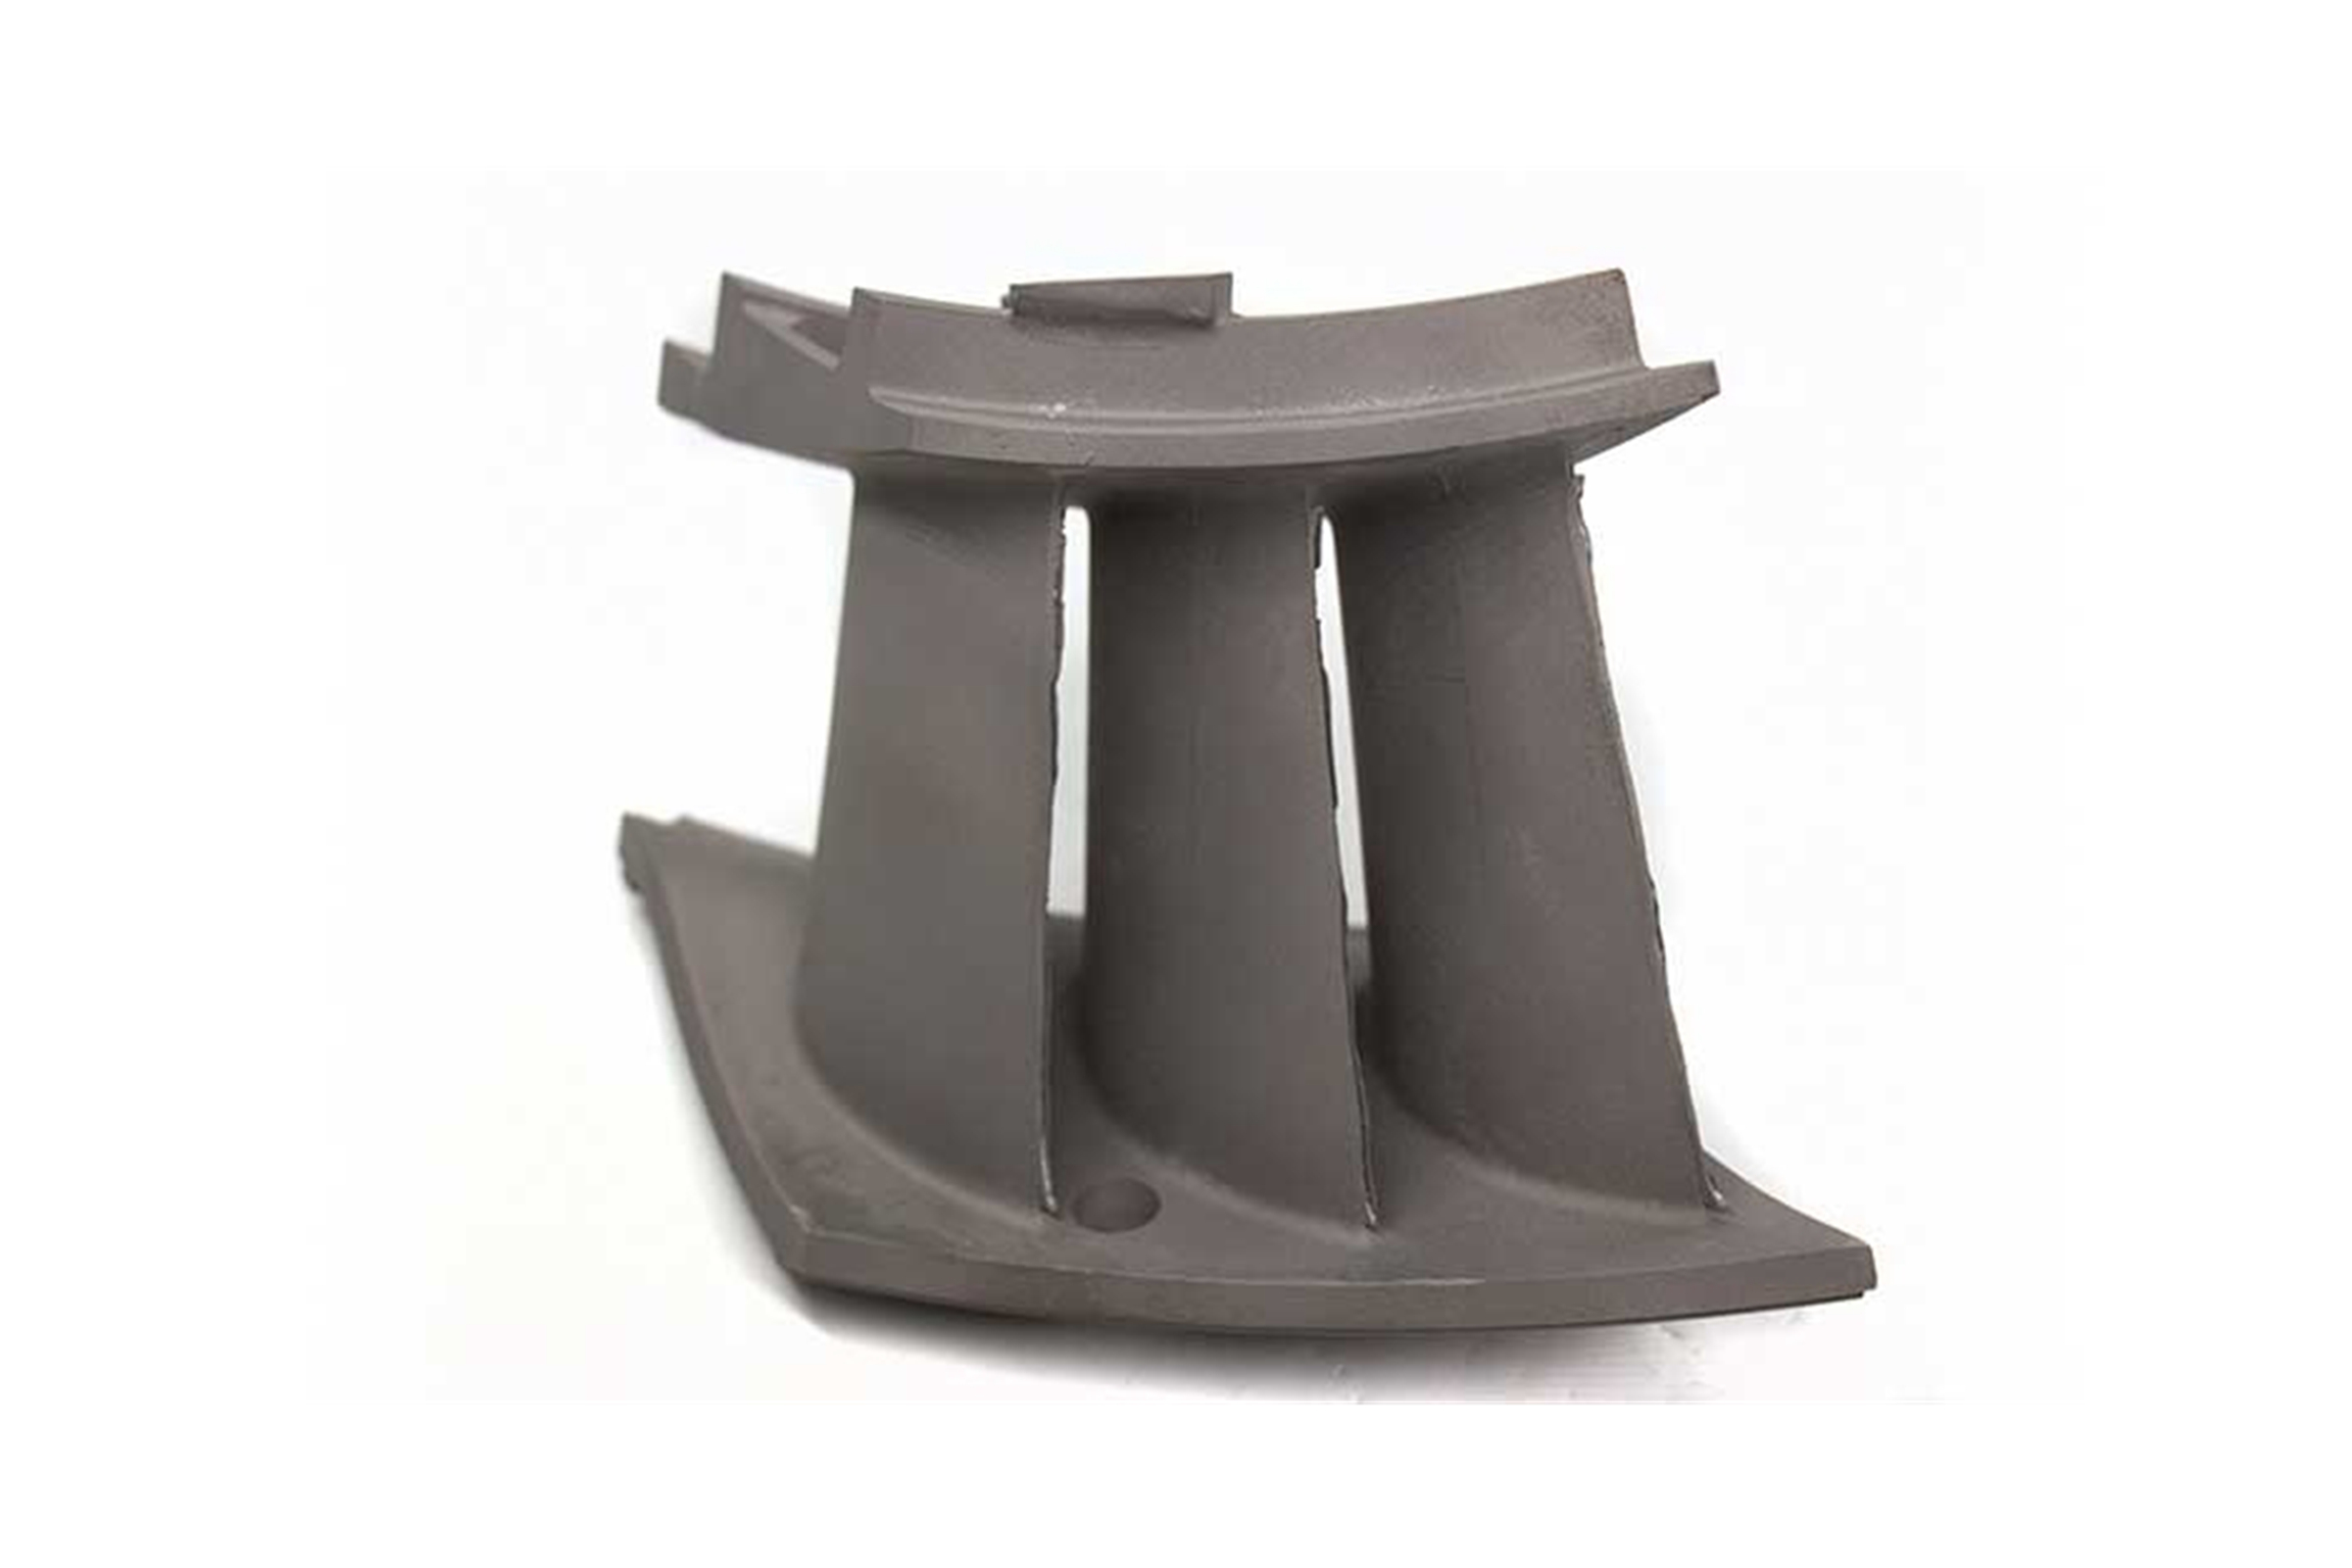
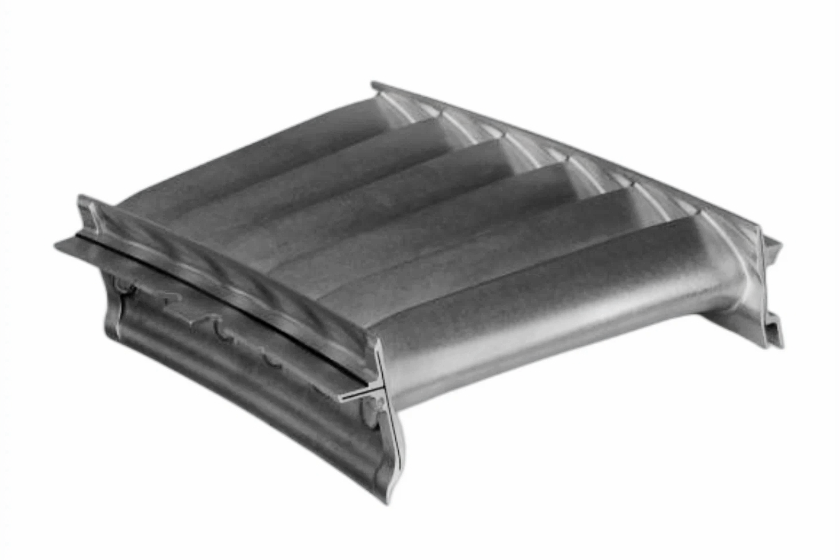
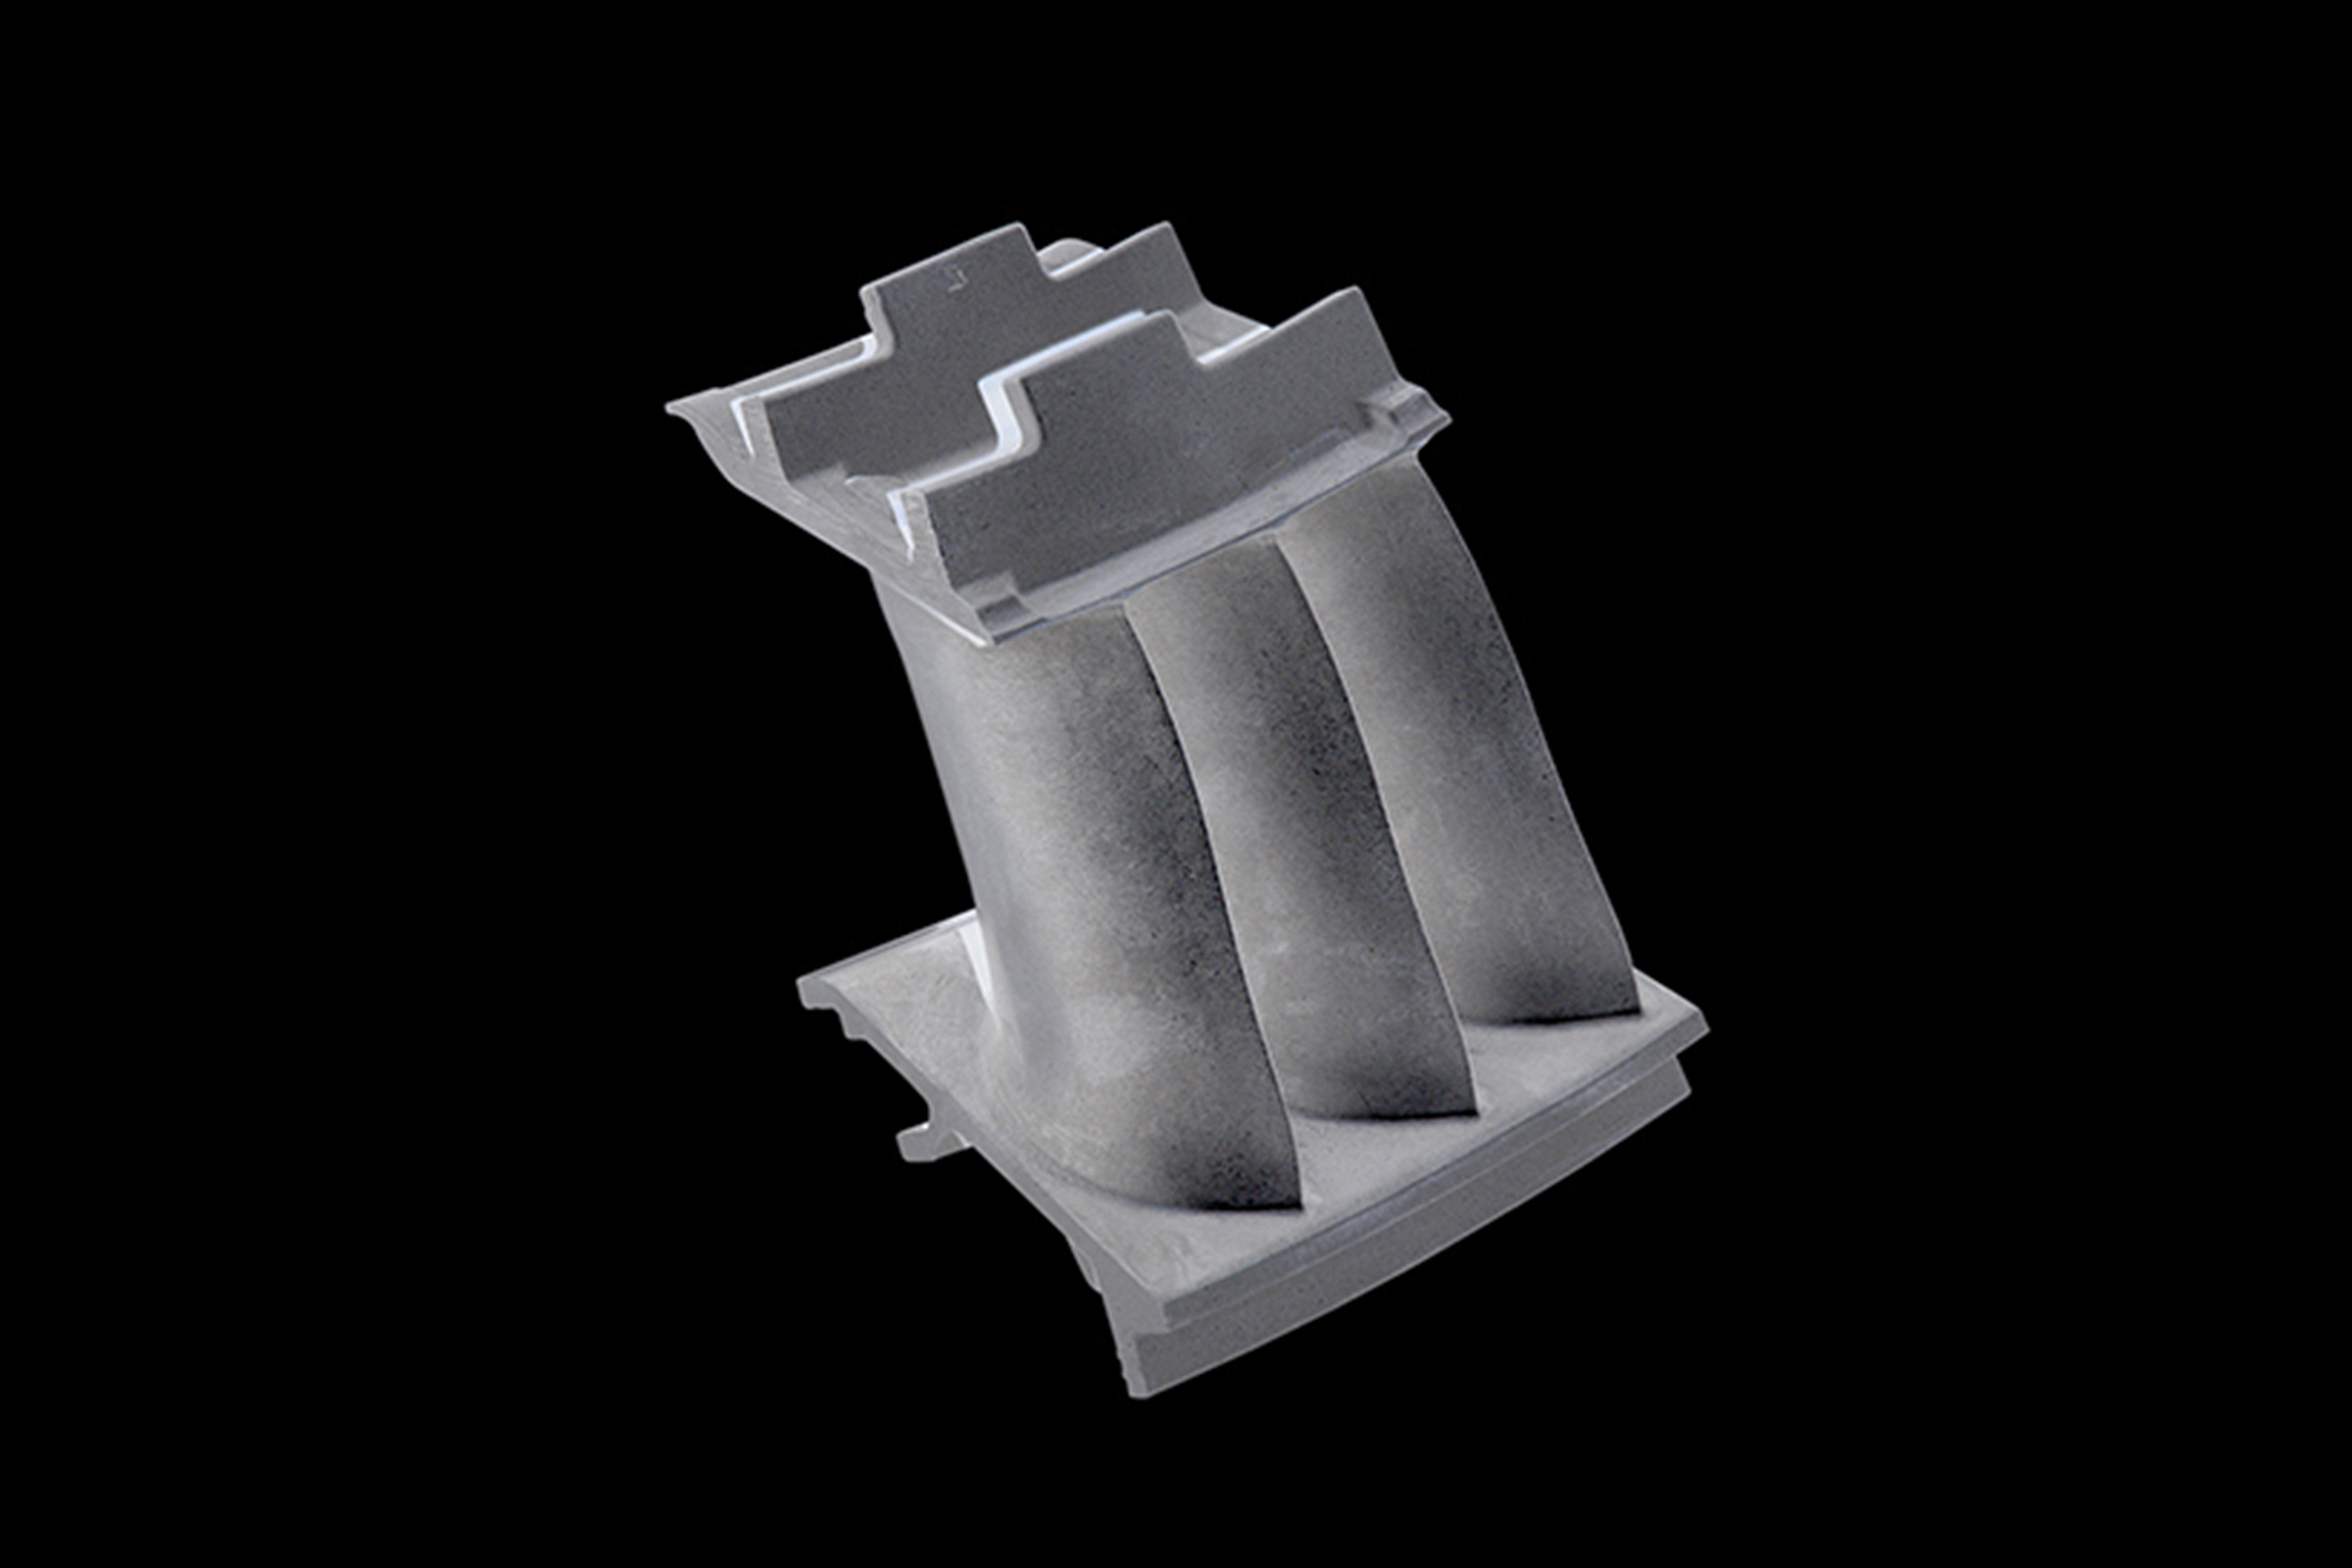
Quality Control in Turbine Vane Production: The Role of 3D Scanning Measuring Instruments
Quality control in turbine vane production is essential in ensuring these critical components' integrity, performance, and longevity. Turbine vanes are subjected to extreme conditions in gas turbines used in aerospace engines, power generation plants, and other high-performance applications. The main objective of quality control is to verify that each turbine vane meets precise dimensional specifications, surface quality standards, and structural integrity requirements before it is integrated into a turbine system.
In the past, quality control for turbine vanes heavily relied on traditional inspection methods such as visual checks, coordinate measuring machines (CMM), and manual gauging. However, with the advancement of technology, 3D scanning measuring instruments have emerged as a powerful tool for achieving highly accurate and efficient quality control.

3D scanning technology uses laser-based or structured light systems to capture detailed surface geometry data of turbine vanes. Unlike traditional contact methods, 3D scanning is a non-contact technique that generates a digital 3D model of the component. This model can assess the vane’s dimensional accuracy, detect surface defects, and compare the actual part geometry with the design specifications in real time. This advanced inspection method ensures that turbine vanes meet the rigorous performance and safety standards required in industries like military and defense and power generation.
The Function of 3D Scanning Measuring Instruments in Quality Control
The function of 3D scanning in turbine vane quality control is multifaceted. First and foremost, it ensures high levels of precision and accuracy in measurements. Turbine vanes must meet tight dimensional tolerances because even minor deviations in shape or size can lead to performance inefficiencies or catastrophic failure under operating conditions. 3D scanning provides highly detailed, accurate measurements of turbine vanes by capturing millions of data points across the entire surface of the part, creating a comprehensive digital replica. This is particularly crucial for parts produced using methods like single crystal casting, where maintaining the integrity of the part’s geometry is essential.
Additionally, 3D scanning is highly effective in detecting surface defects that may not be visible through conventional inspection methods. For example, small microcracks, surface roughness, or porosity issues can be identified using the high-resolution data obtained from 3D scanning. If left unchecked, these defects could compromise the strength, durability, and performance of turbine vanes, especially in high-stress environments like aerospace engines or power turbines. Early detection through 3D scanning ensures the parts meet safety and reliability standards.
The speed and efficiency of 3D scanning make it an invaluable tool in high-volume production settings. Traditional methods of inspection can be time-consuming and often require labor-intensive manual effort. In contrast, 3D scanning enables fast, automated measurements, which leads to quicker turnaround times and higher throughput in manufacturing processes. This is particularly beneficial in industries where time-to-market is critical, such as aerospace and power generation.
Another important function of 3D scanning is its ability to provide comprehensive data for analysis and decision-making. The 3D model generated by the scanner can be compared directly to the original CAD design, ensuring that the vane has been produced precisely as intended. If discrepancies are detected, manufacturers can decide whether the part needs rework, repair, or rejection. This integration of scanning technology with CNC machining enhances parts' precision and quality control before they enter the final stages of production.
Finally, 3D scanning can be integrated into a broader quality control system. It can provide a comprehensive quality assurance package with other inspection technologies, such as CMMs, X-ray inspection, and optical profilometry. Combined with other inspection methods, 3D scanning helps ensure the turbine vane meets all the criteria for high-performance applications, such as in the aerospace and power generation sectors.
Superalloy Parts Requiring 3D Scanning in Turbine Vane Production
The superalloy parts that benefit from 3D scanning in turbine vane production are the turbine vanes and other critical components fabricated from high-temperature-resistant alloys. Superalloys, such as Inconel, Rene alloys, and CMSX, are critical in gas turbines due to their exceptional ability to withstand high temperatures, oxidation, and mechanical stresses. These materials are essential in temperatures exceeding 1,000°C (1,832°F).
Superalloy Castings
Superalloy castings, such as single crystal and equiaxed turbine vanes, require precise quality control to ensure that no internal or external defects, such as porosity or microstructural issues, compromise the part. 3D scanning is an essential tool in the post-casting inspection process, enabling the detection of imperfections that could affect the vane's structural integrity. Single crystal casting, in particular, benefits from 3D scanning to preserve its delicate internal structures and ensure the accuracy of the casting's external features.
Forged Turbine Parts
The forging process introduces stresses into the material, making precise measurement and inspection even more crucial. 3D scanning is vital in verifying that forged turbine vanes meet the strict dimensional tolerances and surface finish requirements for high-performance operation. By using 3D scanning technology, manufacturers can quickly detect any geometric distortions introduced during the forging process, ensuring that the part will perform reliably under extreme conditions. Whether forged from Inconel or CMSX, forged turbine parts benefit from this precision.
CNC Machined Superalloy Parts
After CNC machining, turbine vanes must be meticulously inspected to verify that they conform to the design specifications. 3D scanning ensures that the final product matches the CAD model precisely, including critical features such as airfoil profiles and root geometries. This inspection step is vital to detect any deviations that may have occurred during machining, ensuring that the vane will perform optimally in demanding applications, such as gas turbines or aerospace engines.
3D Printed Superalloy Parts
As additive manufacturing (3D printing) becomes more prevalent in producing superalloy parts for aerospace and high-performance industries, 3D scanning is increasingly important in ensuring the dimensional accuracy of 3D printed turbine vanes. The 3D printing can sometimes introduce material inconsistencies or build layer variations that affect part accuracy. 3D scanning helps detect these deviations early in the process, allowing manufacturers to make adjustments as necessary and ensure the printed components meet required performance standards.
By employing 3D scanning across various stages of turbine vane production, manufacturers can ensure that every part, from casting to forging, machining, and 3D printing, meets the exacting specifications required for safe and efficient high-performance operation.
Comparison with Other Quality Control Methods
When comparing 3D scanning with traditional quality control methods, the most notable advantage of 3D scanning is its ability to capture complex geometries and surface features quickly and accurately. Unlike Coordinate Measuring Machines (CMM), which rely on physical probes that contact the part's surface, 3D scanning is a non-contact method, reducing the risk of damaging delicate components or altering the surface finish. This is especially beneficial for inspecting turbine vans or other fragile superalloy parts.
CMMs are effective for measuring basic geometric features like lengths, diameters, and depths, but they are less effective for inspecting complex, freeform surfaces like turbine vanes. CMM checking provides accurate measurements for simpler geometries. Still, it becomes slower and less efficient for intricate, curved surfaces, which is common in high-performance applications such as aerospace or energy sectors. In contrast, 3D scanning can capture detailed, high-resolution 3D surface data of complex parts in a fraction of the time. Additionally, 3D scanning can easily generate point clouds or mesh models that can be compared to CAD models for more comprehensive analysis, helping quickly identify dimensional deviations.
Regarding surface inspection, 3D scanning is also superior to visual inspection methods. While visual inspections can detect apparent defects, they are limited by the operator's skill and the lighting conditions. 3D scanning provides quantitative data on the surface condition, allowing for more reliable defect detection and reducing the risk of overlooking potential issues that might be missed during visual checks. This is especially critical in aerospace or turbine component manufacturing, where precision is paramount.
Regarding post-processing, traditional inspection methods such as X-ray inspection help detect internal defects, such as porosity or inclusions, but they do not provide surface-level data. While 3D scanning is not designed to detect internal voids or cracks, it complements other inspection techniques like X-ray by providing detailed surface geometry data that can be used to assess the overall quality of the part. Combining surface data from 3D scanning and internal quality checks from X-ray inspection ensures that the part meets dimensional and structural integrity requirements.
Industry and Application of 3D Scanning in Turbine Vane Quality Control
The aerospace industry is one of the primary sectors that benefit from 3D scanning in turbine vane production. Turbine vanes are critical components in jet engines, where high reliability and performance are paramount. A failure in a turbine vane can result in catastrophic consequences, making it essential that each vane meets the highest precision standards. 3D scanning helps aerospace manufacturers ensure that their turbine vanes meet stringent dimensional and surface requirements, preventing potential failures. This technology ensures that turbine vanes can perform reliably under extreme conditions, which is critical for commercial and military aircraft.
In the power generation industry, gas turbines generate electricity in power plants. These turbines operate under extremely high temperatures and pressures, making it essential for the turbine vanes to maintain their structural integrity over extended periods. 3D scanning gives power generation companies a reliable method to inspect turbine vans during manufacturing and maintenance phases, ensuring optimal turbine performance. It helps guarantee that components like turbine blades and vanes are defects-free and meet dimensional standards for efficient energy production.
The oil and gas industry also uses 3D scanning to produce turbine vanes in offshore drilling rigs and other high-performance applications. The harsh environments in which these turbines operate require the highest levels of precision and durability. 3D scanning helps ensure each turbine vane is defect-free and meets the strict material and dimensional standards necessary for these demanding conditions. For example, turbine vanes used in offshore gas extraction must withstand seawater corrosion, high pressures, and extreme temperatures.
In the military and defense sectors, turbine vans are critical components in jet engines for fighter jets, helicopters, and missiles. 3D scanning ensures that these high-performance components can withstand the extreme environments encountered during military operations. The accuracy and speed of 3D scanning make it an ideal tool for ensuring that turbine vanes are produced with the highest quality and performance, helping maintain operational readiness in high-stakes defense applications.
The marine industry also uses turbine vanes in propulsion systems for naval ships and offshore vessels. These turbine vanes must withstand high temperatures, seawater corrosion, and mechanical stresses. 3D scanning is crucial in ensuring that the turbine vanes meet the required standards for these demanding applications, ensuring that naval ships and offshore vessels remain reliable and efficient even in the harshest marine environments.
In all these industries, 3D scanning technology ensures that turbine vanes are manufactured to the highest standards, providing critical insights into each component's dimensional accuracy, surface finish, and overall quality. This technology plays a key role in minimizing the risk of component failure and ensuring reliable performance across high-stakes applications.
FAQs:
What are the key benefits of 3D scanning in turbine vane production quality control?
How does 3D scanning help detect surface defects in superalloy turbine vanes?
What superalloy parts benefit from 3D scanning during the manufacturing process?
How does 3D scanning compare to traditional methods like CMM or visual inspection?
What industries rely on 3D scanning for quality control in turbine vane production?


