Quality Control and Certification for Equiaxed Crystal Castings: X-ray Inspection as a Tool
X-ray inspection is a critical non-destructive testing (NDT) method, particularly in industries where precision and reliability are paramount. This technique allows manufacturers to detect internal defects, verify dimensional accuracy, and ensure the structural integrity of complex superalloy parts. For companies like NewayAero, which specializes in producing high-performance components, X-ray inspection is a vital step in ensuring that parts meet the stringent requirements of industries such as aerospace and aviation, power generation, and defense.

In producing superalloy components, such as turbine blades, impellers, and combustion chambers, ensuring the highest level of quality is essential for operational safety. X-ray inspection helps detect internal flaws like porosity, cracks, or inclusions that could compromise the component's performance under extreme conditions. Providing a clear and detailed view of internal and external features ensures that the casting meets the required tolerances for high-stress applications in industries like oil and gas and marine.
For parts used in critical systems, such as those found in nuclear and automotive applications, X-ray inspection is pivotal in maintaining part reliability and reducing the risk of catastrophic failures. The ability to verify the internal structure of superalloy parts before they are put into service ensures that they will function safely and effectively in demanding environments.
What is X-ray Inspection for Equiaxed Crystal Castings?
X-ray inspection involves using X-ray radiation to create images of the internal structures of a component, allowing manufacturers to examine parts without damaging them. In the context of equiaxed crystal castings, X-ray inspection is primarily used to identify internal defects such as cracks, voids, porosity, and inclusions that could compromise the performance and safety of a component. This process is non-invasive, meaning it doesn’t require cutting, grinding, or other destructive procedures to examine the part, making it particularly advantageous for complex or high-value components that cannot be replaced easily.
In equiaxed crystal castings, which are produced with uniform, equiaxed grains that offer good mechanical properties, X-ray inspection can also be used to verify the consistency of grain distribution and ensure that the casting process was performed correctly. Given that equiaxed castings are often used in demanding applications such as turbine blades and engine components, ensuring their integrity is critical.
The Function of X-ray Inspection in Quality Control
The primary function of X-ray inspection in quality control is to detect internal defects that are not visible on the surface of the casting. These defects can include porosity, cracks, voids, and inclusions, which can weaken the overall structure of a part and lead to failure under operational stresses. This is particularly important in the case of superalloy components, which are designed to withstand extreme temperatures and pressures typically found in aerospace and power generation applications.
X-ray inspection works by passing X-rays through a part and detecting how the X-rays are absorbed or scattered by the material. The resulting images, known as radiographs, provide a detailed view of the internal structure of the part. The radiographs can be analyzed for any irregularities or anomalies indicating weaknesses or defects. This process is particularly crucial in superalloy casting where the integrity of the internal structure is paramount to the part’s overall performance.
This inspection method is exact and reliable, allowing manufacturers to detect even the smallest defects that could compromise the part's performance in its intended application. In aerospace and power generation industries, where component failure can have catastrophic consequences, ensuring that all parts are accessible from internal defects is critical for safety and performance. X-ray inspection ensures that every component—such as turbine blades, combustion chambers, or gas turbines—is thoroughly inspected for any internal imperfections before service.
X-ray inspection also plays a significant role in meeting certification and industry standards. For example, aerospace components such as turbine blades and combustion chambers must meet stringent quality requirements, including ISO and ASTM certifications. X-ray inspection effectively demonstrates compliance with these standards, providing a documented record of the part’s integrity. This makes it an invaluable tool for quality assurance in industries where precision and safety are non-negotiable.
Superalloy Parts that Require X-ray Inspection
X-ray inspection is a vital non-destructive testing method for ensuring the structural integrity of a wide range of superalloy parts produced by NewayAero. These parts are often used in industries where extreme conditions—such as high temperatures, pressures, and corrosive environments—demand the highest level of reliability. Below are some of the key superalloy parts that typically require X-ray inspection:
Superalloy Castings
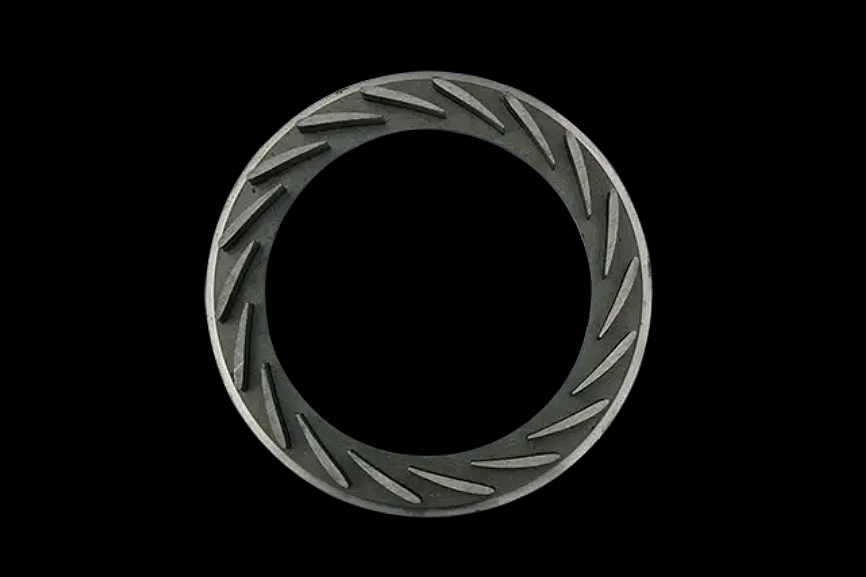
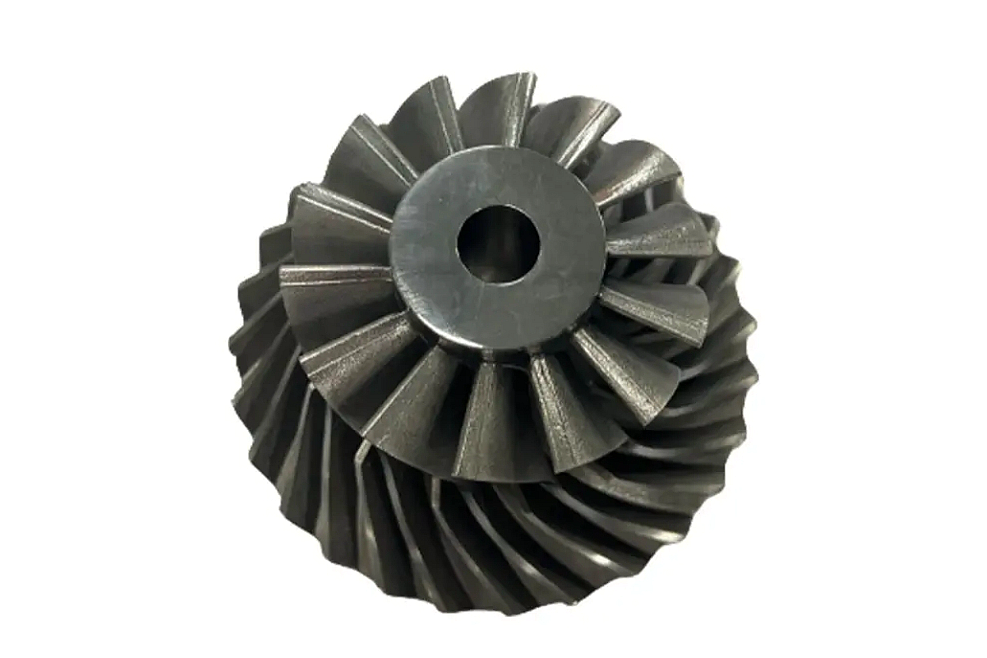
Superalloy castings, including turbine blades, combustion chambers, and nozzle rings, are commonly made from high-performance alloys like Inconel or CMSX series. The complex casting processes producing these parts often introduce internal defects, such as porosity and microcracks. These imperfections can compromise the part’s strength and performance. X-ray inspection helps detect these defects early, ensuring that the cast components meet both dimensional accuracy and performance standards. For example, turbine blades must be free of internal voids to avoid weakening the structure during high-speed rotations.
Superalloy Forgings
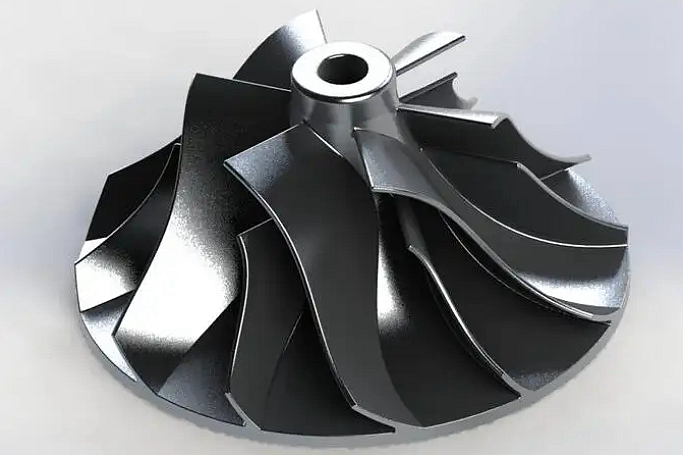
Superalloy forgings, such as turbine discs, impellers, and seals, are produced by subjecting superalloy material to extreme pressures and temperatures. However, this process can also lead to internal flaws, such as cracks or voids, which may not be visible on the surface. X-ray inspection is crucial for detecting these internal imperfections and ensuring that the parts maintain the necessary strength and structural integrity to withstand operational stresses, particularly in aerospace and power generation applications.
CNC Machined Superalloy Parts
After forging or casting, many superalloy components undergo CNC machining to achieve their final dimensions. Precision parts, such as brackets, connectors, and seals, require detailed inspection for external and internal defects. X-ray inspection can identify hidden flaws that may have emerged during the machining process, ensuring that the components meet strict tolerances and are free of issues that could compromise their functionality, such as internal cracks or voids.
3D Printed Superalloy Parts
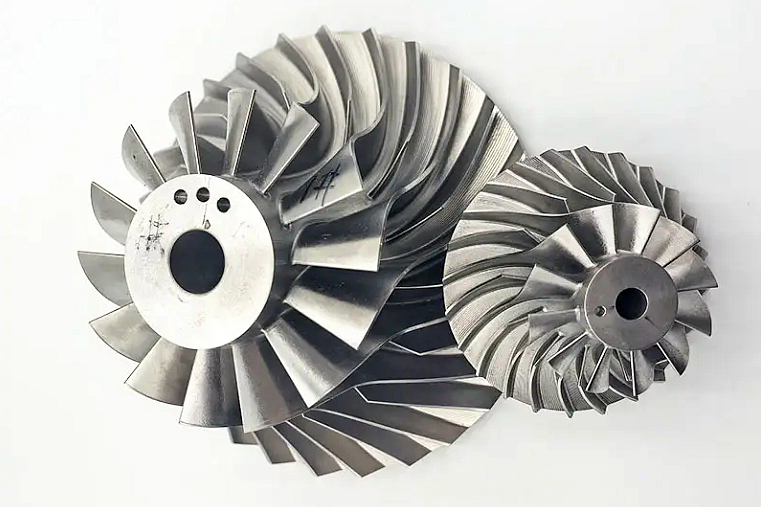
The use of 3D printing in manufacturing complex superalloy parts, such as jet engine components or heat exchangers, has increased due to its ability to create parts with intricate geometries and reduced material waste. However, additive manufacturing can also introduce defects such as poor layer bonding, porosity, or gas pockets. X-ray inspection is particularly effective for verifying the internal quality of 3D-printed superalloy parts and ensuring that they meet the strength and performance requirements for high-performance applications. X-rays can detect internal defects, ensuring these parts fit demanding environments such as aerospace and power generation.
In all of these applications, X-ray inspection plays a crucial role in verifying the quality and reliability of superalloy parts, ensuring they meet the highest performance standards. By providing detailed insights into the external dimensions and internal structure, X-ray testing helps identify potential issues before they can affect the part's operation in critical applications.
X-ray Inspection Compared with Other Quality Control Methods
While X-ray inspection is a powerful tool for ensuring the quality of superalloy parts, it is not the only quality control method available. Other methods, such as Coordinate Measuring Machine (CMM) inspections, ultrasonic testing, and visual inspection, also play essential roles in ensuring dimensional accuracy and structural integrity. However, each method has its strengths and weaknesses when compared to X-ray inspection.
CMM Inspection
CMM inspection is a contact-based method that uses probes to measure the dimensions of a part. While highly accurate, CMM inspections are limited to external measurements and cannot detect internal defects. Additionally, CMM requires direct contact with the part, which may not be suitable for delicate or sensitive components. X-ray inspection provides a non-invasive means of checking internal defects without requiring physical contact with the component.
Ultrasonic Testing
Ultrasonic testing uses high-frequency sound waves to detect internal defects. While it detects certain defects, such as cracks or delaminations, it is generally less effective than X-ray inspection at detecting porosity or smaller voids. Ultrasonic detection is also operator-dependent, and its effectiveness can vary depending on the material and the geometry of the part being tested.
Visual Inspection
Visual inspection is the most basic form of quality control, involving directly examining the part’s surface. It helps identify surface defects but cannot detect internal issues, making it less reliable for critical components where internal integrity is just as important as external appearance. Compared to visual inspection, X-ray inspection offers the advantage of detecting internal defects, including microstructural anomalies, that would otherwise go unnoticed.
Advantages of X-ray Inspection
Compared to these methods, X-ray inspection offers several distinct advantages. It is a non-invasive method that can reveal internal defects without affecting the part, making it ideal for complex components that are difficult or impossible to inspect with other methods. X-ray inspection also provides a detailed image of the internal structure, allowing for the identification of even the most minor defects. Furthermore, defect detection in applications requiring high-quality standards, such as gas turbine components and aerospace engine parts, is invaluable.
Industry and Applications of X-ray Inspection for Equiaxed Crystal Castings
X-ray inspection plays a crucial role in several industries where the performance and safety of superalloy parts are paramount. These industries rely on high-quality, defect-free components to ensure their systems operate reliably under extreme conditions. Let’s explore some of the key industries that benefit from X-ray inspection of equiaxed crystal castings:
Aerospace and Aviation
In the aerospace and aviation, superalloy parts such as turbine blades, combustion chambers, and nozzle rings must withstand extreme temperatures and stresses. X-ray inspection ensures these critical components are free of internal defects that could lead to failure in-flight. It is a vital part of quality control in aircraft engine manufacturing. For instance, turbine blades made from equiaxed crystal castings are subjected to X-ray inspection to detect internal voids or cracks that could compromise their structural integrity under high operational stresses.
Power Generation
Turbines, heat exchangers, and other components used in power plants operate under high-pressure, high-temperature conditions. X-ray inspection helps ensure that these parts can withstand power generation demands without failure, making it an essential tool for quality control in this industry. Components such as superalloy turbine discs are critical in power generation systems, where X-ray inspection helps detect any internal imperfections in equiaxed crystal castings that could affect their performance.
Oil and Gas
The oil and gas industry relies on high-performance components, such as valves, pumps, and pressure vessels, to operate safely in harsh environments. X-ray inspection is used to verify the quality of these critical components, ensuring they are free from internal defects that could lead to costly or dangerous failures. Superalloy components like pumps and pressure vessels made from equiaxed crystal castings are subject to rigorous X-ray inspection to guarantee they meet the high-performance standards required for oil exploration and extraction.
Marine and Defense
In the marine and defense industries, superalloy parts are used in propulsion systems, military vehicles, and weapons. X-ray inspection helps ensure that these parts meet the strict reliability and safety standards required in these high-risk applications. For example, marine vessels' superalloy reactor components and propulsion systems are examined using X-ray to detect any internal voids or structural flaws in the equiaxed crystal castings.
Nuclear and Energy
X-ray inspection is also crucial in the nuclear and energy industries, where components like reactor vessels, heat exchangers, and control rods must meet the highest safety standards. Given the potential risks involved, ensuring the structural integrity of these parts is critical, and X-ray inspection helps achieve that by detecting any internal defects. For example, superalloy reactor vessel components made from equiaxed crystal castings must undergo thorough X-ray inspection to guarantee they are free of any defects that could lead to failure in nuclear power plants.
In all of these industries, X-ray inspection is an indispensable tool for verifying the integrity of superalloy components. By detecting internal defects early in manufacturing, X-ray inspection helps ensure that equiaxed crystal castings meet the stringent standards required for safety, reliability, and performance in extreme environments.
FAQs
How does X-ray inspection ensure the quality of equiaxed crystal castings?
What are the advantages of X-ray inspection compared to other methods like CMM and ultrasonic testing?
Which superalloy parts are most commonly inspected using X-ray inspection?
How does X-ray inspection contribute to meeting industry certifications in aerospace and power generation?
What types of defects can X-ray inspection detect in superalloy castings and forgings?


