Preserving Integrity in Superalloy Equiaxed Crystal Castings: Non-Destructive X-ray Testing
Non-destructive testing (NDT) plays a vital role in ensuring the quality and safety of high-performance parts used in critical industries such as aerospace and aviation and oil and gas. Among the most effective NDT techniques is X-ray inspection, essential for detecting internal defects in superalloy equiaxed crystal castings. This process is increasingly used across industries where the reliability of components under extreme conditions is paramount. Non-destructive X-ray testing allows manufacturers to inspect superalloy components without compromising their integrity, ensuring they meet the highest safety and performance standards.

X-ray inspection helps identify hidden flaws such as voids, cracks, or inclusions in critical parts, ensuring they meet the stringent quality standards required in military, defense, and power generation applications. With the increasing complexity of high-performance components, especially in superalloy castings like those used in turbine blades and heat exchanger parts, X-ray testing is an indispensable tool for maintaining the reliability and safety of these parts in demanding environments. This process is integral to the quality control of parts used in energy and nuclear industries, where safety is critical and even minor defects can lead to catastrophic failures.
What is Non-Destructive X-ray Testing?
Non-destructive X-ray testing involves using X-rays to inspect the internal structure of materials and components for defects without causing damage. In the context of superalloy equiaxed crystal castings, X-ray imaging is beneficial for identifying internal flaws like cracks, porosity, and inclusions that could affect the mechanical properties of the component.
The process works by passing X-rays through the material and capturing the radiation. Areas with denser material, such as defects or inclusions, absorb more X-rays, creating varying levels of exposure on the detector. This difference in absorption produces an image that reveals internal structures and potential weaknesses. The captured image, often referred to as a radiograph, provides a clear and detailed view of the internal integrity of the casting, which would be impossible to detect through visual inspection alone.
X-ray testing can be performed using different methods, including digital radiography and computed tomography (CT), which allows for even greater detail and 3D visualization of defects.
The Function of Non-Destructive X-ray Testing in Superalloy Casting
The primary function of non-destructive X-ray testing in superalloy casting is to ensure that parts are accessible from internal defects that could compromise their performance. Defects like porosity, cracks, and voids are particularly concerning in superalloy components because they can lead to failure under high-stress conditions, such as those encountered in gas turbines, aerospace engines, or power generation systems. These defects, though invisible on the surface, can significantly degrade the material’s mechanical properties, leading to premature failures.
X-ray inspection helps detect these defects early in manufacturing, preventing costly repairs, part replacements, or catastrophic failures in the field. By identifying issues such as incomplete fusion in castings, voids that form during solidification, or cracks that may develop during cooling, X-ray testing ensures that the final components meet the strict quality standards required for high-performance applications. This is essential for high-stakes industries like aerospace and energy, where even minor defects in superalloy precision casting could lead to significant safety risks.
One of the key benefits of X-ray testing for superalloy castings is that it provides a non-invasive way to evaluate the internal integrity of components without altering their structure. This is particularly important for parts that are difficult or impossible to inspect through other methods, such as turbine blades with complex geometries or reactor vessel components. Unlike traditional testing methods, X-ray inspection enables a comprehensive assessment of the material's internal condition, ensuring that it meets stringent specifications for durability, strength, and reliability.
Superalloy Parts Requiring Non-Destructive X-ray Testing
Superalloy equiaxed crystal castings are crucial for industries that require materials capable of withstanding extreme temperatures, pressures, and corrosive environments. X-ray testing is vital to ensure the reliability of these components, which are commonly used in aerospace, power generation, and other high-performance applications. X-ray inspection plays a critical role in verifying the structural integrity of superalloy castings by identifying internal defects such as porosity or microcracking.
Superalloy Castings
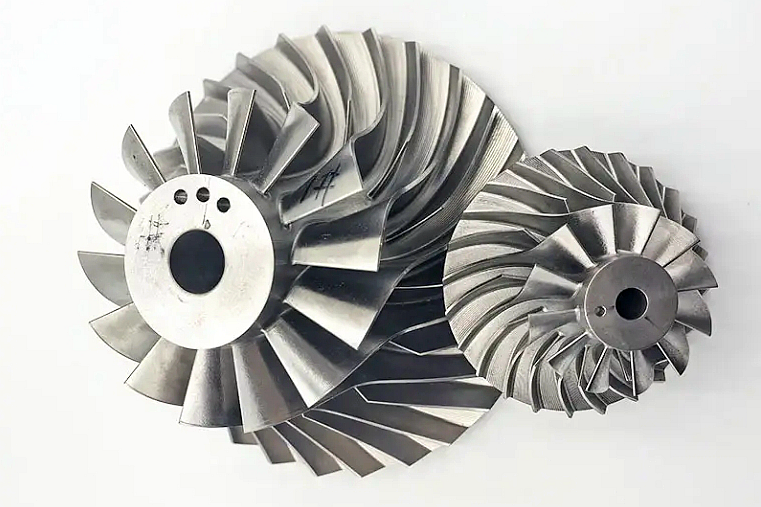
Superalloy castings, such as turbine blades, combustion chambers, and impellers, are fundamental in aerospace and power generation. These components must perform under high-temperature, high-stress conditions. During the casting process, defects like shrinkage, porosity, or microcracking can occur, especially in equiaxed crystal castings. X-ray testing is essential for detecting these internal flaws, ensuring that the parts meet the stringent mechanical properties required for reliable performance in demanding environments.
Forging Parts
Superalloy forging is widely used for parts requiring high strength and thermal fatigue resistance, such as turbine discs and compressor blades. During the forging process, parts are exposed to high pressure and temperature, which can lead to internal defects like cracks or voids. Superalloy forging parts benefit from X-ray inspection, ensuring the parts meet the necessary mechanical properties required for aerospace and power generation applications. X-ray testing helps prevent failures and minimizes costly rework by detecting defects early.
CNC Machined Superalloy Parts
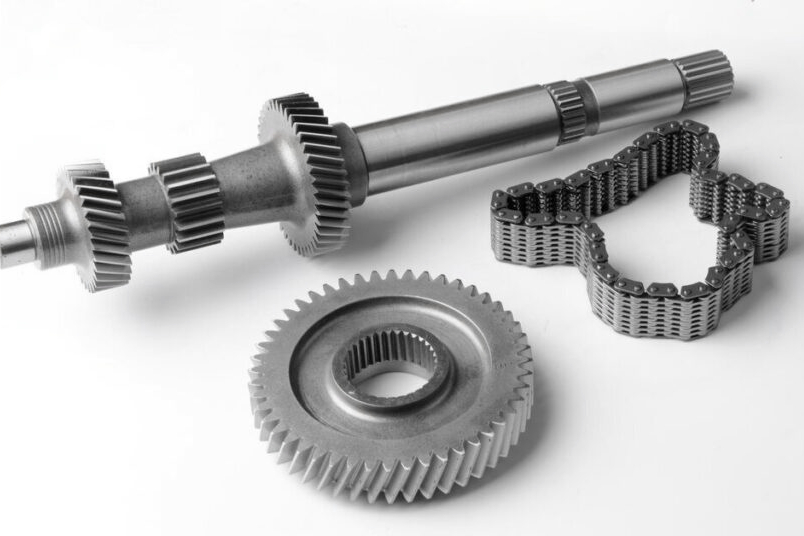
CNC machining of superalloy parts is used to create high-precision components such as seals, brackets, and connectors. However, internal flaws may remain undetected during casting or forging. Superalloy CNC machining parts, especially those with complex geometries, can benefit from X-ray testing, which helps uncover hidden defects that may affect the part's performance. For example, X-ray testing can identify flaws in intricate seals used in aerospace applications, ensuring they meet the required standards for high-pressure environments.
3D Printed Superalloy Parts
3D printed superalloy parts are gaining popularity for their ability to create complex components with minimal material waste. However, issues like poor layer bonding, porosity, and gas pockets can arise in 3D-printed parts. X-ray testing is crucial for detecting hidden defects in these components, particularly for turbine blades or fuel system parts made from materials like Inconel 718 or CMSX-10. X-ray inspection ensures the layers are correctly bonded and free from internal voids, ensuring the part’s integrity for use in extreme conditions.
Comparison with Other Non-Destructive Testing Processes
Non-destructive X-ray testing is not the only method available for inspecting superalloy components, and it is vital to understand how it compares with other NDT techniques, such as ultrasonic testing, visual inspection, and magnetic particle inspection.
X-ray vs. Ultrasonic Testing
Ultrasonic testing uses high-frequency sound waves to detect internal defects by measuring the time it takes for sound waves to travel through the material and return to the transducer. While ultrasonic testing is effective for detecting certain defects, it can be less effective for inspecting complex geometries or materials with variable densities, such as superalloys. X-ray testing, on the other hand, provides a full view of the internal structure and can detect defects at any depth within the material. It is particularly advantageous for components with complex shapes, like turbine blades or reactor parts, where ultrasonic testing might miss internal voids or cracks. Additionally, X-ray inspection is especially valuable for detecting issues that might not be apparent through other methods.
X-ray vs. Visual Inspection
Visual inspection is the most basic NDT method, but it is limited to detecting surface flaws. X-ray testing offers a significant advantage by allowing manufacturers to inspect not only the surface but also the internal structure of components. This is crucial for high-performance superalloy parts, where even a small internal defect could lead to catastrophic failure. Metallographic analysis, when combined with X-ray inspection, further enhances the ability to detect fine internal defects that might be missed during a visual inspection.
X-ray vs. Magnetic Particle Inspection
Magnetic particle inspection is used for ferromagnetic materials and involves applying magnetic fields to detect surface and near-surface defects. While it is highly effective for ferromagnetic parts, it is unsuitable for superalloys, which are often non-magnetic. Therefore, X-ray testing is the preferred choice for inspecting superalloy parts, as it works with ferromagnetic and non-ferromagnetic materials. This makes it the ideal solution for turbine components and other high-performance parts used in industries such as aerospace and energy generation.
Industry Applications of Non-Destructive X-ray Testing for Superalloy Parts
Non-destructive X-ray testing is widely used in industries where superalloy components must operate under extreme conditions and failure is not an option. X-ray inspection ensures that critical components maintain their integrity and reliability by detecting internal flaws without damaging the parts.
Aerospace & Aviation
In the aerospace and aviation industry, superalloy components like turbine blades, combustion chambers, and engine casings must operate at extremely high temperatures and pressures. X-ray testing ensures these parts are free from internal defects that could cause failures in engines or propulsion systems. For example, superalloy jet engine components undergo X-ray inspection to detect any potential flaws that could compromise safety and performance during flight.
Power Generation
In power generation, industries rely on superalloy turbine blades, turbine discs, and reactor vessel components that withstand high temperatures and intense mechanical stresses. X-ray testing helps ensure that these components are defect-free and can perform efficiently in power plants. For example, superalloy heat exchanger parts are subject to X-ray inspection to identify internal defects that could impair their function under high thermal loads.
Oil & Gas
In the oil and gas industry, superalloy components like downhole tools, pumps, and valves are used in harsh drilling environments. X-ray inspection helps identify defects in these parts before they are deployed in the field, ensuring they can withstand the pressures and corrosive conditions typical in oil exploration. For instance, high-temperature alloy pump components are examined to detect internal flaws that could lead to equipment failure in challenging offshore environments.
Military & Defense
X-ray inspection is critical in military and defense applications, where the integrity of components like missile casings, armor systems, and weapons parts is crucial. The ability to detect internal defects ensures that these components perform reliably in high-risk environments. For example, superalloy missile segment parts undergo X-ray inspection to guarantee their structural integrity and performance under extreme combat conditions.
Marine & Nuclear
Superalloy components used in marine and nuclear applications, such as reactors, heat exchangers, and naval ship systems, must be free from defects that could compromise their integrity. X-ray testing is essential in these industries to ensure that parts can operate safely under extreme conditions. For example, superalloy reactor vessel components are inspected using X-ray to ensure they can handle the stresses and potential radiation exposure within nuclear reactors.
X-ray inspection technology is indispensable across these industries, providing the confidence that superalloy components are free of defects and capable of withstanding the extreme environments they are designed for. This process helps maintain the high safety standards required in critical applications.
FAQs
What types of defects can non-destructive X-ray testing detect in superalloy equiaxed crystal castings?
How does non-destructive X-ray testing compare to other methods like ultrasonic testing for superalloy parts?
Why is X-ray testing particularly important for 3D-printed superalloy components?
How does non-destructive X-ray testing contribute to improving safety in aerospace applications?


