Non-Destructive Examination in Superalloy Component Verification: The Role of Stereo Microscopes

Non-destructive examination (NDE) is essential in verifying superalloy components, particularly in high-stakes industries such as aerospace and aviation, power generation, and defense. It ensures that critical components operate under extreme conditions and are free from defects that could lead to failure. One of the most vital NDE techniques in the inspection of superalloy components is the use of stereo microscopes. These tools provide a high level of precision, allowing engineers to detect surface defects and ensure the integrity of superalloy parts used in critical applications.
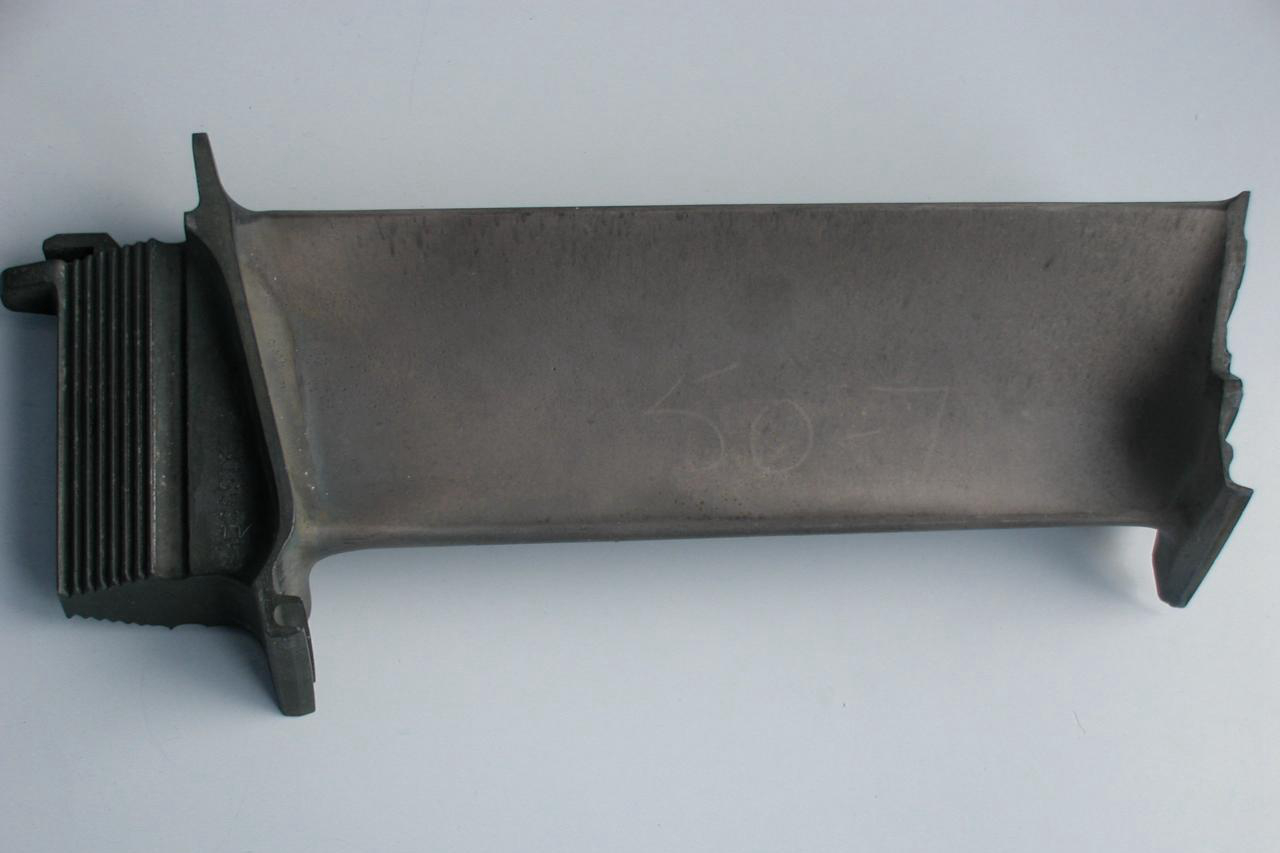
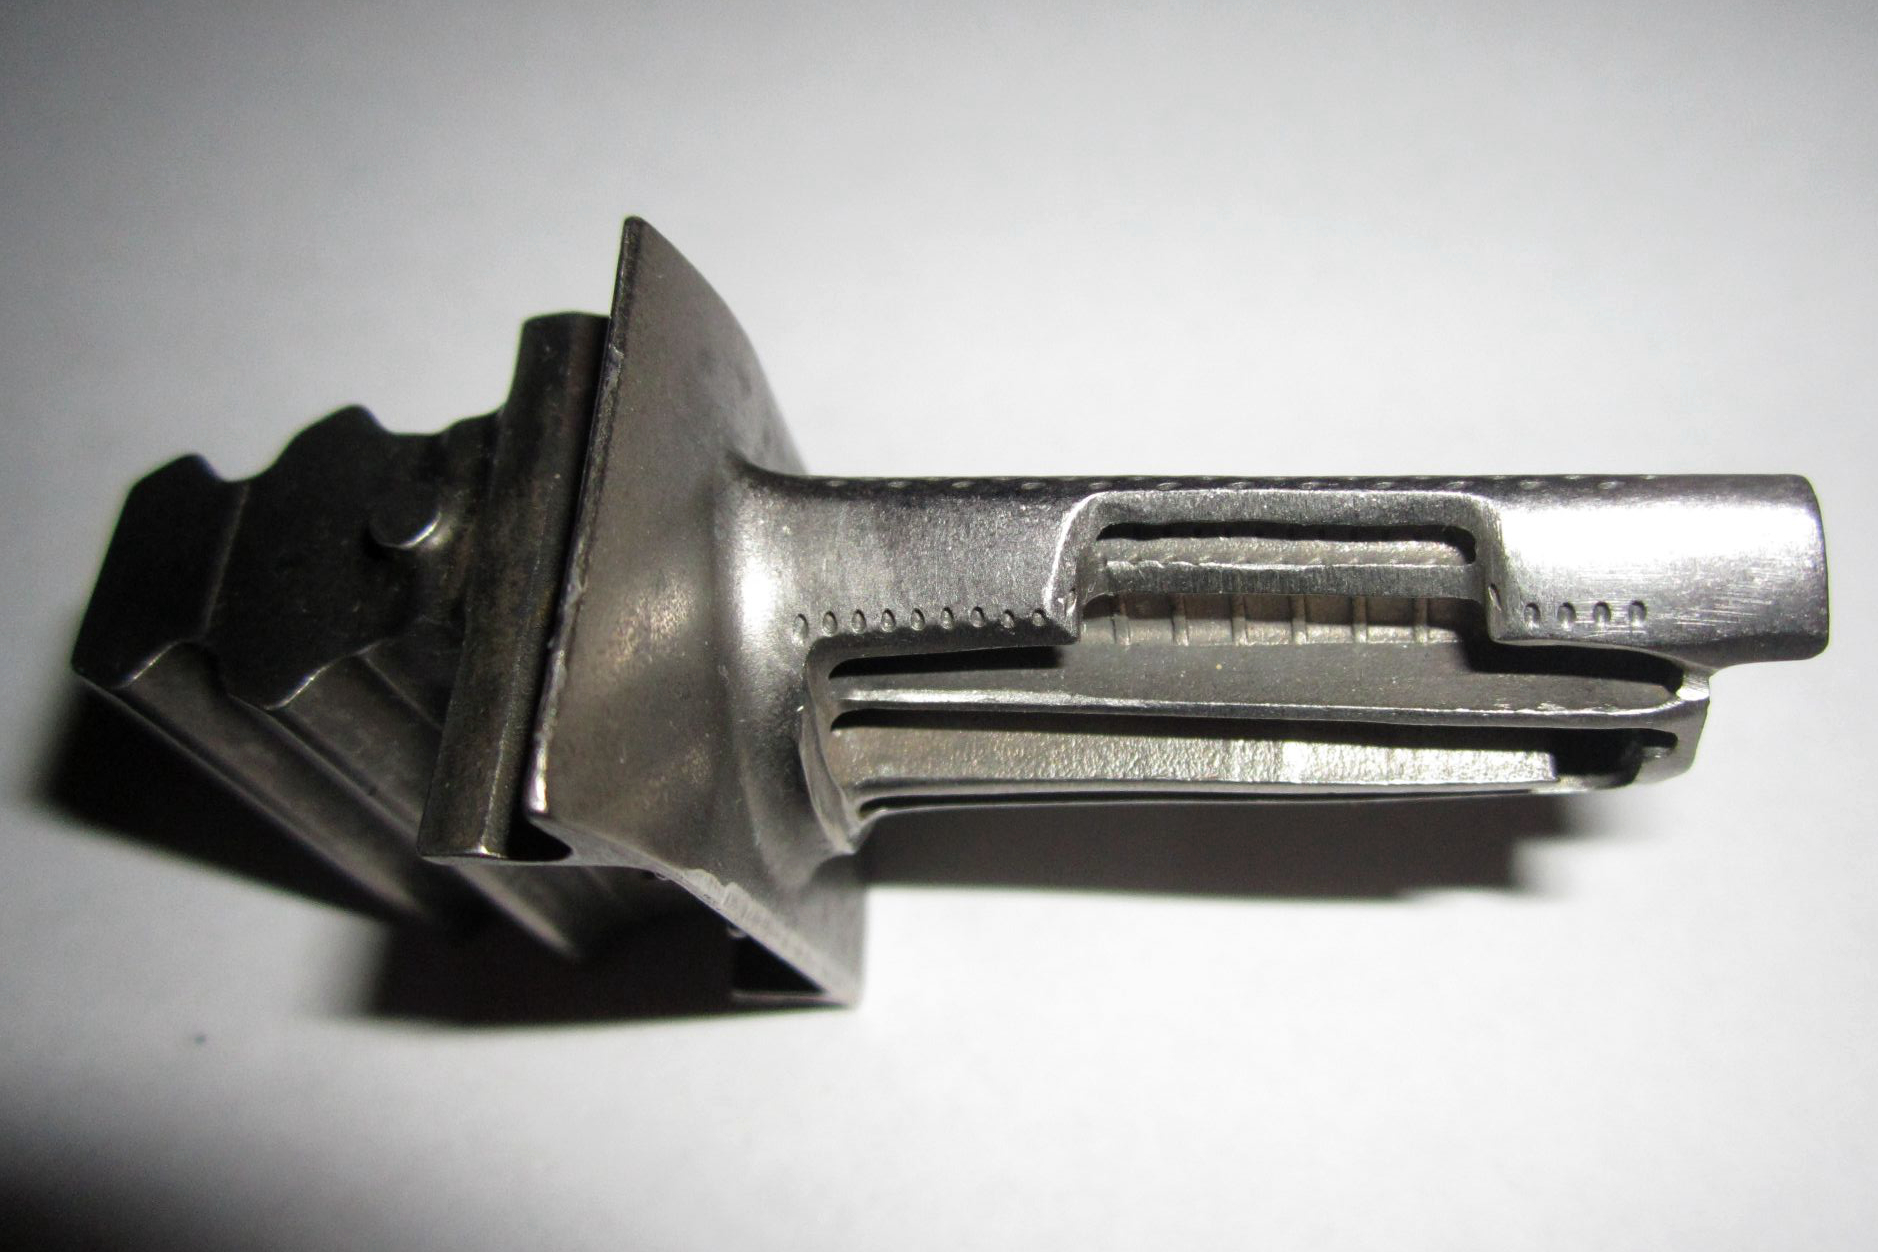
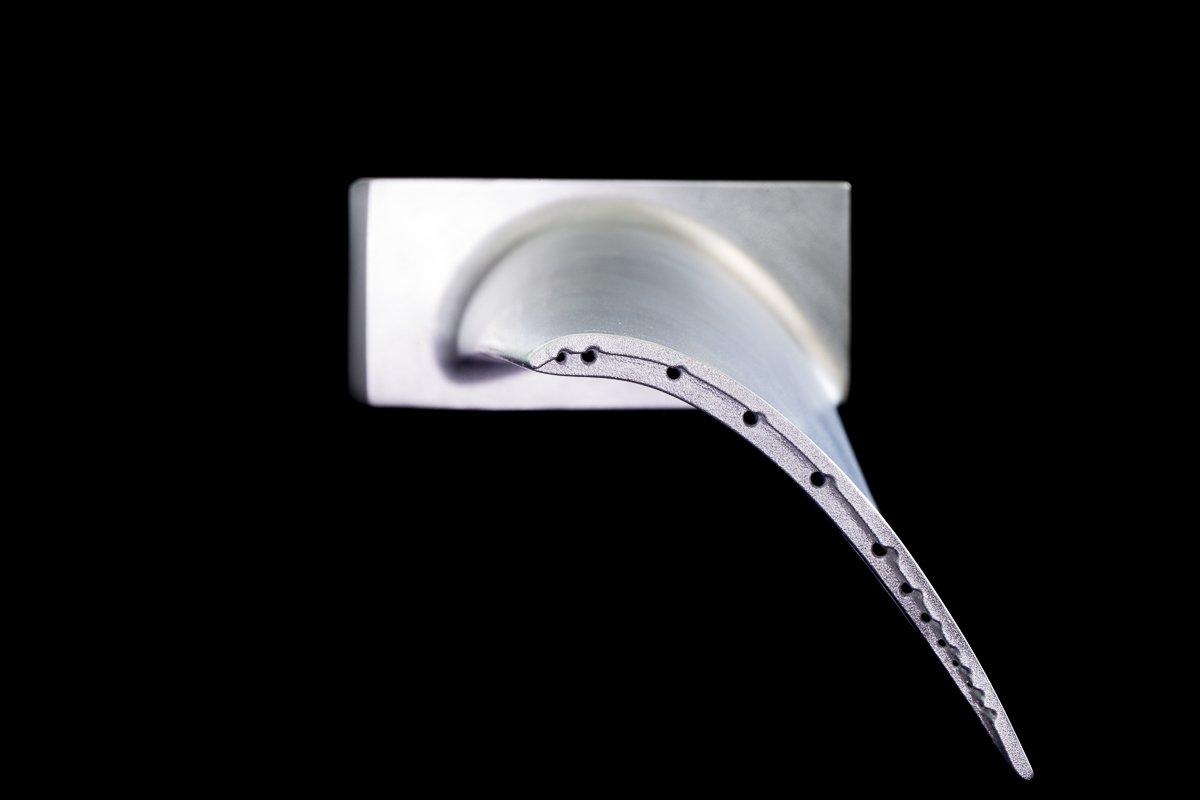
Stereo microscope inspection is particularly valuable in the quality control of components like turbine blades and turbine discs, which are integral to industries like marine and energy. These components must withstand high stress, pressure, and temperature variations, making precise inspection critical to avoid catastrophic failures. By providing three-dimensional views of the material’s surface, stereo microscopes allow inspectors to identify even the smallest surface defects that could affect the part's performance, such as cracks, pores, or inclusions.
Compared to other NDE methods, such as X-ray or ultrasonic testing, stereo microscope inspection offers a unique advantage for surface-level analysis. It is particularly effective for parts requiring a detailed examination of their microstructure, ensuring that any flaws affecting the material’s integrity are detected early. While other NDE techniques might be better suited for internal flaws or more significant structural issues, the stereo microscope excels in detecting acceptable surface imperfections, which is essential for parts used in aerospace-grade and nuclear applications.
What is Non-Destructive Examination (NDE) in Superalloy Component Verification?
Non-destructive examination refers to various inspection techniques used to evaluate the properties or integrity of a material, component, or assembly without causing any damage to it. In the case of superalloy components, NDE is crucial for verifying the part's structural integrity before it is put into service. Unlike destructive testing methods, which require the part to be altered or destroyed, NDE allows components to be fully functional after inspection.
Within superalloy parts, NDE encompasses several methods tailored to identify specific defects. These include ultrasonic testing (UT), X-ray, magnetic particle inspection (MPI), and stereo microscopes. While some methods focus on internal flaws, such as cracks or voids, stereo microscope inspection is highly effective in detecting surface imperfections like porosity, inclusions, or microcracks, which are critical for components that operate in extreme environments.
Stereo microscope inspection is an optical NDE method that uses a microscope with two optical systems, providing a three-dimensional (3D) view of the sample. This allows for more excellent depth perception, making it particularly useful for detecting surface defects and assessing the fine details of components like turbine blades and engine parts. By using this method, manufacturers can ensure the integrity of components without compromising their function, an essential aspect when working with high-temperature alloys in critical applications like aerospace and power generation.
The Function of Stereo Microscope Inspection in NDE
Stereo microscopes are powerful tools for inspecting superalloy components because they magnify surface details and provide depth perception. Unlike standard microscopes, which provide a flat image, stereo microscopes offer a 3D view that helps identify surface cracks, voids, and other anomalies that are not easily visible to the naked eye. These microscopes typically operate at low magnifications, allowing for a broad field of view, making them suitable for scanning more significant areas of superalloy components.
Surface Defect Detection
The main function of stereo microscopes in NDE (Non-Destructive Examination) is to ensure that superalloy parts are free from surface defects that could affect their performance. In aerospace and power generation applications, even the slightest flaw can result in catastrophic failure, so comprehensive inspection is essential. Stereo microscopes provide a detailed view of the part's surface to detect cracks, porosity, and inclusions that could weaken the structure and lead to failure under stress. This is particularly critical in high-performance applications like gas turbines and jet engines, where material integrity is vital.
Accurate Measurements for Fitness for Service
Stereo microscopes also provide highly accurate measurements of surface features such as thickness, depth, and width of cracks, which is essential for assessing the part’s fitness for service. Inspectors can evaluate whether the part meets the required performance criteria by examining the grain structure and microstructural features of superalloy components. These measurements ensure that parts can withstand the extreme stresses and temperatures encountered in service.
Real-Time Inspection for Quality Control
One of the key advantages of using stereo microscopes in NDE is their ability to inspect components in real time. This makes them an invaluable tool in production environments where quick, on-the-spot assessments of component quality are necessary. By detecting issues early, engineers can take corrective actions, ensuring that only parts with high structural integrity proceed to the following manufacturing stages. The ability to inspect superalloy parts during casting, forging, and CNC machining ensures that all components meet stringent quality standards before they are sent for further processing or final use in industries like aerospace and energy.
Superalloy Parts Requiring Stereo Microscope Inspection
Stereo microscopes play a crucial role in inspecting superalloy parts, especially those used in high-performance applications in aerospace, defense, and energy production. These microscopes are instrumental in detecting minute surface imperfections and structural issues that could affect the performance and reliability of superalloy components. The following superalloy parts benefit from stereo microscope inspection:
Superalloy Castings
Superalloy castings, such as turbine blades and engine components, are produced through complex processes like vacuum investment casting and single-crystal casting. Casting processes are prone to defects like porosity, inclusions, and cracks, which can significantly affect the material's strength and performance. Stereo microscopes are essential for inspecting cast superalloy parts to meet the stringent performance standards required for high-stress applications. These microscopes allow for the detection of even the most minute defects, ensuring that the cast components are of the highest quality before moving to the next stage in production.
Forging Parts
Forging techniques are widely used to produce superalloy parts such as turbine discs and compressor blades. These parts undergo high stresses during the forging process, leading to surface cracks, grain structure anomalies, or internal stresses that are challenging to detect with the naked eye. Stereo microscopes are vital in identifying these issues early in the process. They provide a detailed view of the part's surface and internal structure. This allows manufacturers to ensure it meets the necessary mechanical properties and is free from defects that could compromise its performance in demanding environments like jet engines or gas turbines.
CNC Machined Superalloy Parts
After casting and forging, CNC machined superalloy parts are often produced to achieve precise geometries and surface finishes. During CNC machining, acceptable surface defects such as burrs, cracks, or dimensional inaccuracies can arise. Stereo microscopes are ideal for inspecting machined superalloy parts, as they provide high-resolution images to detect any minor flaws that may affect the part’s integrity. This inspection is crucial to verify that the part meets the required tolerances and design specifications before it moves on to assembly or testing.
3D Printed Superalloy Parts
3D printing, or additive manufacturing, has become an increasingly popular method for producing complex superalloy components. However, parts produced using 3D printing may suffer from issues such as layer misalignment, poor bonding between layers, or trapped gases within the material. Stereo microscopes are particularly useful for inspecting 3D-printed parts layer-by-layer, detecting these defects before the part moves to the next stage in the production process. Ensuring the integrity of 3D-printed superalloy parts is essential for maintaining their dimensional accuracy and performance in high-temperature and high-stress applications.
Comparison with Other NDE Processes
While stereo microscope inspection is an excellent tool for detecting surface defects, it is important to understand how it compares to other non-destructive testing (NDE) techniques, each with its strengths and weaknesses.
X-ray Inspection
X-ray inspection is highly effective for detecting internal defects such as voids, cracks, and inclusions that might not be visible on the surface. However, unlike stereo microscopes, which provide a 3D view of the surface, X-ray inspection is typically limited to 2D imaging. This makes it less practical for inspecting fine surface details like microcracks or surface porosity, where stereo microscopes excel. Therefore, while X-ray inspection is invaluable for subsurface flaw detection, stereo microscopy remains superior for surface-level inspections.
Ultrasonic Testing (UT)
Ultrasonic Testing (UT) is a popular NDE method for detecting internal flaws and measuring thickness in superalloy components. While UT can detect deeper issues, it is less effective for inspecting surface-level defects. Additionally, ultrasonic testing requires the part to be in direct contact with a probe, which can sometimes be difficult for geometrically complex parts like turbine blades. Stereo microscopes do not have this limitation and can inspect intricate geometries at high magnifications, providing critical surface-level insights.
Magnetic Particle Inspection (MPI)
Magnetic Particle Inspection (MPI) is an excellent method for detecting surface and near-surface cracks in ferromagnetic materials. However, it has limitations when applied to non-ferrous superalloy materials commonly used in high-temperature applications like aerospace. Stereo microscopes can be used for ferrous and non-ferrous materials, making them a more versatile option for inspecting high-temperature alloy components. This versatility is a major advantage, especially when working with complex alloys used in critical industries.
Laser Scanning
Laser scanning provides highly detailed 3D component models and is helpful for dimensional measurement. However, it is less effective than stereo microscopes in detecting surface defects like cracks, inclusions, or microstructural anomalies. Laser scanning also tends to be more expensive and slower than stereo microscopes' relatively quick inspection process, making the latter a more cost-effective and time-efficient option for routine surface inspections in high-performance materials.
Industry and Application of Stereo Microscope NDE for Superalloy Parts
Stereo microscope inspection is employed in various industries where superalloy components are critical to performance. Each of these sectors requires highly reliable and defect-free parts, and stereo microscopes play a crucial role in ensuring quality across the following applications:
Aerospace and Aviation
In the aerospace and aviation industry, superalloy turbine blades, engine components, and combustion chambers are subjected to extreme temperatures and stresses. Any defects in these parts could result in catastrophic failure. Stereo microscopes are used extensively to inspect these components for surface flaws and to ensure they meet strict regulatory standards. For example, turbine blades undergo detailed inspections for microcracks or porosity, which could significantly affect engine performance and safety.
Power Generation
Superalloy parts used in power generation applications, such as gas turbines, heat exchangers, and reactors, must be free from surface defects to perform efficiently and safely. Stereo microscope inspection helps detect surface issues, like cracks or corrosion, that could affect their longevity or performance in power plants. Ensuring parts meet dimensional and structural standards ensures maximum operational efficiency and prevents failures in high-pressure and high-temperature environments.
Oil and Gas
The oil and gas industry components, such as valves, pumps, and turbines, are often exposed to corrosive environments. Stereo microscopes inspect these parts for surface damage caused by wear, corrosion, or other environmental factors. This inspection helps ensure that critical components maintain their integrity and can function reliably in harsh environments, minimizing the risk of failure during operation.
Defense and Military
Superalloy components used in military applications, including missile systems, naval vessels, and aircraft, must undergo rigorous inspection. Stereo microscope inspection ensures that parts like engine components and structural elements are free from defects, maintaining operational integrity in high-stress environments. This level of inspection is crucial for ensuring the safety and reliability of defense equipment, where failure could have serious consequences.
Nuclear Energy
The nuclear energy industry requires highly reliable components for reactor vessels, fuel, and cooling systems. Stereo microscope inspection helps identify surface flaws, such as cracks or material degradation, that could compromise the safety and efficiency of nuclear reactors. These inspections ensure that all components can withstand the high-stress and high-temperature conditions inside nuclear reactors, maintaining both safety and performance over time.
Stereo microscope NDE is indispensable across these industries to ensure superalloy parts' quality, safety, and performance. Whether in aerospace, power generation, oil and gas, defense, or nuclear energy, precisely detecting surface defects enables manufacturers to maintain the high standards required for mission-critical applications.
FAQs
What are the advantages of using stereo microscopes over other NDE methods for superalloy components?
How does stereo microscope inspection detect surface defects like cracks and inclusions in superalloy turbine blades?
Which industries benefit the most from stereo microscope inspection in superalloy part verification?
Can stereo microscopes detect internal defects in superalloy components, or are they limited to surface-level inspections?
How do stereo microscopes compare to other optical inspection methods like laser scanning or X-ray in terms of accuracy and effectiveness?


