Identifying Surface Defects in Superalloy Castings with SEM
Scanning Electron Microscopy (SEM) is a powerful technique used to examine the surface and microstructure of materials at high magnifications. In superalloy casting, where precision is critical for performance, SEM plays a crucial role in identifying surface defects that could compromise the integrity of the component. From turbine blades to aerospace-grade engine parts, surface defects in superalloys can lead to failure, making timely detection essential. SEM’s ability to provide detailed imaging and analysis of surface imperfections is one of the key reasons it’s extensively used in manufacturing superalloy components used in military and power generation applications.

What is the SEM Process for Identifying Surface Defects?
Scanning Electron Microscopy (SEM) works by focusing a beam of electrons onto the surface of a material. These electrons interact with the atoms in the sample, producing various signals to form an image of the surface. Unlike traditional light microscopy, which is limited by the wavelength of visible light, SEM uses electrons with much shorter wavelengths, allowing it to achieve much higher magnifications and resolutions, typically in the range of nanometers. This high-resolution imaging makes SEM an invaluable tool for detecting surface defects in superalloy castings.
The SEM process involves several steps: First, the superalloy sample is prepared by polishing the surface to remove any contamination or roughness that might affect imaging quality. Next, the sample is placed in the SEM chamber and subjected to the electron beam. Detectors collect the signals emitted from the sample, which are converted into a digital image displayed on a monitor. The SEM can produce incredibly high-resolution images, allowing the operator to zoom in on minute details and observe defects that would otherwise be invisible to the naked eye.
For even more advanced analysis, SEM can be paired with techniques such as Energy Dispersive X-ray Spectroscopy (EDS), which provides chemical composition data, and Metallographic Microscopy further to characterize the material's microstructure and defect analysis.
The Function of SEM in Identifying Surface Defects
SEM is particularly effective in identifying surface irregularities such as cracks, porosity, pits, and inclusions that can occur during the manufacturing process of superalloy castings. The high-resolution imaging provided by SEM allows the detection of defects as minor as a few nanometers. This is essential in high-performance applications where even the smallest imperfections can lead to catastrophic failure.
One of the main advantages of SEM in identifying surface defects is its ability to produce images in three dimensions. SEM provides a detailed topographical view of the sample surface, unlike traditional two-dimensional imaging methods. This makes it possible to analyze surface defects' shape, size, and depth with great precision. For example, cracks in superalloy castings can be detected in their early stages before they propagate and cause failure under stress.
Another important function of SEM is its ability to detect contamination or foreign particles on the surface of the casting. Superalloys in critical applications like turbine blades and combustion chambers require spotless surfaces to maintain performance under high temperatures and stresses. SEM can reveal even the smallest foreign particles, which could act as initiation points for crack formation or corrosion over time.
Early detection of such surface defects is crucial for ensuring the longevity and reliability of superalloy components. SEM helps manufacturers avoid costly repairs and replacements by identifying defects before they compromise the part’s structural integrity. This is especially important in aerospace and power generation industries, where component failure can have serious consequences.
Superalloy Parts Requiring SEM for Surface Defect Identification
Superalloy parts used in demanding applications, such as aerospace and power generation, are subjected to extreme conditions that make surface quality critical. Scanning Electron Microscopy (SEM) plays an essential role in identifying surface defects that could compromise the performance and safety of these components. Below are some key superalloy parts that benefit from SEM-based surface inspections:
Superalloy Castings
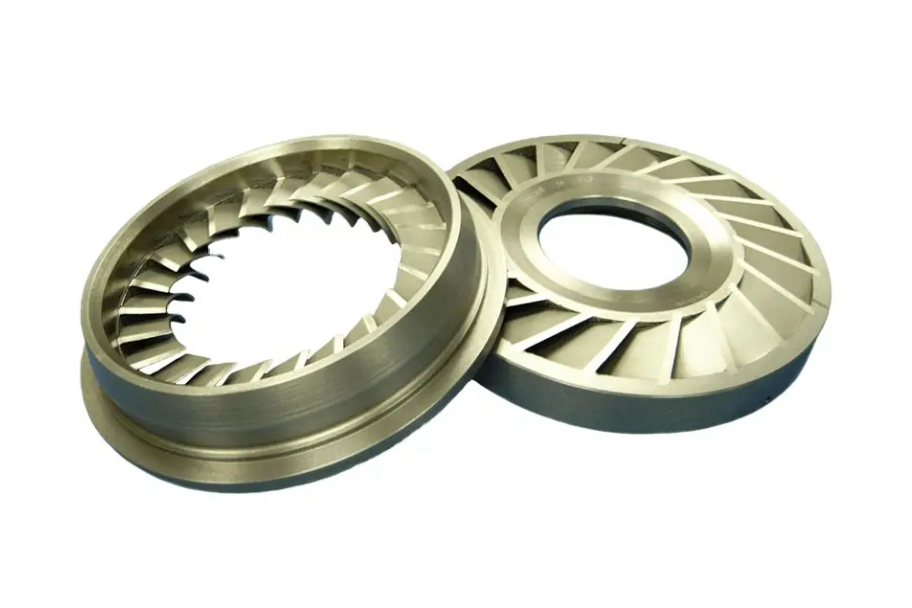
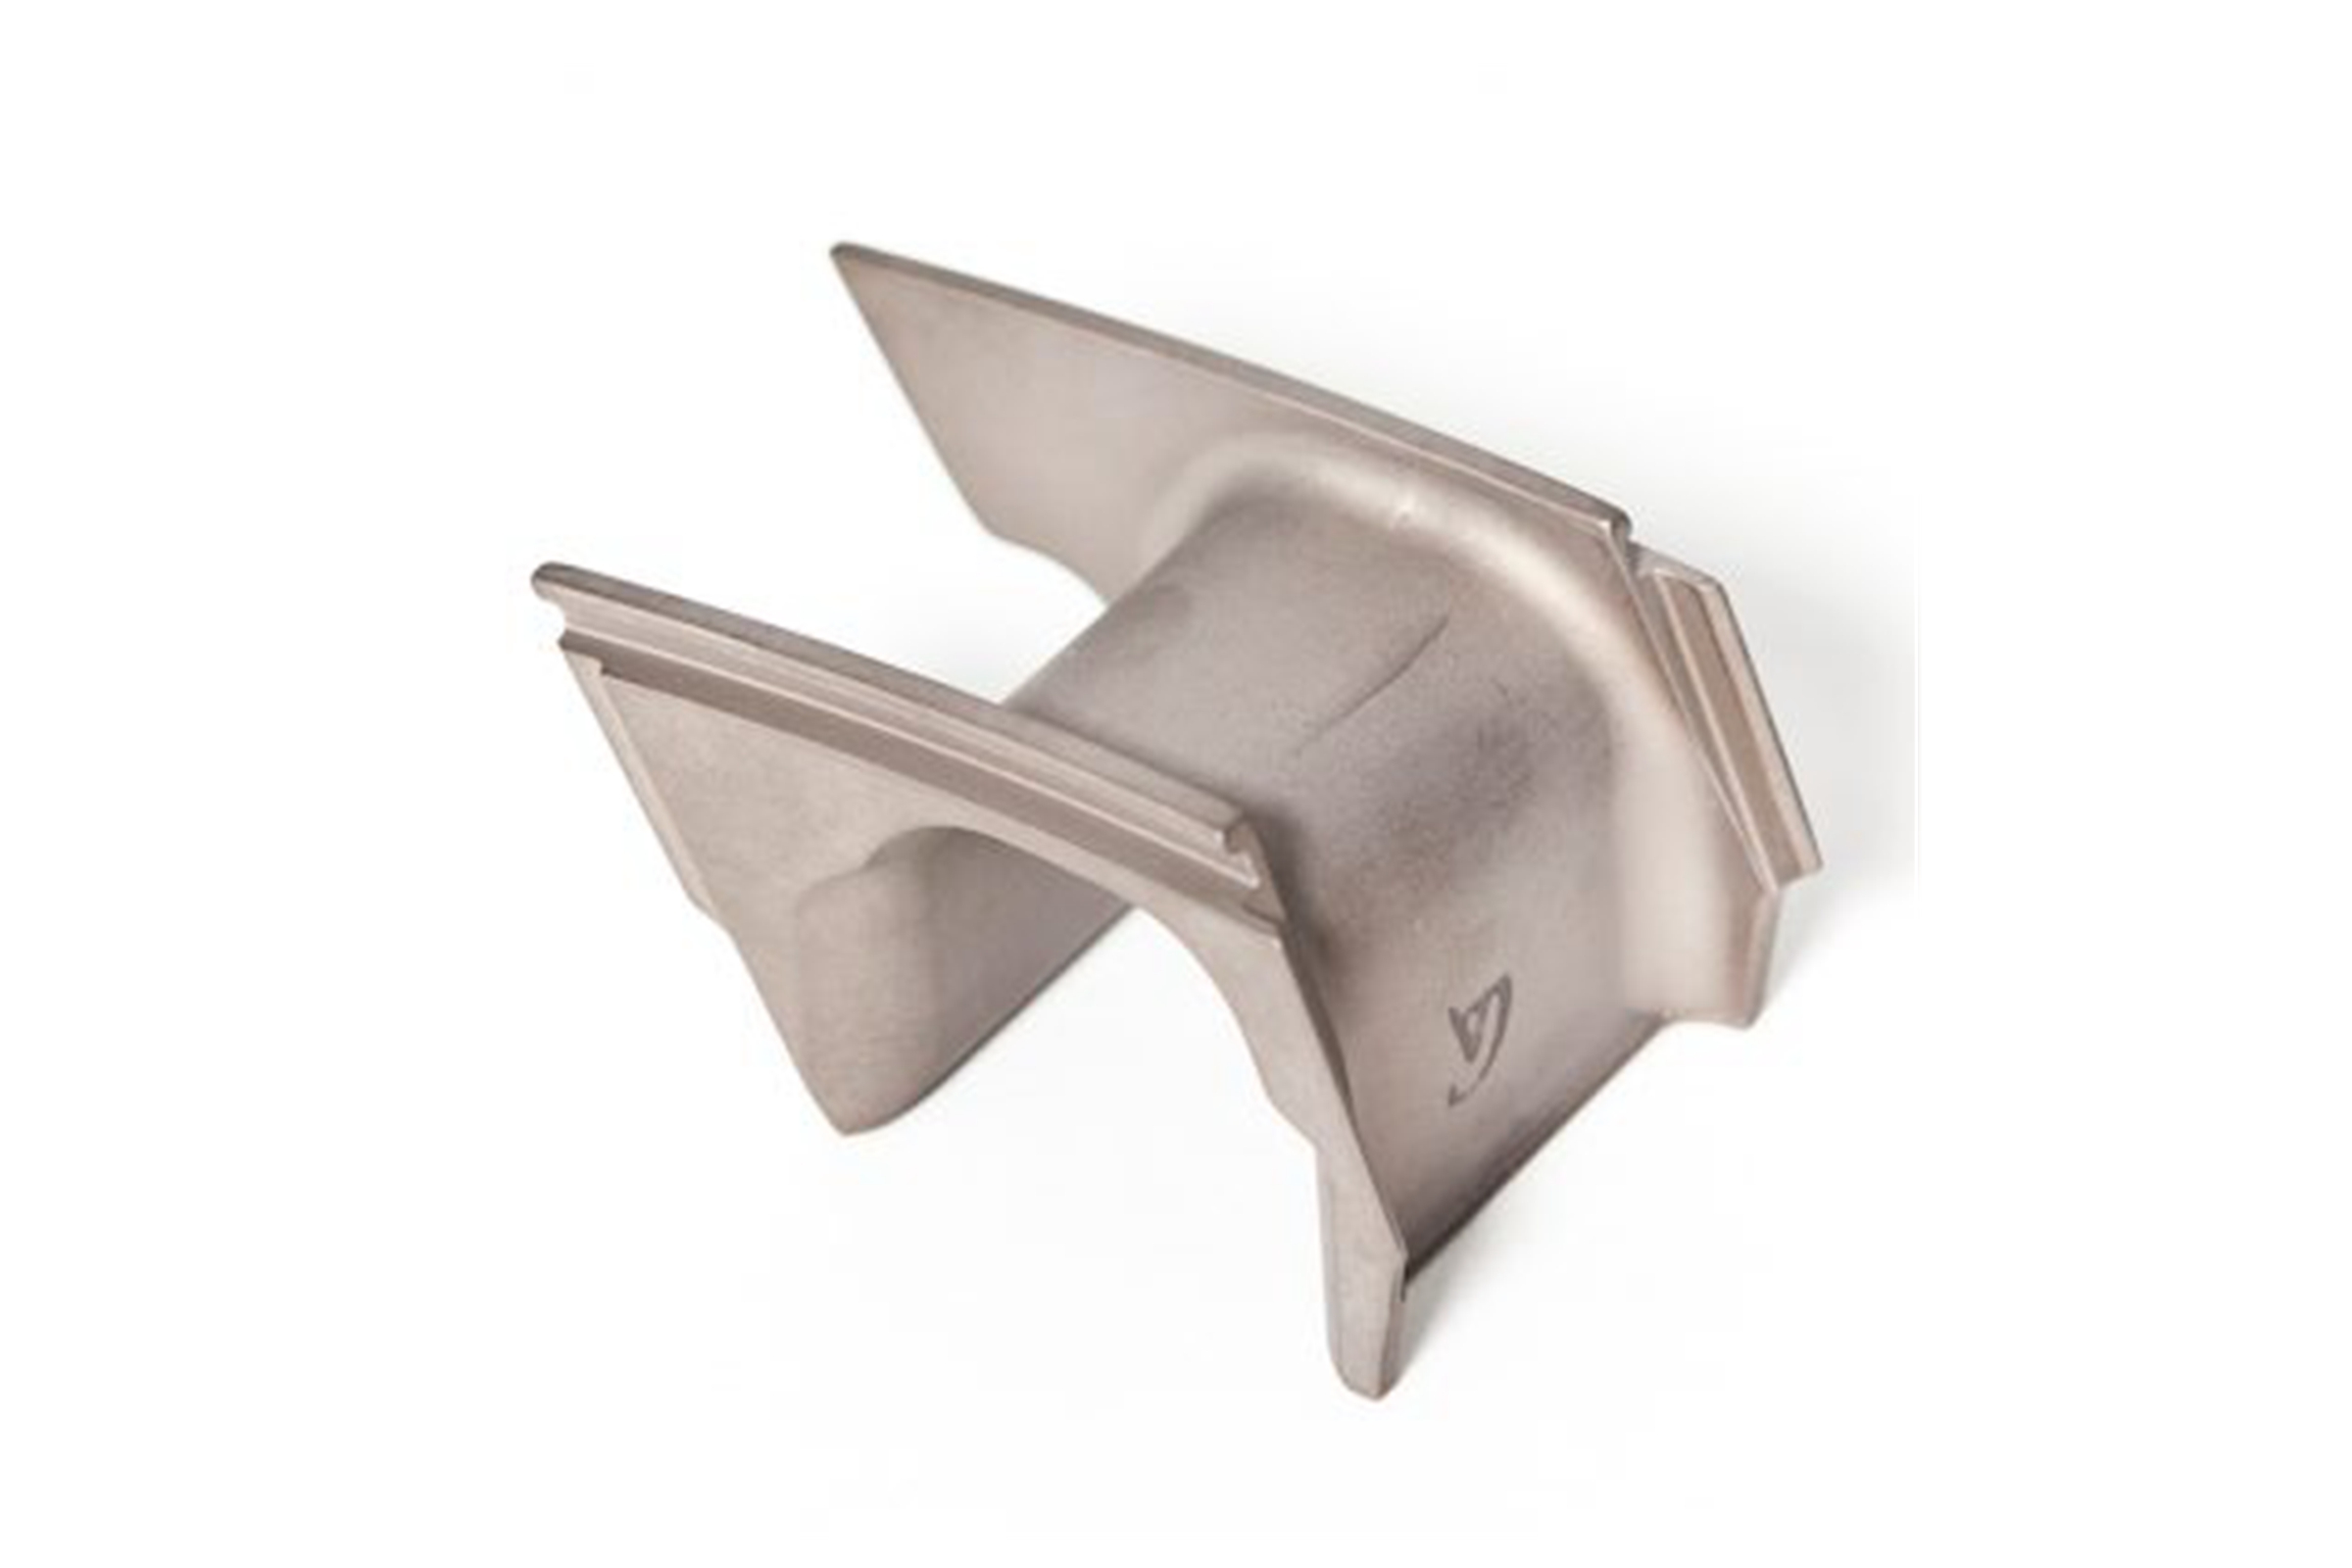
Superalloy castings, including turbine blades, combustion chambers, and nozzle rings, are often manufactured through complex casting processes. These components are vulnerable to defects like porosity, shrinkage, and cracks, which can develop during the cooling and solidification stages. SEM provides a detailed examination of the surface at a microscopic level, identifying such defects and ensuring that the cast parts meet the stringent quality requirements before entering service. This level of inspection is critical in preventing part failures under the extreme operating conditions of high-temperature applications.
Forged Superalloy Parts
Forging processes are widely used to produce high-performance superalloy parts like turbine discs and shafts. These parts are often exposed to surface defects such as cracks, roughness, or inclusions, which can compromise the material's strength and fatigue resistance. SEM inspection is crucial for detecting these surface issues and ensuring that forged components meet the rigorous standards required for applications in industries such as aerospace and power generation. By identifying surface defects early, SEM helps prevent issues that could lead to component failure under operational stresses.
CNC Machined Superalloy Parts
After superalloy castings and forged parts undergo CNC machining to achieve precise dimensional tolerances, SEM is used to inspect the machined surfaces for defects like tool marks, micro-cracks, and surface irregularities. This is particularly important for high-precision components, such as gas turbine blades or aerospace parts, where even the smallest surface flaw can affect performance. SEM helps manufacturers verify that the machined parts meet the exact specifications required for strength, durability, and reliability in critical applications.
3D Printed Superalloy Parts
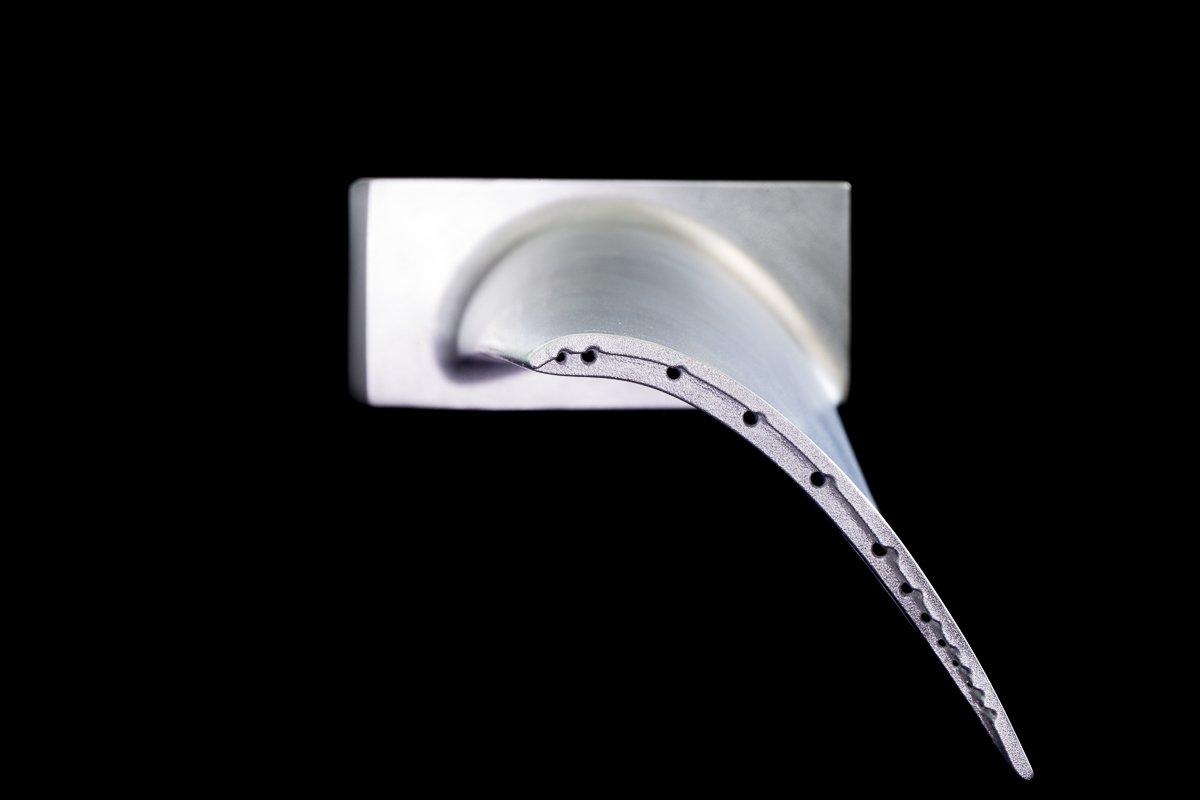
3D printed superalloy parts can create complex geometries not possible with traditional manufacturing methods. However, additive manufacturing can introduce surface defects such as incomplete layer bonding, surface porosity, and excess material. SEM is crucial in inspecting these defects by providing high-resolution images of the printed layers. This inspection ensures that the 3D printed components meet the required material standards for high-performance applications, particularly in industries like aerospace and defense, where the reliability and integrity of parts are paramount.
SEM vs. Other Surface Inspection Processes
While SEM is an excellent tool for identifying surface defects in superalloy castings, it is not the only technique available. Other inspection methods, such as optical microscopy, X-ray inspection, and ultrasonic testing, can also identify defects in superalloy components. However, each of these methods has its limitations when compared to SEM.
SEM vs. Optical Microscopy:
Optical microscopy relies on visible light to examine surface features, which limits its resolution due to the wavelength of light. SEM, on the other hand, uses electrons, which have much shorter wavelengths and allow for higher magnification and greater resolution. This makes SEM far superior to optical microscopy when detecting acceptable surface defects such as micro-cracks or inclusions that would not be visible under a light microscope.
SEM vs. X-ray Inspection:
X-ray inspection is practical for detecting internal defects such as voids, inclusions, or cracks within the material. However, X-rays do not provide the same level of detail for surface defects as SEM. While X-ray inspection helps detect internal flaws, SEM is better suited for examining the material's surface in high resolution. SEM also offers the advantage of performing elemental analysis using techniques such as Energy Dispersive X-ray Spectroscopy (EDS), which is impossible without X-ray inspection.
SEM vs. Ultrasonic Testing:
Ultrasonic testing is a non-destructive testing (NDT) method that detects internal material flaws using sound waves. While it can detect more profound internal defects, it is less effective for surface defect analysis. SEM provides much higher resolution and can capture detailed surface images, making it the preferred method for identifying minor surface defects like cracks, porosity, and inclusions.
SEM vs. Metallographic Microscopy:
Metallographic microscopy involves examining the microstructure of a material by slicing and polishing it to reveal its internal structure. While metallographic microscopy is an excellent method for studying the bulk properties of materials, it lacks the detailed surface analysis capabilities of SEM. SEM provides higher-resolution imaging and allows for detecting surface defects in three dimensions, which is a significant advantage in defect identification.
Industries and Applications for Identifying Surface Defects in Superalloy Castings Using SEM
Identifying surface defects in superalloy components is essential across various industries, particularly those where component failure can result in catastrophic consequences. Scanning Electron Microscopy (SEM) ensures the integrity of high-performance superalloy components used in aerospace, power generation, and military applications.
Aerospace and Aviation
In aerospace and aviation applications, components like turbine blades, combustion chambers, and nozzle rings are subjected to extreme pressure and temperature conditions. Any surface defect can lead to catastrophic failure. SEM is critical in ensuring these components are free from defects such as cracks or porosity before they are used in flight-critical systems. For instance, parts like superalloy jet engine components are thoroughly examined using SEM to detect microscopic surface flaws that could affect their performance during high-stress operations.
Power Generation
Superalloy castings used in power generation, such as turbine blades and heat exchangers, must withstand high temperatures and pressures for extended periods. Surface defects can compromise the performance and longevity of these components. SEM provides the detailed surface imaging needed to ensure defects are detected early and addressed before failure occurs. Components like superalloy heat exchanger parts are critically assessed to identify defects that could cause inefficiency or unsafe conditions in power plants.
Oil and Gas
In the oil and gas industry, superalloy castings are used in harsh environments such as gas turbines and pumps, where high temperatures, corrosive elements, and mechanical stresses are ordinary. SEM helps identify surface defects in these components, ensuring they can operate reliably and safely under extreme conditions. For example, superalloy pump components are examined with SEM to detect microcracks, corrosion, or other flaws that could lead to system failure in critical oil and gas operations.
Military and Defense
Military-grade superalloy components, including missile casings, armor systems, and propulsion parts, are critical to national security. Any surface defect can significantly affect the performance and safety of these components. SEM provides the high-resolution imaging necessary to identify and address surface defects that could compromise mission success. Parts like superalloy armor system parts are inspected to ensure that they meet rigorous standards for reliability and durability in extreme conditions.
Automotive and Chemical Processing
In automotive and chemical processing industries, superalloy parts are used in engine components, pumps, and reactors that require high performance under stress. SEM is essential for identifying surface defects that could affect the functionality of these parts in demanding environments. For example, superalloy pump components and reactor parts undergo SEM analysis to ensure their surfaces are free from imperfections that could lead to failure in high-temperature or corrosive conditions.
SEM is invaluable in identifying surface defects in superalloy castings across various industries. By providing detailed and accurate imaging of surface features, SEM ensures that superalloy components meet the highest standards of quality, safety, and performance in critical applications.
FAQs
What types of surface defects can SEM detect in superalloy castings?
How does SEM differ from X-ray inspection for surface defect detection?
Can SEM be used to inspect 3D printed superalloy parts for defects?
How does SEM contribute to the quality control process in aerospace manufacturing?
What are the limitations of using SEM for surface defect identification in superalloy components?


