How Metallographic Microscopy Optimizes Superalloy Castings Fatigue Resistance
Metallographic microscopy is essential in enhancing superalloy castings' fatigue resistance. Superalloys are vital in high-temperature and high-stress applications such as turbine blades, combustion chambers, and reactor vessel components. These alloys are often subjected to severe operating conditions, which can lead to fatigue failure. The role of metallographic microscopy in optimizing fatigue resistance lies in its ability to examine the material's microstructure, identifying critical flaws and properties that influence the alloy's performance over time.

By closely analyzing the grain structure, phase distribution, and inclusion levels within superalloy castings, metallographic microscopy allows manufacturers to detect potential weak points that could lead to fatigue cracks. This is especially important for components that experience cyclical loading and high thermal stresses, such as aerospace, power generation, and military defense industries. These sectors demand components that can withstand extreme conditions without failing prematurely.
The microstructural analysis provided by metallographic microscopy also helps refine alloy compositions and heat treatments, allowing engineers to improve fatigue resistance by optimizing grain size and phase stability. For example, large inclusions or porosity can significantly weaken the material's performance, leading to premature fatigue failure. Early detection of such flaws ensures the final product meets the rigorous performance standards required for critical applications.
What is Metallographic Microscopy and Its Role in Superalloy Castings?
Metallographic microscopy is a powerful technique used to study the microstructure of materials. In superalloys, a sample is prepared by polishing and etching the surface to reveal the grain structure and other microstructural features. The prepared sample is then examined under a microscope, typically an optical microscope or a scanning electron microscope (SEM), to identify characteristics like grain boundaries, phases, porosity, inclusions, and other microscopic features that could impact the material's properties.
In superalloy castings, metallographic microscopy is a critical tool for understanding how the material's internal structure influences its performance, especially under cyclic loading conditions. For instance, the size and distribution of grains, the presence of defects like porosity, and the material's homogeneity can all significantly affect fatigue life. By visualizing these features, engineers can gain insights into the material's ability to resist crack initiation and propagation, which are critical to ensuring the component’s long-term durability in demanding applications.
The Function of Metallographic Microscopy in Fatigue Resistance
Fatigue failure is one of the most common failure modes in superalloy components. It occurs when a material is subjected to repeated or fluctuating stresses over time, leading to the initiation and growth of cracks, eventually causing the component to fracture. The primary function of metallographic microscopy in this context is to reveal the underlying microstructural features that affect the material's resistance to fatigue.
Metallographic microscopy allows for a detailed examination of the material’s grain structure, which plays a significant role in its fatigue resistance. A fine, uniform grain structure can enhance the material’s ability to withstand cyclic stresses by providing more grain boundaries to obstruct crack propagation. Conversely, a coarse or uneven grain structure can create pathways for cracks to propagate, reducing the material's fatigue life. This analysis is essential in casting processes like vacuum investment casting, where grain structure uniformity is critical for ensuring the long-term performance of parts such as turbine blades and gas turbines.
Another critical factor is porosity. Superalloy castings, especially those produced through vacuum investment casting, are susceptible to forming small voids or pores during solidification. These pores can serve as initiation sites for cracks under cyclic loading. Metallographic microscopy allows for detecting these pores and their distribution within the material. By identifying regions of higher porosity, manufacturers can make design or process adjustments to minimize the risk of fatigue failure. Ensuring minimal porosity for high-performance components in aerospace and energy can significantly improve fatigue resistance.
Additionally, inclusions—foreign particles such as oxides or carbides—can weaken the material and serve as stress concentrators, further promoting crack initiation. These inclusions can be detected through metallographic analysis, and their size, shape, and distribution can be assessed. This information is vital for improving casting processes, such as superalloy directional casting, to reduce the occurrence of inclusions and optimize fatigue resistance. This is especially important in critical components that face extreme stresses, like turbine discs and combustion chambers.
Metallographic microscopy is also used to observe phase transformations in superalloys. Many superalloys contain multiple phases that contribute to their high-temperature strength. These phases must be stable under the expected operating conditions of the component. Through metallographic examination, observing how different phases are distributed within the alloy and how they interact is possible. Optimizing phase distribution can enhance fatigue resistance by improving the overall strength and stability of the material. This is particularly crucial for processes like single crystal casting, where the goal is to ensure phase uniformity for enhanced mechanical properties in parts exposed to extreme conditions, such as those used in gas turbines.
Superalloy Parts That Benefit from Metallographic Microscopy
Metallographic microscopy is essential for inspecting superalloy parts, ensuring their reliability and durability in extreme operating conditions. Superalloy components must meet rigorous performance standards, whether produced through casting, forging, CNC machining, or 3D printing. Below are key superalloy parts that benefit from metallographic microscopy:
Superalloy Castings
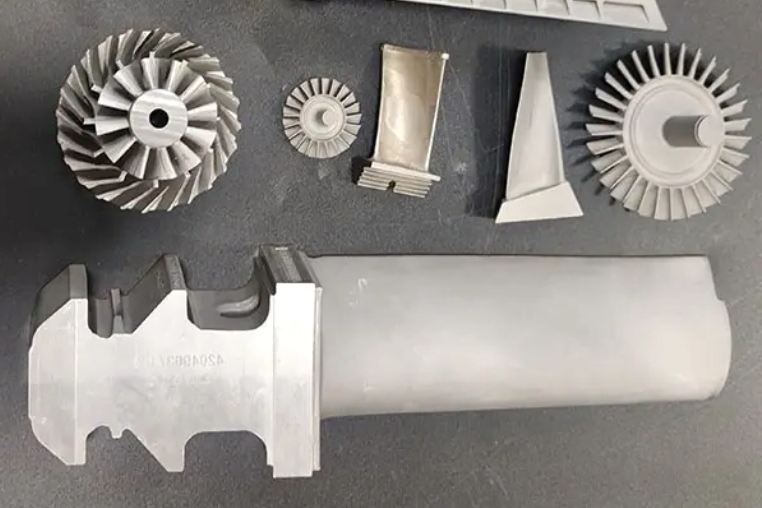
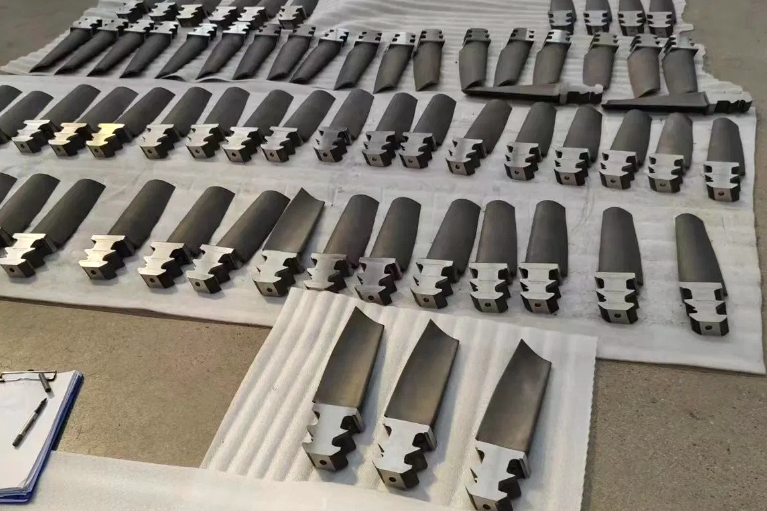
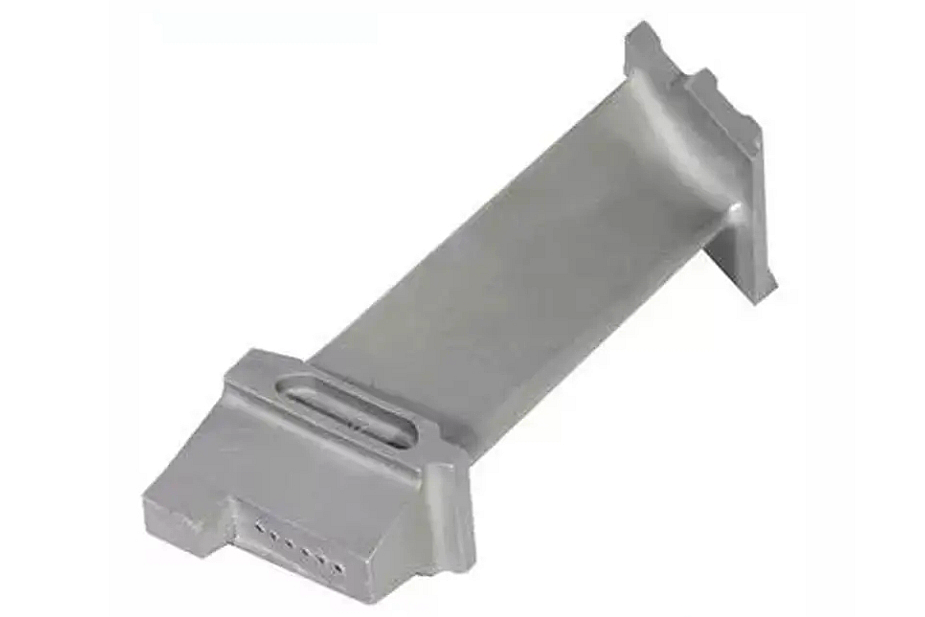
Superalloy castings, such as turbine blades, combustion chambers, and nozzle rings, are critical in aerospace, power generation, and defense applications. Vacuum investment casting is commonly used to produce these parts, but the complex nature of the casting process makes them susceptible to defects like porosity, shrinkage, and inclusions. Metallographic microscopy is crucial for examining the microstructure of these parts, ensuring uniform grain structure, minimal porosity, and the absence of harmful inclusions. This analysis helps to identify potential failure points and optimize the casting process to improve fatigue resistance and overall part quality.
Forging Parts
Superalloy forging parts, such as turbine discs, shafts, and other engine components, undergo intense mechanical stresses during operation. The forging process enhances the mechanical properties of these parts, but it can also introduce subsurface defects that may go undetected without proper inspection. Metallographic microscopy helps to ensure a fine grain structure and uniform material properties throughout the forged part. By identifying defects such as inclusions or voids, engineers can optimize the forging process, enhancing part strength and fatigue resistance, which is crucial for high-stress applications in aerospace and power generation industries.
CNC Machined Superalloy Parts
Many high-precision components, such as engine parts, seals, and mechanical assemblies, are made from superalloys and undergo CNC machining for final shaping. These parts must meet tight tolerances and perform reliably under cyclical stresses. Metallographic microscopy examines the machined surfaces, ensuring that the microstructure has not been adversely affected during machining. This inspection ensures that the material is free from defects such as cracks or microstructural alterations, allowing the part to maintain its strength and durability in demanding environments.
3D Printed Superalloy Parts
With the increasing use of 3D printed superalloy parts in industries like aerospace and medical devices, metallographic microscopy becomes an important method for ensuring the quality of these components. Additive manufacturing allows for complex geometries and lightweight designs but can introduce defects such as porosity, incomplete fusion, or irregular grain structures. Metallographic analysis helps to ensure that the printed layers are fused properly and that the part’s microstructure meets the required performance specifications. This is critical to ensuring the fatigue resistance and overall reliability of 3D-printed components used in high-performance applications.
Comparison with Other Processes
While metallographic microscopy is an invaluable tool for detecting microstructural issues affecting fatigue resistance, it is often used in conjunction with other nondestructive testing (NDT) methods to analyze a material’s condition comprehensively.
X-ray Inspection
X-ray inspection is another commonly used method for detecting internal defects in superalloy castings, such as porosity or cracks. However, while X-ray techniques can detect large-scale voids or cracks, they do not provide detailed information about the material’s microstructure. In contrast, metallographic microscopy allows for a much deeper analysis of grain structure, phase distribution, and fine-scale defects often invisible to X-rays.
Ultrasonic Testing
Ultrasonic testing is another widely used NDT technique that can detect internal defects in metal parts. It is particularly useful for detecting larger cracks or delaminations. However, like X-ray inspection, ultrasonic testing does not provide the level of detail necessary for understanding the microstructural aspects of fatigue resistance. Metallographic microscopy can complement ultrasonic testing by offering detailed information about the material's internal structure and identifying microstructural factors that could affect fatigue life.
Scanning Electron Microscopy (SEM)
Scanning electron microscopy (SEM) offers much higher magnification and resolution than optical metallographic microscopy, making it capable of detecting finer details, such as microcracks or phase transformations at the nanoscale. However, SEM is more expensive and time-consuming than standard optical microscopy, making it less suitable for routine inspections. Metallographic microscopy remains an essential tool for general fatigue analysis due to its balance of detail, cost-effectiveness, and ease of use.
Tensile Testing
Tensile testing measures the material’s response to stretching forces and provides valuable data on its overall strength. While tensile testing is important for determining the material's general mechanical properties, it does not provide detailed insights into its microstructural features that influence fatigue resistance. Metallographic microscopy provides a deeper understanding of these microstructural elements, allowing for more targeted improvements in fatigue resistance.
Industry Applications and Importance of Metallographic Microscopy in Optimizing Fatigue Resistance of Superalloy Castings
Metallographic microscopy plays a crucial role in optimizing the fatigue resistance of superalloy castings, especially in industries where high-performance materials are needed to withstand extreme operational conditions. The ability to detect microstructural defects and optimize material properties is critical to ensuring the longevity and safety of components in industries like aerospace, power generation, and defense. Here’s how metallographic microscopy contributes to improving fatigue resistance across various industries:
Aerospace and Aviation
In aerospace and aviation, components like turbine blades, combustion chambers, and nozzle rings experience extreme cyclic stresses at high temperatures. Metallographic microscopy helps ensure that these components are free from microstructural defects, such as porosity or cracks, that could lead to catastrophic failures during operation. The ability to optimize grain structure and minimize porosity significantly enhances the fatigue resistance of these critical parts, ensuring the reliability of parts like superalloy turbine blades and combustion chambers.
Power Generation
In power generation, turbine discs, heat exchangers, and reactor vessel components are subjected to high pressures and fluctuating temperatures. These parts must have excellent fatigue resistance to ensure safe and reliable operation over long periods. Metallographic microscopy helps optimize the material’s microstructure, improving its ability to withstand cyclic loading. For example, components like superalloy heat exchangers are inspected to ensure they can endure the thermal and mechanical stresses in power plant environments.
Oil and Gas
In the oil and gas industry, valves, pumps, and compressors are exposed to high-pressure and fluctuating environmental conditions. Metallographic microscopy examines these components and optimizes their microstructure for improved fatigue resistance. Ensuring that components like superalloy pumps and valve systems can withstand demanding operational environments without premature failure is essential to maintaining the safety and efficiency of oil and gas infrastructure.
Automotive
In automotive applications, engine components, exhaust systems, and transmission parts experience constant loading and unloading. Metallographic microscopy helps manufacturers improve their fatigue resistance by examining the microstructure of these components. This leads to longer-lasting, more reliable parts, such as superalloy exhaust system parts and transmission components, which can withstand the stresses of daily operation while maintaining performance.
Defense and Military
Fatigue resistance is critical in defense applications, where components like missile segments, armor systems, and naval propulsion parts must perform under extreme conditions. Metallographic microscopy plays a key role in ensuring these components meet stringent reliability standards, preventing fatigue failure during mission-critical operations. For example, superalloy missile segments and armor system parts are thoroughly inspected to ensure they are free from defects that could compromise their performance.
Nuclear
In nuclear applications, components like reactor vessel parts, control rods, and pressure vessels are exposed to thermal and mechanical cycling. Metallographic microscopy is used to optimize their fatigue resistance, ensuring that these parts maintain their integrity throughout their lifespan under extreme conditions. The durability of components such as reactor vessel components is critical to the safe operation of nuclear reactors, and microstructural analysis plays an essential role in ensuring that these parts perform reliably over time.
Metallographic microscopy is a powerful tool for optimizing the fatigue resistance of superalloy castings, ensuring that components across these industries can withstand extreme conditions and continue to perform reliably over their intended lifespan.
FAQs
How does metallographic microscopy help in detecting microstructural defects in superalloy castings?
What are the advantages of using metallographic microscopy over other non-destructive testing methods?
Can metallographic microscopy be used to improve fatigue resistance in 3D printed superalloy parts?
What is the impact of porosity on the fatigue resistance of superalloy castings?
How does metallographic microscopy contribute to optimizing the grain structure of superalloy components for enhanced fatigue life?


