How 3D Scanning Keeps Single Crystal Casting Turbine Vanes Aligned with CAD Models
Single crystal casting is critical in producing turbine vans, particularly in high-performance applications such as aerospace, power generation, and military industries. These turbine vanes must meet extremely tight dimensional and structural requirements to perform reliably under extreme heat, pressure, and mechanical stress. One of the most advanced methods for ensuring the quality and accuracy of these parts is 3D scanning. This technology is pivotal in aligning turbine vanes with their original CAD models, ensuring that the final parts meet the specifications for optimal performance.

By capturing detailed surface geometry data of the turbine vanes, 3D scanning provides a non-contact, highly accurate method for checking dimensional tolerances and identifying surface defects. This ensures that each part is free from defects and meets the expected performance standards in aerospace and power generation industries. Verifying that turbine vanes match their design specifications through 3D scanning helps prevent costly errors, improve part reliability, and ensure that the components function efficiently during operation.
What is This Process?
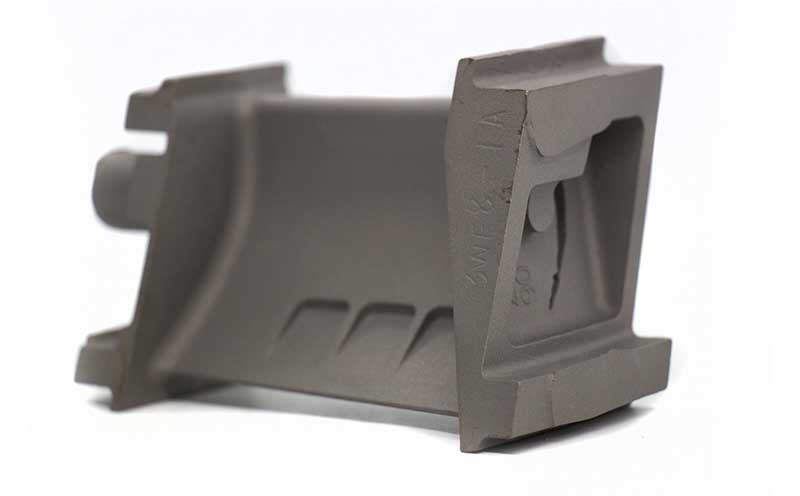
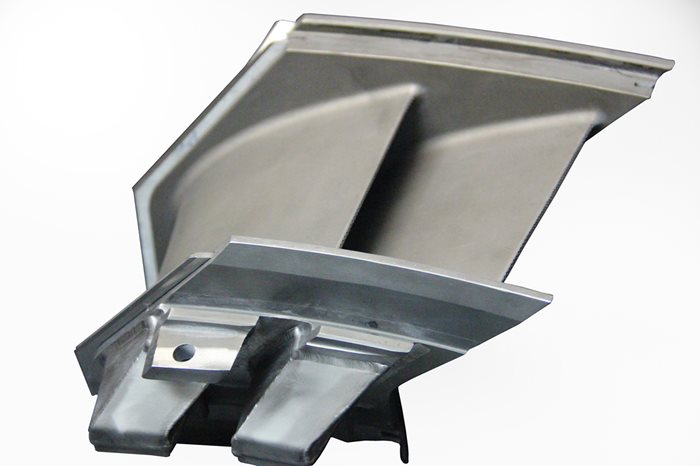
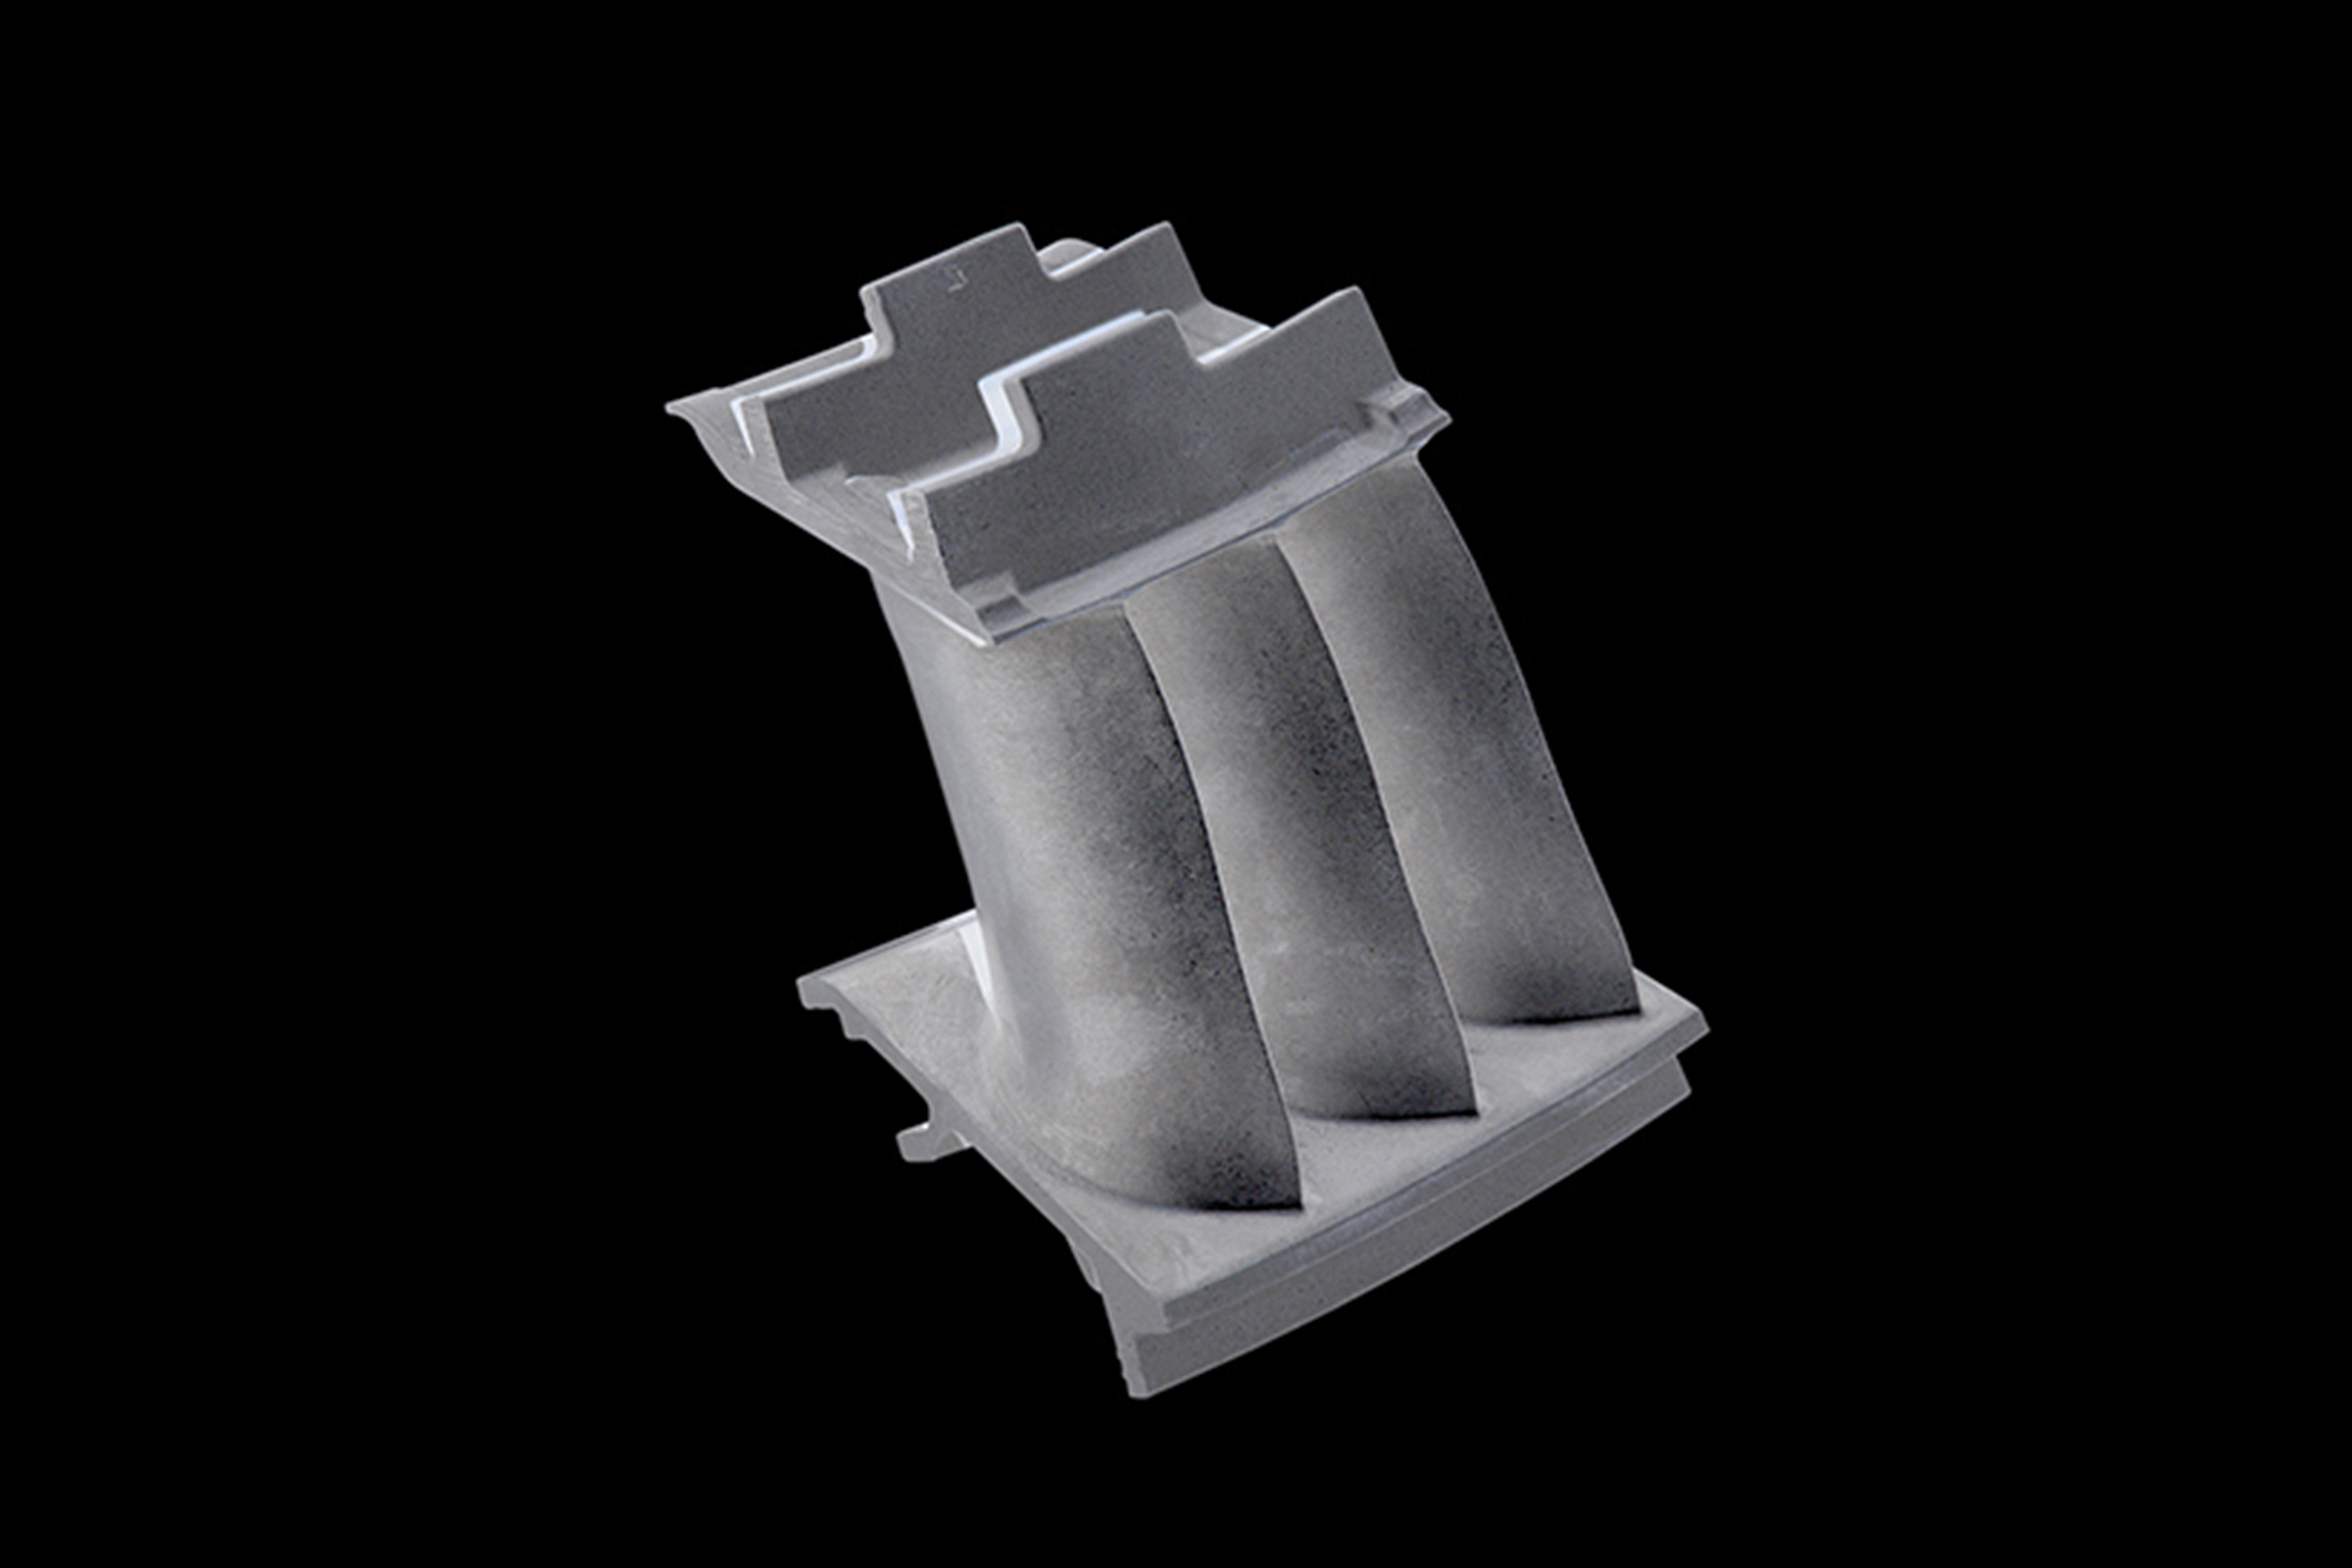
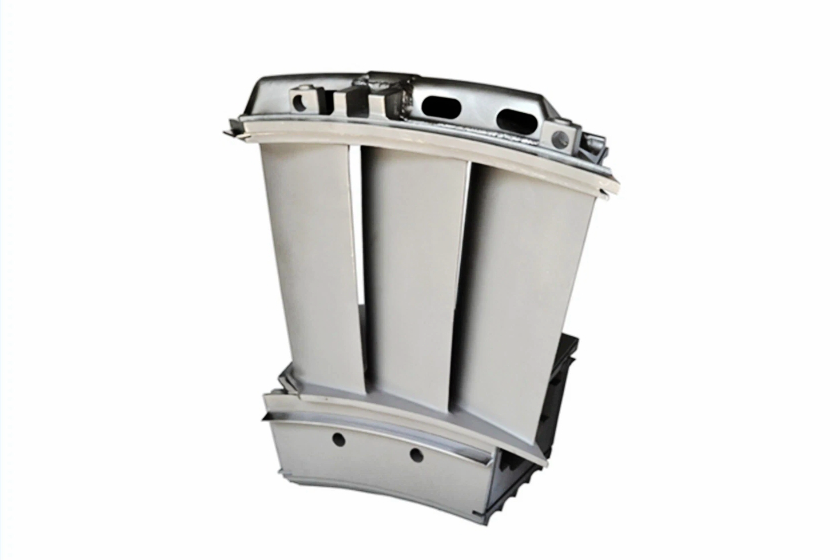
Single crystal casting involves creating a turbine vane from a single crystal of metal, typically a superalloy like Inconel, CMSX, or Rene alloys, specially formulated for high-temperature resistance. The casting process produces highly intricate and complex geometries, often required to be perfectly aligned with design specifications. These turbine vanes are commonly used in gas turbines, jet engines, and other critical applications where heat resistance and precise structural integrity are paramount.
To verify the dimensional accuracy of these complex geometries, 3D scanning technology is employed. 3D scanning systems, such as laser and structured light scanners, capture detailed surface data from the turbine vane. The data is then used to create a 3D model of the physical part, which can be directly compared to the original CAD (Computer-Aided Design) model used in the design and manufacturing process. This comparison ensures deviations or inaccuracies are identified early in the production cycle, preventing costly rework or part failure.
The 3D scanning process typically involves non-contact measurement, which allows for accurate data collection without risking damage to the delicate surface of the single crystal casting. High-resolution scanners can capture minute details of the turbine vane's surface, enabling the detection of defects such as surface irregularities, cracks, or distortions that could otherwise compromise the part's performance. These advanced inspection methods ensure that the parts meet stringent quality and performance standards required for high-temperature applications.
The Function of This Process
The primary function of 3D scanning in producing single-crystal turbine vanes is to ensure that the part's physical geometry aligns precisely with the design intent outlined in the CAD model. This level of accuracy is essential in industries where even the slightest deviation can lead to catastrophic failure. 3D scanning allows manufacturers to check the dimensional accuracy of the turbine vane against the original CAD model, ensuring that it will perform as expected in real-world applications, especially in environments like aerospace and power generation, where precision is critical.
One of the key benefits of 3D scanning is its ability to provide real-time feedback. When a part is scanned, the software can immediately compare the scanned data to the CAD model, highlighting any deviations or discrepancies. This rapid inspection process reduces the need for manual measurement and increases the speed of quality control, leading to shorter production times and lower costs. Real-time feedback ensures that each part is manufactured to the highest standards in single crystal casting, where tight tolerances and high-performance specifications are required.
In addition to dimensional accuracy, 3D scanning is crucial for detecting surface defects. Single crystal turbine vanes must have a smooth, flawless surface to withstand the extreme conditions inside gas turbines. Any slight surface imperfection can result in premature failure due to fatigue or erosion. By using 3D scanning to inspect the vane's surface, manufacturers can identify potential issues before they affect its performance, ensuring that only the highest-quality parts are used in critical applications, such as turbine disc manufacturing.
Which Superalloy Parts Are Needed
In the production of turbine vanes, several types of superalloy parts are typically required, each with its demands regarding precision and material properties. These parts include superalloy castings, forging parts, CNC machined superalloy parts, and 3D printed superalloy parts, all of which benefit from 3D scanning technology to ensure they meet design specifications.
Superalloy Castings
Single crystal turbine vanes are typically created by casting using high-temperature alloys such as Inconel 718, CMSX-10, or Rene 104. These superalloy castings must maintain the integrity of their complex geometries and resist deformation during casting. 3D scanning ensures the casting produces parts that align with the original CAD model. The scanning data verifies critical features, such as the vane's intricate cooling channels, leading edges, and internal structures. The high-resolution scanning ensures that even the most minor deviations from the CAD model are detected early in the process, which helps reduce defects in the final product.
Forging Parts
In addition to casting, turbine vanes are often produced through forging, enhancing mechanical properties. Superalloy turbine vanes may undergo hot isostatic pressing (HIP), precision forging, or other forms of mechanical shaping. 3D scanning is used here to verify the geometry of the forged parts and ensure they meet the tight tolerances required for the final assembly. The non-contact nature of 3D scanning allows for high-speed inspection of large forged parts, ensuring they match the CAD design without disturbing their surface or geometry.
CNC Machined Superalloy Parts
Once a turbine vane has been cast or forged, it may undergo CNC machining to achieve final shape and precision. CNC machining can refine critical features such as surface finish, cooling passages, and aerodynamic contours. 3D scanning technology is beneficial here for inspecting the post-machined part. After the vane is machined, a 3D scanner can quickly capture the detailed geometry of the part and compare it to the CAD model, identifying any machining errors, such as tool marks or misalignments, that could affect performance. This process ensures that the final part meets all specifications and can be used safely in operational environments.
3D Printed Superalloy Parts
Additive manufacturing, or 3D printing, is emerging as a valuable technique for producing turbine vanes and other complex aerospace components. While the technology is still evolving, 3D printing offers unique advantages for creating difficult or impossible geometries using traditional casting or forging methods. Parts made from superalloys such as Inconel or CMSX can be 3D printed layer by layer, and 3D scanning plays a vital role in verifying the accuracy of these parts. Scanning allows manufacturers to check the printed part against the CAD model and ensure the geometry is consistent with the design intent. This is particularly important for ensuring the structural integrity of critical components in turbine applications.
Compared with Other Processes
Traditional inspection methods, such as CMM (Coordinate Measuring Machines) or manual gauging, are commonly used in manufacturing to check the dimensional accuracy of parts. While these methods have advantages, they are often time-consuming and can struggle to handle complex geometries, especially when it comes to curved surfaces and intricate details found in turbine vanes. For precise dimensional verification, advanced inspection methods are essential for complex superalloy parts.
CMM machines, for example, rely on a probe to physically touch the part, which can be slow and prone to human error. Additionally, measuring small or intricate features can be challenging with traditional methods. In contrast, 3D scanning offers several advantages over these traditional techniques, mainly when testing superalloy turbine vanes.
3D scanning is a non-contact process that can quickly capture the entire surface of a part, including its most complex geometries. The scan data is then used to generate a 3D model that can be directly compared to the CAD model in real time, significantly speeding up the inspection process. The ability to accurately capture detailed surface information reduces the risk of human error and eliminates the need for multiple inspection cycles. Moreover, the data captured by 3D scanners is far more comprehensive than what can be obtained using traditional methods, providing a more complete picture of the part's dimensional accuracy. For non-destructive testing, 3D scanning ensures a thorough inspection without compromising the part’s integrity.
Industry and Application of 3D Scanning Technology
3D scanning technology has broad applications across various industries where precision and reliability are essential.
Aerospace and Aviation
In the aerospace and aviation industry, turbine vanes play a critical role in the performance of jet engines. To ensure engine efficiency, safety, and longevity, these parts must be produced to exact specifications. The high performance of jet engines, which must operate under extreme temperatures and mechanical stresses, relies heavily on the dimensional accuracy of turbine components. By using 3D scanning to ensure that turbine vanes are perfectly aligned with their CAD models, manufacturers can reduce the risk of failure and improve engine efficiency. This technology helps aerospace manufacturers meet the stringent quality requirements for both commercial and military jet engines.
Power Generation
In the power generation industry, gas turbines used in power plants also rely on turbine vanes to perform at high temperatures. The increased accuracy and inspection capabilities offered by 3D scanning help ensure that each vane maintains its integrity under operating conditions. This leads to increased reliability and a longer lifespan for the turbine, reducing downtime and maintenance costs. For critical power plant operations, where system failure can have significant economic and environmental impacts, 3D scanning ensures the precision of components like turbine blades and vanes, contributing to energy systems' overall efficiency and safety.
Oil and Gas
The oil and gas industry also benefits from 3D scanning technology. Turbine vanes used in offshore platforms, drilling equipment, and other high-performance systems must withstand harsh environments. By incorporating 3D scanning into the quality control process, manufacturers can guarantee that turbine vanes meet these applications' strict dimensional and material specifications. Offshore turbines face constant exposure to corrosive seawater, high pressure, and extreme temperatures, so precision in manufacturing is critical to ensuring long-term reliability and safety.
Military and Defense
Finally, the military and defense sectors use turbine vanes in jet propulsion systems, missile components, and naval applications. For these mission-critical systems, precision is a matter of national security. 3D scanning ensures that each part is fabricated to meet rigorous defense standards. The technology helps verify that turbine vanes used in military aircraft engines, missiles, and naval vessels meet the required performance and safety criteria, ensuring that defense systems remain operational and reliable under extreme conditions.
Across these industries, 3D scanning technology enables manufacturers to ensure the highest precision standards in turbine vane production, improving performance, safety, and cost efficiency. This technology is critical in reducing failure rates and extending the lifespan of high-performance components in sectors where reliability is essential.
FAQs
What is the role of 3D scanning in turbine vane production?
How does 3D scanning compare to traditional inspection methods like CMM?
Why is dimensional accuracy critical in single crystal casting turbine vanes?
What types of superalloy parts can benefit from 3D scanning technology?
How does 3D scanning help improve the reliability of turbine vanes in high-performance applications?


