High-Resolution Imaging of Superalloy Components Using SEM
Scanning Electron Microscopy (SEM) is a powerful imaging technique that uses focused electron beams to scan the surface of a sample. This process produces high-resolution images at magnifications far beyond the capabilities of traditional optical microscopy. SEM offers unparalleled imaging quality, enabling detailed observation of materials like superalloys' surface morphology, microstructure, and elemental composition. These are critical for industries requiring materials that can withstand extreme temperatures and harsh environments, such as aerospace and power generation.

The SEM focuses a beam of electrons onto the sample's surface. As the electrons interact with the atoms in the material, they produce various signals, including secondary electrons, backscattered electrons, and X-rays. These signals are then captured to produce highly detailed images of the sample’s surface at a scale as delicate as a few nanometers. This high-resolution imaging is vital for analyzing the fine details of superalloy components subjected to extreme conditions in applications such as military, energy, and oil and gas industries.
Compared to other techniques, SEM offers superior depth of field, meaning it can capture detailed images of complex surfaces in three dimensions. This makes it ideal for analyzing the complex geometries of superalloy castings, forgings, CNC machined parts, and 3D printed components, which often feature intricate microstructures and surface irregularities that require precise inspection. This capability is especially beneficial in sectors like nuclear and marine, where component reliability is critical.
What is a Scanning Electron Microscope (SEM)?
A Scanning Electron Microscope (SEM) is a sophisticated imaging tool used to examine the surface of a material at an extremely high resolution. Unlike traditional optical microscopes, which rely on light to magnify samples, SEM uses a focused beam of electrons to scan the surface of a specimen. These electrons interact with the material's atoms, generating secondary electrons detected by the microscope to create high-resolution images of the sample’s surface.
SEM technology operates at magnifications ranging from 20x to over 1,000,000x, far surpassing the capabilities of optical microscopy. One of its key features is its depth of field, allowing it to capture sharp, detailed images of surface topography and structure even at high magnifications. In addition to imaging, SEM can be equipped with Energy Dispersive X-ray Spectroscopy (EDS) to provide elemental analysis of the sample, allowing for detailed chemical composition profiling.
The Function of High-Resolution Imaging in Superalloy Components
High-resolution imaging of superalloy components using SEM serves several vital functions in the manufacturing and quality control processes. The primary function of SEM in superalloy part inspection is to provide a detailed analysis of surface morphology, microstructure, and material composition.
Surface Characterization
One of the critical strengths of SEM is its ability to examine the surface of a material closely. Superalloy components, particularly those used in high-temperature applications such as turbine blades and combustion chambers, must have flawless surfaces to ensure optimal performance and prevent failure. SEM is highly effective in detecting surface defects such as cracks, porosity, pits, and other irregularities that could compromise the strength and integrity of the part.
For example, SEM can detect micro-cracks that are often invisible to the naked eye but may lead to catastrophic failure under stress. Surface porosity, which can result from casting processes or welding, can also be identified with SEM, allowing manufacturers to address these defects before they lead to part failure in service.
Microstructural Analysis
In addition to surface examination, SEM is widely used for microstructural analysis, allowing manufacturers to assess the internal structure of superalloy components. Superalloys are designed to withstand extreme conditions, and their microstructure plays a crucial role in their mechanical properties, such as strength, flexibility, and resistance to thermal fatigue. SEM provides detailed images of grain boundaries, phase distribution, and precipitates within the material, which are essential for understanding how the material will perform under high-temperature and high-stress conditions.
For example, in superalloy castings and superalloy forgings, SEM can reveal the grain structure and the distribution of alloying elements that affect the material's mechanical properties. Fine residues, which contribute to the strength of the material, can also be examined under high magnification to ensure that the alloy composition meets the required standards.
Elemental Composition
A key feature of SEM is its ability to perform elemental analysis using Energy Dispersive X-ray Spectroscopy (EDS). This technique allows manufacturers to determine the composition of superalloy components at a very localized level. By detecting X-rays emitted from the sample when bombarded by the electron beam, SEM with EDS can identify the presence of specific elements such as nickel, cobalt, iron, and titanium, as well as trace elements that may influence material performance.
Elemental analysis is critical in ensuring that the correct alloying elements are present in the superalloy and that the material has the desired properties for its intended application. In the case of superalloy castings or CNC machined parts, for instance, SEM with EDS can be used to verify the uniformity of the alloy and ensure there are no contaminating elements that could weaken the material.
Failure Analysis
SEM is also an invaluable tool in failure analysis. When a superalloy component fails, SEM can be used to examine the fracture surfaces and identify the root cause of failure. Whether the failure is due to fatigue, corrosion, or thermal stress, SEM allows for a detailed examination of the fracture surfaces at the microstructural level.
In the aerospace industry, for example, SEM can help determine if a turbine blade failure was caused by fatigue cracks or thermal cycling. Similarly, in power generation, SEM can identify if a turbine disc has failed due to material degradation or surface corrosion. The ability to perform failure analysis at the microscopic level helps manufacturers improve their designs and manufacturing processes to prevent future failures.
Superalloy Parts That Require High-Resolution Imaging Using SEM
Superalloy components are vital in high-performance applications where material properties are critical for safety and functionality. Scanning Electron Microscopy (SEM) provides high-resolution imaging that allows for the detection of defects and structural issues in superalloy parts, ensuring they meet the strict requirements of industries like aerospace, energy, and defense.
Superalloy Castings
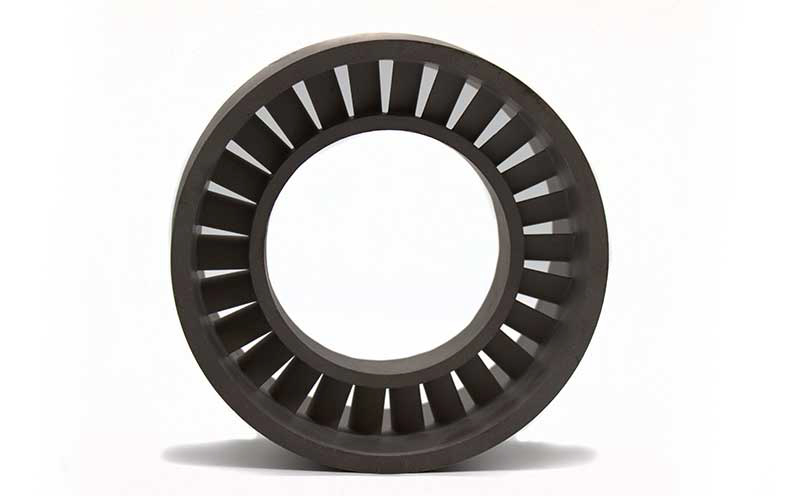
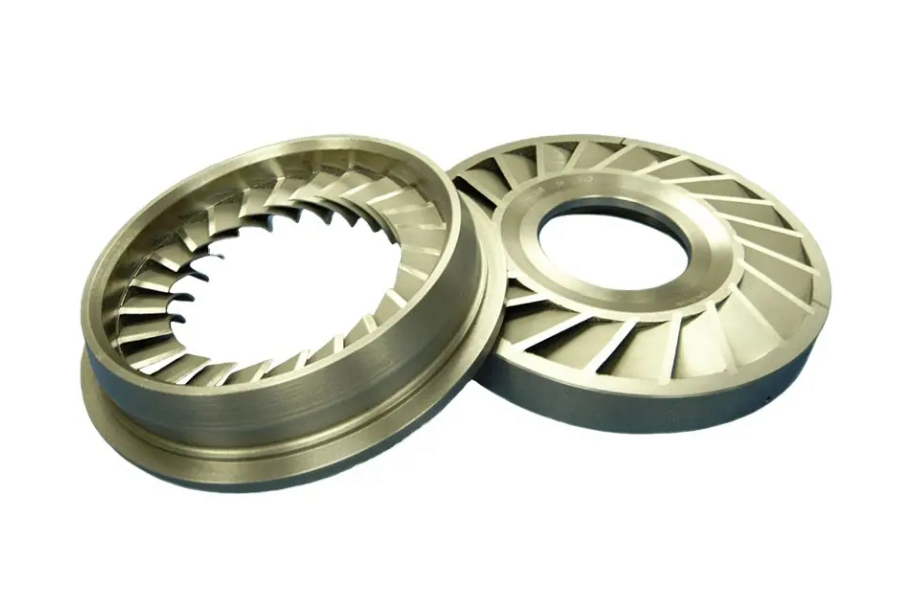
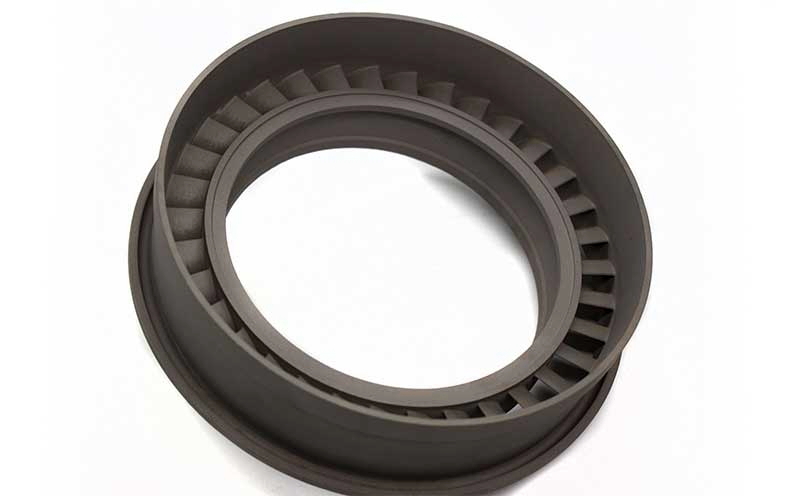
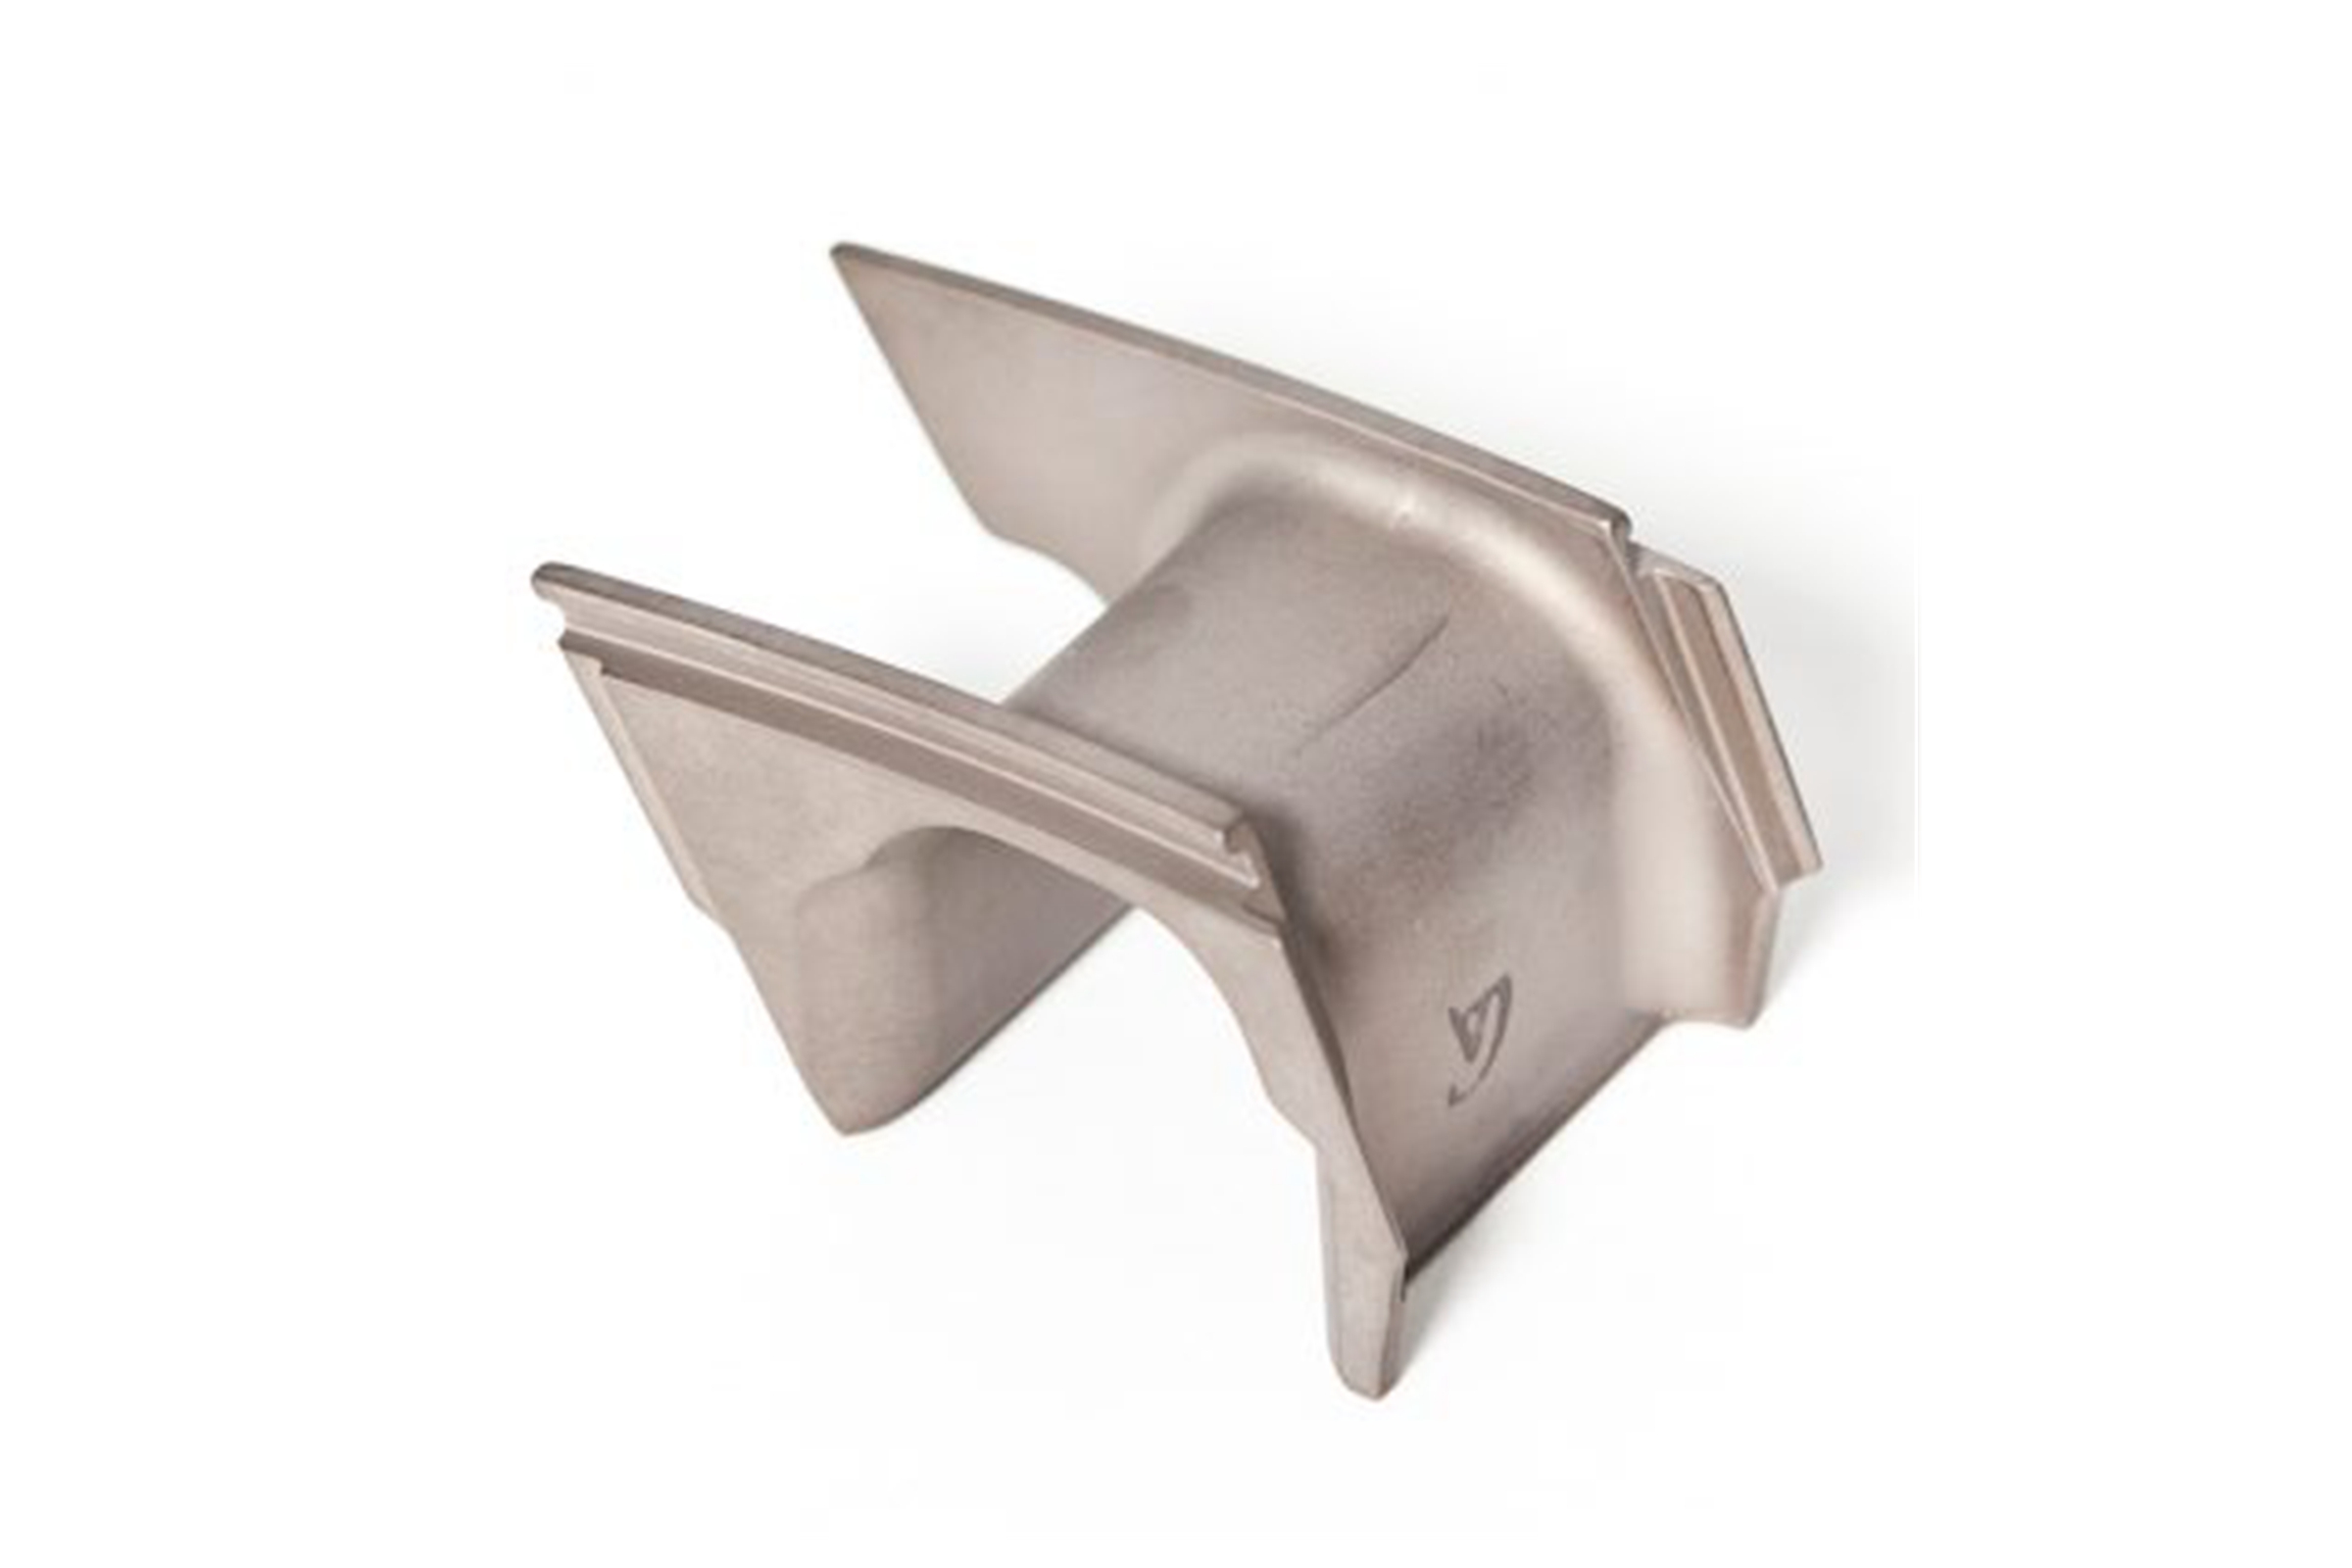
Superalloy castings are used in applications such as turbine blades, combustion chambers, and nozzle rings, where material performance under high stress and temperature is essential. SEM is invaluable in identifying defects such as porosity, cracks, and segregation that may occur during the casting process. High-resolution imaging enables detailed microstructure examination, including grain boundaries and phase distribution, ensuring the castings meet the required material specifications. By detecting issues during solidification, SEM helps prevent potential performance failures in critical applications like gas turbines.
Forged Superalloy Parts
Control of grain flow and material integrity is crucial in forging superalloy parts, such as turbine discs and shafts. SEM is used to analyze the grain structure in forged components and detect inclusions, cracks, or other defects that might arise during the forging process. These issues can impact the parts' strength, fatigue resistance, and thermal stability. SEM ensures that the forged superalloy parts meet the stringent quality standards required for high-stress applications, such as in the aerospace and power generation industries.
CNC Machined Superalloy Parts
CNC-machined superalloy parts, such as those used in gas turbines or precision aerospace components, require a high-resolution inspection to ensure they meet exacting tolerances. SEM is particularly effective in detecting surface defects like microcracks, tool marks, and irregularities that could compromise the part's integrity. Furthermore, SEM helps verify that the machining process has not altered the material properties, ensuring the final product retains the required strength and durability for demanding applications.
3D Printed Superalloy Parts
With the rise of 3D printing in manufacturing, particularly in aerospace and defense, SEM is increasingly important for inspecting 3D printed superalloy parts. The complex geometries created by additive manufacturing introduce challenges such as incomplete layer bonding, porosity, and uneven material distribution. High-resolution SEM imaging is used to inspect the fine details of each printed layer, ensuring that the part meets the desired material properties and quality standards. This is critical to avoid defects that could affect the performance or safety of parts in mission-critical applications.
SEM vs. Other Imaging and Inspection Processes
While SEM is an invaluable tool for inspecting superalloy components, it is not the only imaging or inspection technique available. Each method has its strengths and weaknesses, and in many cases, SEM is used in conjunction with other techniques to provide a comprehensive assessment of the material.
SEM vs. Optical Microscopy
Optical microscopy is a traditional technique used to examine the surface of materials. However, its resolution is limited compared to SEM. While optical microscopy can provide helpful information about a material's general appearance and structure, it cannot detect the fine details and sub-micron features that SEM can resolve. SEM offers much higher magnification and depth of field, making it ideal for inspecting the microstructure and surface features of superalloy components at a much finer level. Optical microscopy is practical for general surface examination, but SEM excels when precision and resolution are critical.
SEM vs. X-ray Imaging
X-ray imaging is another common technique used for non-destructive testing of materials. Unlike SEM, which focuses on surface features and microstructure, X-ray imaging is better suited for detecting internal defects, such as voids, cracks, and porosity within the material. While X-rays can penetrate the material to reveal internal structures, SEM provides much higher resolution, particularly for surface and microstructural analysis. SEM's ability to provide high-resolution surface and elemental composition data is a key advantage over X-ray for assessing material integrity and performance. X-ray inspection remains essential for detecting internal issues, but SEM can reveal more fine-grained details and surface conditions.
SEM vs. Metallographic Microscopy
Metallographic microscopy is commonly used to examine metallic materials' microstructure, including superalloys. While metallographic microscopy is practical for observing grain boundaries and phase distributions, SEM provides much higher magnification and a more detailed view of fine microstructural features. SEM is beneficial for analyzing more minor defects and conducting elemental analysis with the help of EDS (Energy Dispersive X-ray Spectroscopy). Metallographic microscopy focuses primarily on structure and phase distribution, but SEM offers more profound insights, making it indispensable for quality control in high-performance alloys.
Industries and Applications for High-Resolution SEM Imaging of Superalloy Parts
High-resolution imaging using Scanning Electron Microscopy (SEM) is essential in industries where the performance and safety of superalloy components are critical. In particular, the aerospace, power generation, and military industries rely heavily on SEM to inspect components that operate under extreme conditions.
Aerospace and Aviation
In the aerospace and aviation industry, SEM is used to inspect turbine blades, combustion chambers, and nozzle rings for surface defects and microstructural integrity. These components must operate in extreme environments, subjected to high temperatures, stresses, and corrosive conditions. High-resolution SEM imaging ensures that parts like superalloy jet engine components meet strict performance standards. Detailed imaging allows for precisely detecting microcracks, oxidation, and other potential defects that could compromise safety and functionality.
Power Generation
In the power generation industry, SEM is used to assess turbine discs, heat exchangers, and other critical components to ensure they can withstand the stresses of high-temperature environments. Components like superalloy heat exchanger parts are particularly vulnerable to thermal fatigue and corrosion. High-resolution SEM allows for in-depth analysis of the material’s microstructure, ensuring optimal performance and longevity and identifying any wear or degradation that could impact the efficiency and safety of power plants.
Military and Defense
In military and defense applications, SEM is crucial in inspecting missile components, armor systems, and propulsion parts to ensure they meet the stringent performance standards required for safety and reliability. High-resolution SEM imaging analyzes materials used in superalloy armor system parts and other critical components, checking for structural integrity, microstructural defects, and corrosion resistance. These components must endure extreme conditions and are subjected to rigorous testing to verify their readiness for military use.
High-resolution SEM imaging is an invaluable tool across these industries, providing deep insights into superalloy components' microstructure and potential weaknesses. By detecting defects and ensuring that parts meet the highest quality and durability standards, SEM contributes to the safety, reliability, and efficiency of critical equipment in aerospace, power generation, and military sectors.
FAQs
What is the role of Energy Dispersive X-ray Spectroscopy (EDS) in SEM analysis of superalloy parts?
How does SEM compare to other material inspection techniques like X-ray or optical microscopy?
What are the advantages of using SEM for failure analysis in superalloy components?
Can SEM be used to detect defects in 3D-printed superalloy parts?
How does SEM help ensure the quality and performance of turbine blades in aerospace applications?


