Fracture Analysis of Superalloy Components Using Tensile Testing Machines to Identify Failure Points
Fracture analysis is crucial in ensuring the reliability and longevity of materials used in high-stress, high-temperature environments. This process involves understanding how and why materials fail under stress, which is particularly important when dealing with superalloy components used in aerospace, power generation, and defense industries. Tensile testing machines are key tools in fracture analysis, helping engineers identify failure points in superalloy castings by applying controlled stress and measuring the material’s response.

What is Fracture Analysis in Superalloys?
Fracture analysis examines how materials fail when subjected to stress, temperature, and other operational conditions. The process begins with testing materials under controlled conditions to observe how they respond to different loading situations. In superalloys specifically designed to withstand high temperatures and mechanical stresses, fracture analysis helps detect weaknesses, potential failure modes, and other critical information that might affect the part's performance in service.
Tensile Testing is one of the most commonly used methods for fracture analysis. A tensile testing machine applies a tensile (pulling) force to a material specimen, gradually increasing the load until the material deforms or breaks. This test is invaluable for understanding how the material behaves under stress and for identifying any failure points that could compromise its structural integrity.
The results of tensile testing reveal essential details such as the material’s yield strength, ultimate tensile strength, elongation, and fracture toughness—key parameters for predicting the performance of superalloy components in real-world applications. These findings are essential for ensuring the reliability of superalloy parts, particularly in industries where high performance under extreme conditions is critical.
The Function of Fracture Analysis in Superalloy Components
Fracture analysis, using tensile testing machines, serves several key functions in the evaluation of superalloy components:
Identifying Failure Points
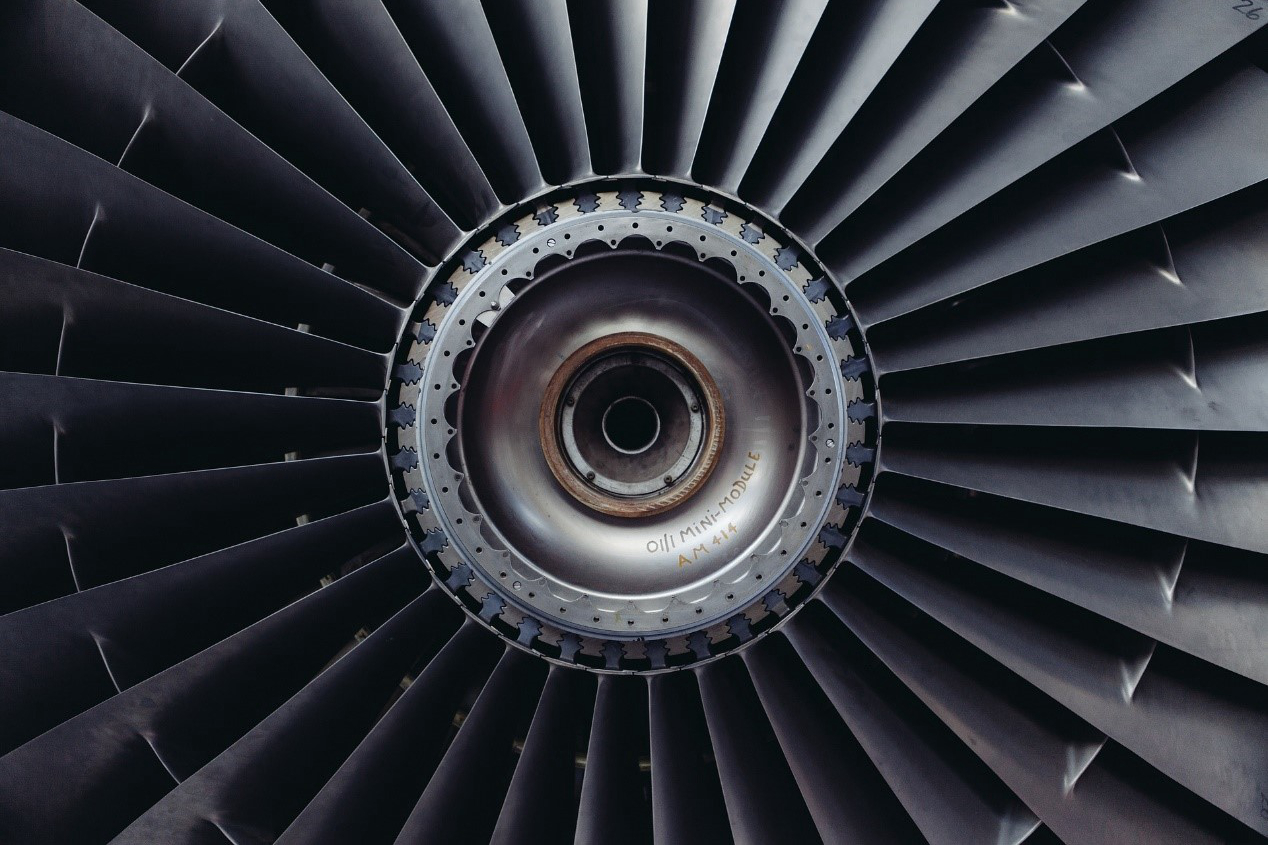
The primary function of fracture analysis is to identify points of failure, which various factors, including stress concentrations, material defects, or poor material properties, can cause. Tensile testing provides detailed insight into how the material behaves under stress and helps identify any fractures' exact location and nature. This is particularly crucial in applications like turbine blades or high-temperature alloys used in power generation, where failure could have serious consequences.
Predicting Durability and Performance
Fracture analysis allows engineers to assess the durability of superalloy components by simulating real-world operating conditions. This enables the prediction of how components will perform under extreme mechanical loads, high temperatures, and corrosive environments, which are common in aerospace and power generation industries. Tensile testing is crucial in understanding how these materials will hold up under demanding operational conditions.
Understanding Failure Mechanisms
Through tensile testing, engineers can study the failure mechanisms of superalloys, such as brittle fracture, ductile fracture, or fatigue failure. This understanding is critical for designing components that can withstand the stresses they encounter during service life. For example, the results of fracture analysis are essential when designing turbine blades for jet engines, where material integrity is paramount.
Optimizing Material Selection
Tensile testing provides valuable information about the material properties of different superalloys, helping engineers select the right alloy for a particular application. The results can guide the choice of materials that will perform best under specific loading conditions, reducing the risk of failure. This is particularly important in superalloy precision forging, where the alloy selection is critical for ensuring high performance in aerospace components.
Enhancing Safety
The system's safety is paramount in critical applications like aerospace and nuclear power generation. Fracture analysis ensures that components will perform as expected, reducing the likelihood of catastrophic failures that could have serious consequences. By leveraging the insights gained through fracture analysis, engineers can enhance the reliability of components, ensuring that they meet the stringent safety standards required for high-risk environments.
Which Superalloy Parts Require Fracture Analysis?
Fracture analysis plays a critical role in ensuring the reliability and safety of superalloy components, especially those used in high-performance applications where failure can lead to catastrophic consequences. It is applied across various superalloy parts to detect defects and evaluate the material’s resistance to crack formation, propagation, and overall structural integrity. The following superalloy parts require fracture analysis to meet stringent performance standards.
Superalloy Castings
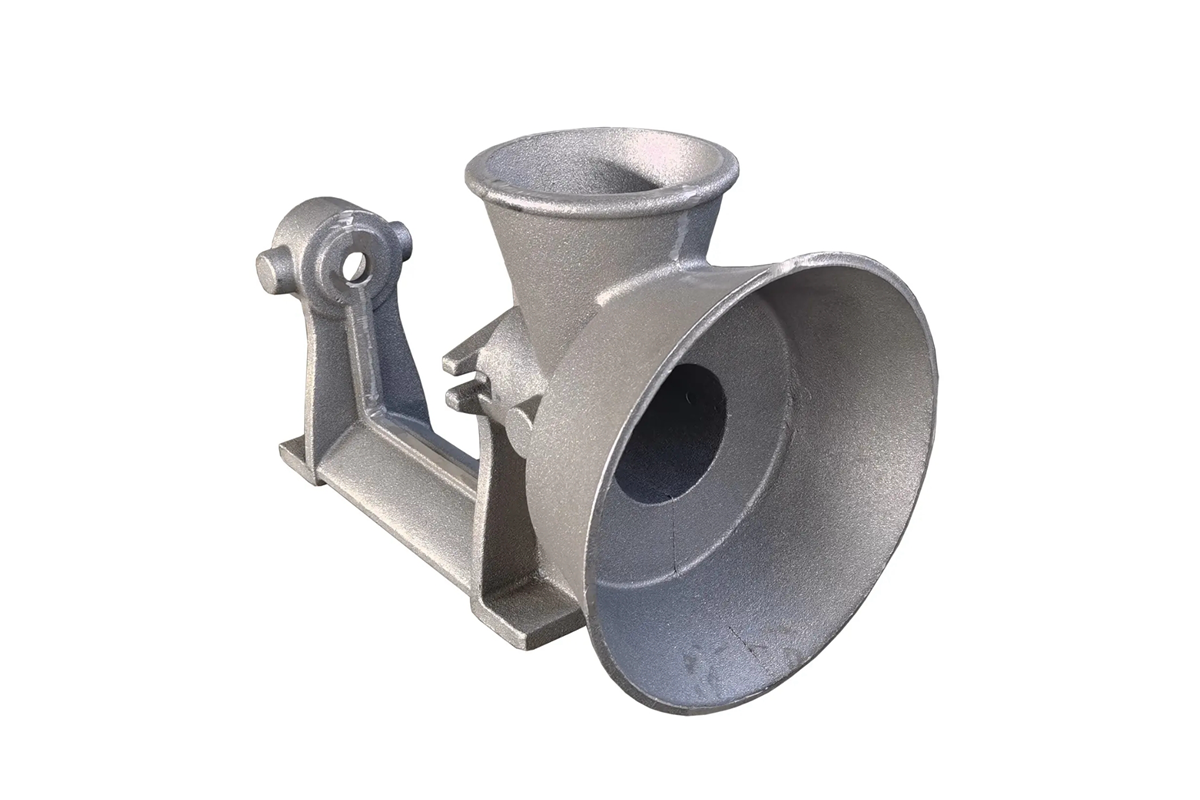
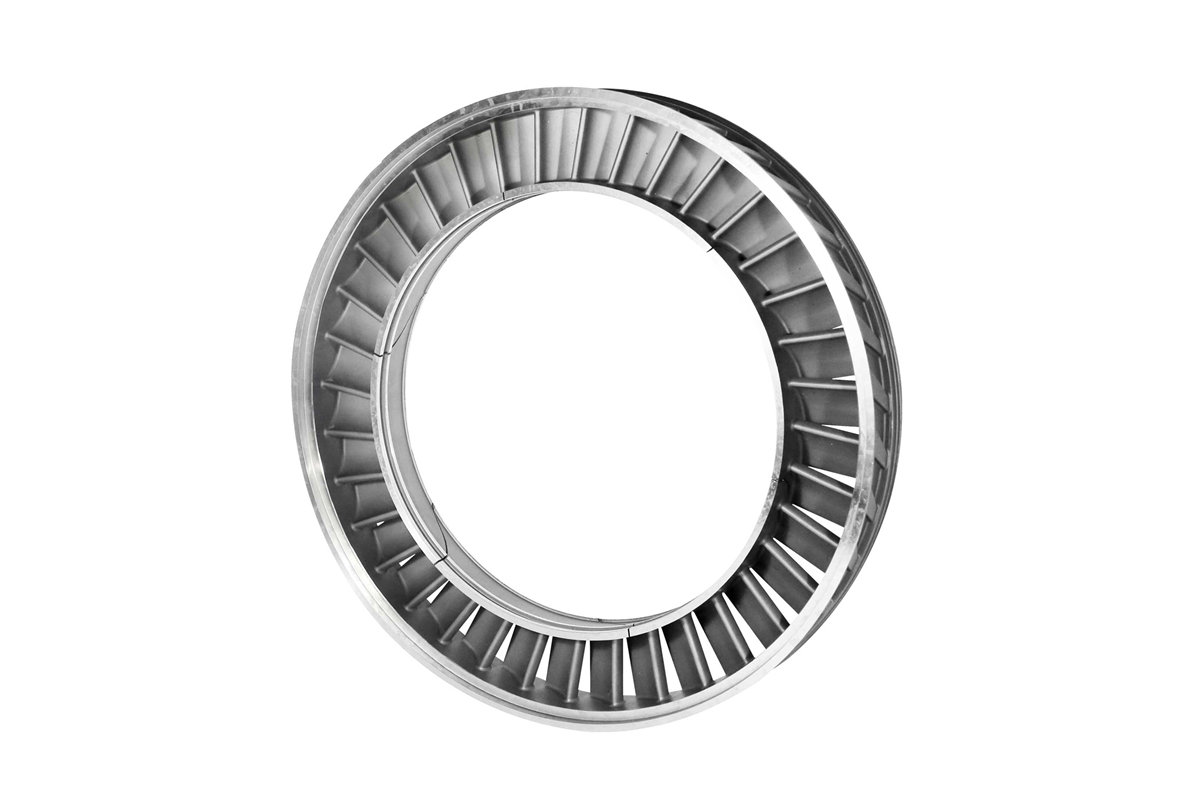
Superalloy castings, such as turbine blades, combustion chambers, and nozzle rings, are subjected to extreme temperatures and mechanical stresses during operation. Fracture analysis is essential for detecting casting defects such as porosity, cracks, or inclusions, which could compromise the component’s structural integrity. These defects can arise from the casting process and significantly affect the part’s ability to endure the high-pressure, high-temperature conditions typical in aerospace and power generation applications. Fracture analysis helps ensure the castings are defect-free and can perform reliably under these demanding conditions.
Forging Parts
Forged superalloy components, such as turbine discs, shafts, and structural parts, benefit from fracture analysis to detect stress concentrations or microstructural issues introduced during the forging process. Fracture analysis evaluates how these components perform under high mechanical loads, ensuring they do not fail during operation. In aerospace, automotive, and power generation industries, failure in forged parts can have catastrophic consequences, making fracture analysis a crucial step in the manufacturing process.
CNC Machined Superalloy Parts
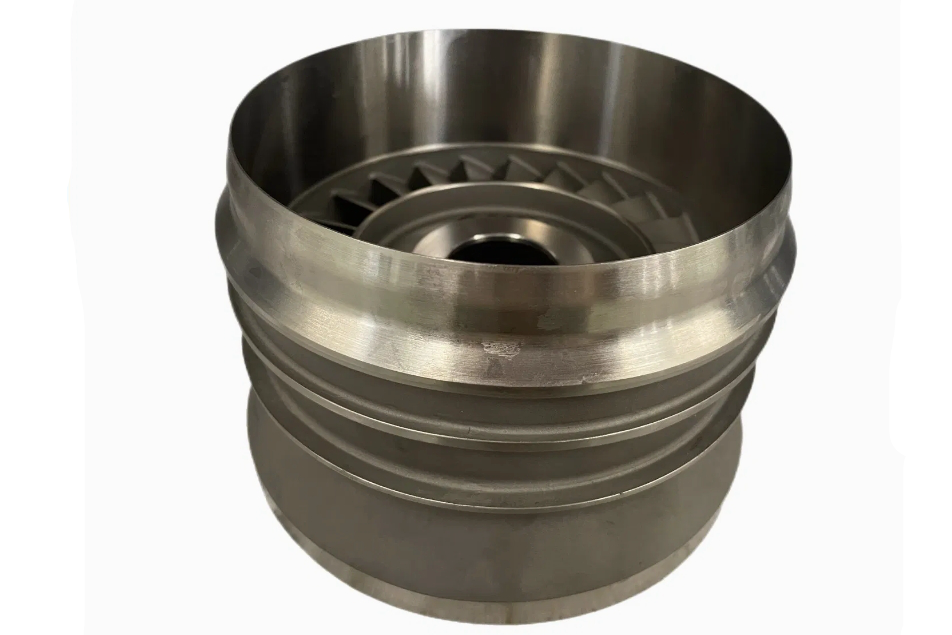
Superalloy CNC machined parts, including precision components like engine parts and structural frames, often undergo fracture analysis to identify failure points that may arise from machining stresses or material inconsistencies. Machining can sometimes introduce defects or alter the material properties, leading to potential weaknesses in the final product. Fracture analysis ensures that these components maintain their strength and integrity throughout their service life, meeting the strict performance standards required in critical applications.
3D Printed Superalloy Parts
Fracture analysis has become increasingly important with the rise of 3D-printed superalloy parts, particularly in the aerospace and automotive industries. Additive manufacturing can result in variations in the microstructure of superalloy parts, potentially leading to weak points or failure under stress. Fracture analysis helps detect issues related to porosity, layer bonding, or anisotropy, ensuring that 3D-printed parts meet the required strength and reliability standards. This testing is crucial to ensure the performance and safety of additive manufacturing parts, often used to create complex geometries or lightweight structures.
Compared with Other Processes
While tensile testing and fracture analysis are essential tools for understanding material failure, they are not the only methods available. Other testing techniques, such as fatigue testing, impact testing, and microstructure analysis, offer complementary insights into the material’s behavior under stress. For example, 3D scanning can be used alongside these methods to ensure dimensional accuracy in superalloy components.
Tensile Testing vs. Fatigue Testing
Tensile testing provides valuable information about a material’s performance under a single, continuous load, helping to identify its breaking point. However, many components, especially in industries like aerospace and automotive, are subject to cyclic loading, where the material undergoes repeated stress over time. Fatigue testing is used to assess how materials behave under cyclic stress, which is a different failure mechanism from the one observed in tensile tests. While tensile testing helps identify the ultimate strength of a material, fatigue testing helps predict its longevity under repeated load conditions. These techniques are crucial in industries such as aerospace, where components are repeatedly subjected to high-stress environments.
Tensile Testing vs. Impact Testing
Impact testing involves applying a sudden force to a material, often a hammer or pendulum, to measure its response to high-energy impact. This method is beneficial for assessing the material's toughness and resistance to shock loading. In contrast, tensile testing applies a gradual load to the material, which provides more detailed information about how the material behaves under continuous stress. Both methods are essential but focus on different aspects of material behavior. Impact testing is particularly relevant for evaluating superalloy turbine components in aerospace, where high-energy forces can occur during operation.
Tensile Testing vs. Microstructure Analysis
Tensile testing effectively identifies failure points in superalloy components by applying controlled stress, but it does not provide a complete picture of the material’s internal structure. Microstructure analysis, on the other hand, allows engineers to observe the grain structure, phase distribution, and other material features that may contribute to failure. Combining tensile testing with microstructure analysis provides a more comprehensive understanding of why a material fails and how it can be improved. For example, metallographic microscopy and SEM analysis are essential tools, particularly in identifying phase composition and failure mechanisms in superalloy castings.
Industry and Application of Fracture Analysis through Tensile Testing
Fracture analysis through tensile testing is critical across various industries where superalloy components are used in high-stress environments. Identifying failure points and ensuring material durability is essential for maintaining safety and performance in these sectors.
Aerospace
Components like turbine blades, discs, and other critical engine parts are subjected to extreme forces and temperatures in the aerospace industry. Tensile testing helps ensure these parts are free of defects and capable of withstanding the stresses encountered during flight. Fracture analysis prevents failure in mission-critical parts, improving safety and performance. By evaluating materials for their fracture toughness, aerospace engineers can optimize designs to ensure components like combustion chambers and nozzle rings can endure the harsh conditions they face during jet engine operation.
Power Generation
In power generation, superalloy components such as heat exchangers, turbine blades, and gas turbines must perform reliably under high pressures and temperatures. Tensile testing ensures that these components can withstand the harsh conditions inside a power plant without failing. Fracture analysis also helps improve material selection and optimize component designs. Components like turbine discs and reactor vessel parts undergo constant thermal cycling and pressure changes, and fracture analysis is essential for preventing premature failures that could lead to costly shutdowns or safety hazards.
Oil & Gas
Superalloy components used in oil and gas exploration, such as drilling tools, pipelines, and pump parts, face extreme pressures and harsh environments. Tensile testing and fracture analysis help identify potential failure points, ensuring the safety and reliability of these components in critical applications. Given the challenging environments of offshore drilling or deep-sea exploration, fracture toughness is crucial for materials used in high-pressure valves, pumps, and other parts subjected to corrosive environments and mechanical stresses.
Automotive
High-performance superalloy parts used in automotive engines, exhaust systems, and transmission components are subjected to thermal and mechanical stresses. Fracture analysis ensures these parts meet performance standards and do not fail under the demanding conditions of high-performance vehicles. Components like turbocharger turbines, exhaust system parts, and brake system accessories require careful evaluation for fracture resistance, ensuring they can withstand high temperatures and pressure fluctuations over their operational lifetime.
Military and Defense
Superalloy parts used in military applications, such as missile systems, armored vehicles, and military aircraft, must be designed to withstand extreme stresses and environments. Tensile testing and fracture analysis help ensure these components perform reliably in combat situations, where failure can have serious consequences. For example, missile components, armored vehicle parts, and aerospace-grade metal components must absorb and resist stress from high-impact forces, and fracture analysis is critical to ensuring mission success and soldier safety.
Nuclear
In nuclear energy generation, superalloy components must perform under high pressure, high temperature, and radiation exposure. Fracture analysis ensures that materials can withstand these extreme conditions without failure, preventing potential disasters. Components such as reactor pressure vessels, heat exchangers, and fuel rods must exhibit excellent fracture toughness to resist the cumulative effects of radiation and thermal cycling. Tensile testing and fracture analysis ensure the safety and efficiency of nuclear reactors, helping to minimize the risk of catastrophic failure.
Fracture analysis through tensile testing is vital across these industries, ensuring that superalloy components meet safety, performance, and durability standards. By identifying and understanding potential fracture points, engineers can optimize material selection and design, ensuring the longevity and reliability of critical parts in aerospace, power generation, oil and gas, automotive, military, and nuclear applications.
FAQs
How does tensile testing help identify the failure points of superalloy components?
What are the key differences between tensile testing and fatigue testing in fracture analysis?
Why is fracture analysis important for superalloy castings in aerospace applications?
How does 3D printing affect the fracture behavior of superalloy parts?
What industries rely most on fracture analysis for superalloy components?


