Ensuring Structural Integrity in Equiaxed Crystal Superalloy Castings with X-ray Inspection
X-ray inspection is a non-destructive testing (NDT) method used to examine the internal structure of materials without causing any damage. This technique involves passing X-rays through a material and capturing the resulting variations in radiation on a detector or film. The variation in the density of the material causes different amounts of X-ray absorption, which reveals any internal defects or irregularities. This method is widely used across industries like aerospace and aviation and power generation to ensure the safety and performance of high-temperature alloy parts.

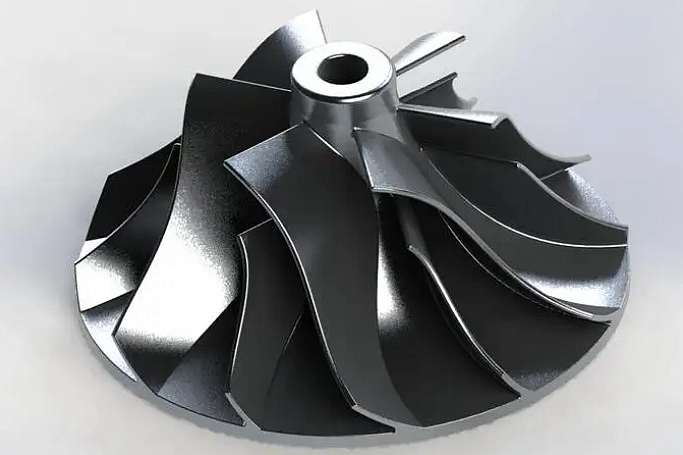
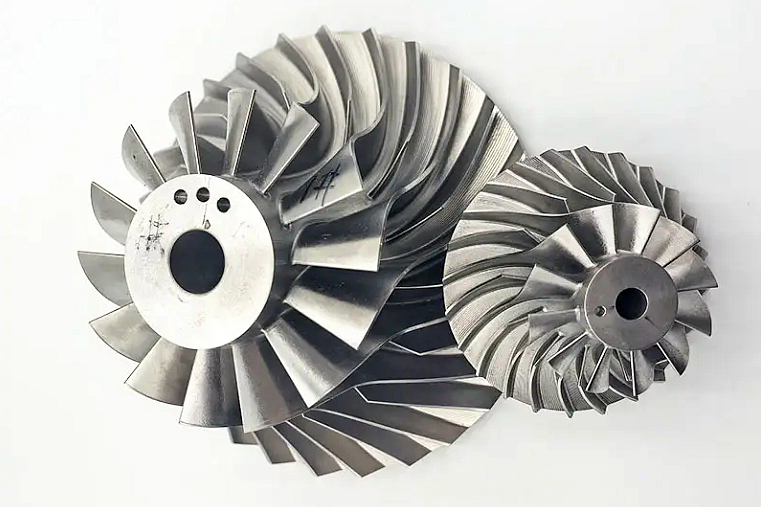
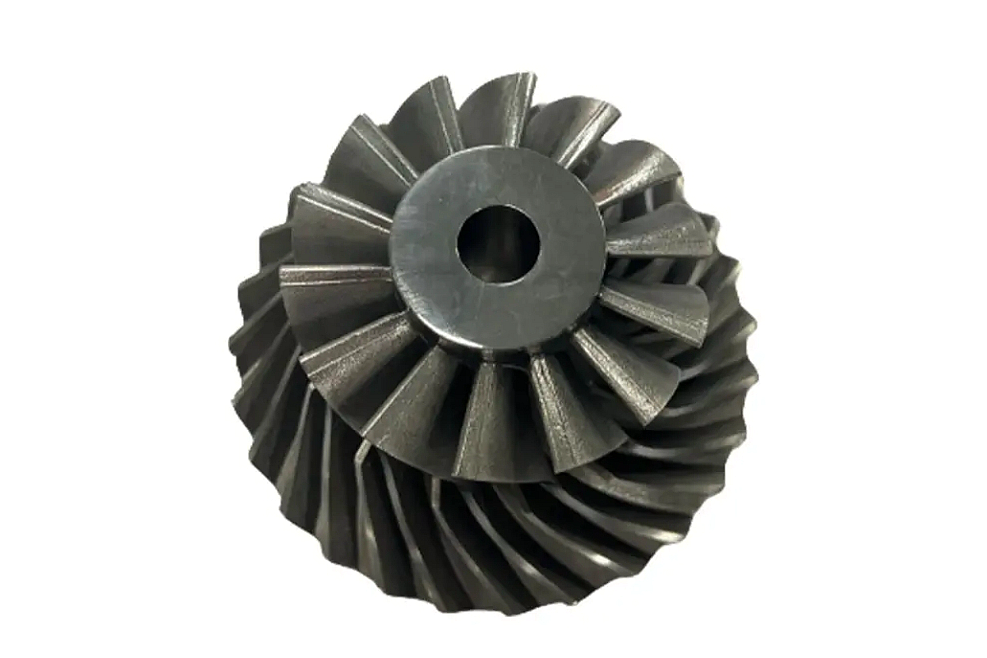
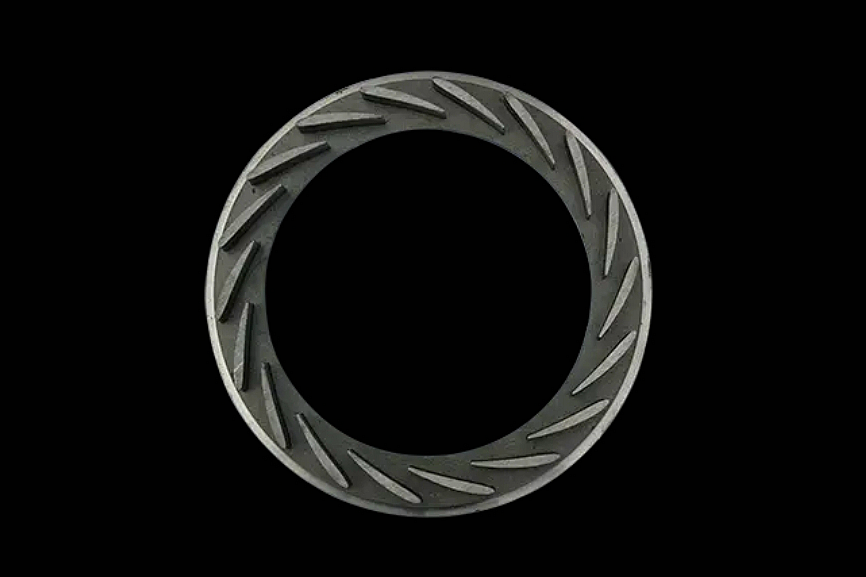
In the case of superalloy equiaxed crystal castings, X-ray inspection is crucial for detecting flaws that could compromise the performance and reliability of high-temperature components. Superalloy equiaxed crystal castings are commonly used in critical applications such as turbine blades, combustion chambers, and impellers. These parts are subjected to extreme stress, high temperatures, and corrosive environments, making it vital to identify any internal defects, such as porosity, cracks, or inclusions, before the parts are put into service. X-ray inspection also plays a significant role in military and defense sectors, where component failure could lead to significant risks.
X-ray inspection is particularly valuable in ensuring the integrity of these castings because it allows for the detection of flaws that may not be visible on the surface. Identifying internal issues early in the manufacturing process helps prevent part failure in the field, reducing the risk of catastrophic damage in high-stakes environments like oil and gas and nuclear industries. Manufacturers can take corrective action by detecting internal defects such as voids or cracks, ensuring the reliability and longevity of parts used in extreme conditions. This capability is essential for maintaining the performance of superalloy components in applications like turbine engine parts or superalloy reactor vessel components.
The Function of X-ray Inspection in Superalloy Castings
The primary function of X-ray inspection is to detect internal defects in superalloy parts that could affect their structural integrity and performance. During the manufacturing of superalloy equiaxed crystal castings, various factors—such as cooling rates, alloy composition, and mold design—can form internal voids, cracks, or other imperfections. These defects may not be visible on the surface. Still, they can significantly impact the part’s ability to withstand extreme stress, temperature, or corrosive environments, especially in critical applications like gas turbines or aerospace components.
X-ray inspection provides a detailed view of the internal structure of casting, allowing inspectors to spot potential issues such as:
Porosity: Small air pockets or voids that form within the metal during casting. Porosity can weaken the casting, making it more susceptible to cracking or failure under stress.
Inclusions: Foreign particles trapped within the metal during the casting process. These inclusions can act as stress concentrators, leading to failure under high-load conditions.
Cracks: Small fractures that can form during cooling or due to mechanical stress. Cracks can propagate over time and lead to catastrophic failure if not detected early.
By providing a clear, non-invasive view of the internal structure, X-ray inspection helps manufacturers identify these and other defects before the part is sent for further processing or put into service. This ensures that only components with the required structural integrity make it through the manufacturing process and are used in critical applications like turbine blades or jet engines.
X-ray inspection is also essential for quality assurance and certification purposes. Many industries, particularly aerospace and power generation, require extensive documentation and proof that each part meets strict safety and performance standards. X-ray inspection provides a reliable means of verifying that parts are free of harmful defects, ensuring compliance with industry standards and regulations.
Superalloy Parts that Require X-ray Inspection
Superalloy equiaxed crystal castings are integral to a wide range of high-performance applications. X-ray inspection is crucial for verifying the integrity of various superalloy components, including turbine blades, combustion chambers, and heat exchangers. These parts operate under extreme conditions and are subject to significant mechanical stress and heat. Below are the key superalloy parts that benefit from X-ray inspection:
Superalloy Castings
Superalloy castings, such as turbine blades, impellers, and combustion chambers, are critical components in aerospace and power generation industries. Materials like Inconel, CMSX, and Rene alloys are often used for these high-temperature parts. Since these components endure extreme stresses, heat, and corrosive environments, X-ray inspection is essential for detecting internal defects like porosity, cracks, and inclusions. Detecting these issues early ensures that the casting meets the stringent performance standards required for safe operation.
Forging Parts
Superalloy forging parts, such as turbine discs, compressor blades, and seals, are commonly inspected using X-rays to identify internal defects that could affect their performance. The forging process subjects these components to high heat and pressure, which can lead to defects like cracks or voids. X-ray inspection ensures that no internal flaws are present in the forged parts, ensuring they will perform reliably under high-stress conditions in aerospace, power generation, and other critical industries.
CNC Machined Superalloy Parts
CNC machined superalloy parts, including brackets, connectors, and structural components, are precision-machined to achieve their final shape. However, the parts may still contain internal defects that were not detected during earlier manufacturing stages, even after machining. X-ray inspection is vital to uncover hidden flaws such as cracks, voids, or inclusions that could compromise the structural integrity and performance of the part. This ensures that the CNC machined components are free from defects and meet the high standards required for use in high-stress applications.
3D Printed Superalloy Parts
Additive manufacturing, or 3D printing, is increasingly used for producing superalloy components, especially for complex geometries like turbine blades. However, 3D printing can introduce poor layer bonding, porosity, or uneven material distribution. X-ray inspection is essential for ensuring that these 3D printed parts meet the required quality standards. It helps detect internal defects such as trapped gas pockets, voids, or cracks, ensuring that the parts can withstand extreme conditions and perform as expected in high-temperature applications.
X-ray inspection is indispensable for ensuring the structural integrity of all these superalloy parts. Whether cast, forged, CNC machined, or 3D printed, these components must meet rigorous safety and quality standards to ensure reliability in demanding applications.
Comparison with Other Non-Destructive Testing (NDT) Processes
While X-ray inspection is one of the most effective methods for detecting internal defects in superalloy parts, it is not the only non-destructive testing (NDT) technique available. Other methods, such as ultrasonic testing, visual inspection, and magnetic particle inspection, also have their place in the manufacturing and quality assurance processes. However, each of these methods has its strengths and limitations, making X-ray inspection a preferred choice in many situations.
X-ray vs. Ultrasonic Testing
Ultrasonic testing uses high-frequency sound waves to detect internal defects. While it effectively detects cracks and voids, it has limitations when inspecting complex geometries. X-ray inspection, on the other hand, provides a clear, detailed image of the internal structure, making it ideal for inspecting intricate shapes such as turbine blades and combustion chambers. X-ray inspection can also be used on materials that are difficult to access with ultrasonic probes, such as thick or dense superalloy parts.
X-ray vs. Visual Inspection
Visual inspection is often the first step in quality control, but it is limited to detecting surface-level defects. It cannot identify internal flaws, such as porosity or cracks, which can be hidden deep within the material. X-ray inspection, in contrast, provides a comprehensive view of the part's internal structure, allowing for the detection of defects that would otherwise go unnoticed, including subsurface issues that might lead to catastrophic failure in high-performance superalloy components.
X-ray vs. Magnetic Particle Inspection
Magnetic particle inspection is practical for detecting surface and near-surface defects in ferromagnetic materials. However, it cannot be used on non-ferromagnetic superalloys commonly used in aerospace and power generation applications. X-ray inspection is ideal for inspecting non-ferromagnetic materials, including the range of superalloy castings and forgings used in these industries.
X-ray inspection provides several advantages over other NDT methods, especially for complex geometries and non-ferromagnetic materials. Its ability to detect internal defects in a wide range of superalloy parts makes it a critical tool in ensuring high-performance components' structural integrity and safety.
Industry and Application of X-ray Inspection in Superalloy Parts
X-ray inspection is essential in industries that rely on superalloy components for critical applications. These include aerospace and aviation, power generation, military and defense, marine, and nuclear sectors, where the failure of a single component could have catastrophic consequences.
Aerospace & Aviation
X-ray inspection ensures the integrity of turbine blades, combustion chambers, and other superalloy components used in jet engines. These parts operate under extreme temperatures, pressures, and mechanical stresses, making it essential to detect internal defects that could lead to catastrophic engine failure. For instance, superalloy turbine blades are critical for maintaining engine efficiency, and X-ray helps identify invisible cracks or voids that could jeopardize their performance.
Power Generation
Power plants, turbine blades, reactor vessel components, and heat exchangers made from superalloys must undergo rigorous testing to ensure they can withstand high temperatures and mechanical loads. X-ray inspection ensures that these parts are free from internal defects that could compromise their performance and safety. Reactor vessel components, for example, must be free from internal cracks or inclusions that could lead to catastrophic failure under extreme operational conditions.
Oil & Gas
Superalloy components used in the oil and gas industry, including pumps, valves, and downhole tools, are exposed to harsh conditions, such as high pressure, temperature, and corrosive fluids. X-ray inspection helps detect defects that could lead to failure in these critical components. Components like superalloy pump system assemblies benefit from X-ray inspection to ensure they can withstand the extreme conditions often encountered in deepwater drilling and oil extraction.
Military & Defense
The military and defense sectors rely on superalloy parts for weapons systems, missile components, and armor. X-ray inspection ensures the reliability and safety of these parts, which must perform flawlessly under extreme conditions. For example, superalloy armor system parts are subjected to X-ray inspection to detect any hidden defects that could compromise their protective capabilities in combat scenarios.
Marine & Nuclear
X-ray inspection checks components such as reactor cores, heat exchangers, and marine propulsion systems, ensuring that they can withstand the harsh environments of nuclear reactors and marine vessels. Superalloy reactor vessel components and marine propulsion systems must be free from internal faults to maintain safety and efficiency in both nuclear and maritime applications.
By using X-ray inspection across these critical industries, manufacturers can ensure the integrity and reliability of superalloy parts, ultimately preventing costly failures and improving safety in high-risk environments.
FAQs
What types of internal defects can X-ray inspection detect in superalloy equiaxed crystal castings?
How does X-ray inspection compare to ultrasonic testing in detecting internal flaws in complex superalloy geometries?
Why is X-ray inspection critical for inspecting 3D printed superalloy parts?
What are the main advantages of X-ray inspection for superalloy components in aerospace and aviation applications?
How does X-ray inspection contribute to the safety and reliability of components used in the power generation industry?


