Ensuring Dimensional Accuracy of Superalloy Components through Stereo Microscope Inspection
Dimensional accuracy is one of the most critical factors in producing superalloy components, especially in aerospace and aviation, power generation, and defense. These components, such as turbine blades, discs, and engine parts, must meet extremely tight tolerances and precision to ensure their reliability and performance under high-stress conditions. Minor discrepancies in size or shape can lead to catastrophic failures, making accurate inspection methods crucial to quality control.
One of the most effective ways to ensure dimensional accuracy in superalloy components is stereo microscope inspection. This method provides high-resolution imaging of surfaces, allowing manufacturers to detect even the most minor dimensional deviations and defects that could compromise the performance of critical parts. For NewayAero, known for its expertise in superalloy directional casting, stereo microscope inspection is a cornerstone of its quality control process, helping maintain the exacting standards required for parts used in harsh environments.

By inspecting the microstructure and surface details of parts like turbine blades and turbine discs, manufacturers can identify flaws, such as surface irregularities or dimensional distortions, that would otherwise go unnoticed. This level of detail is essential for ensuring the reliability of parts used in high-stress applications, such as those found in energy and oil and gas industries, where precision is vital for safe and efficient operations.
Ultimately, stereo microscope inspection ensures that every superalloy component meets the rigorous standards of dimensional accuracy required for critical applications, preventing costly and dangerous failures in the field.
What is Stereo Microscope Inspection?
Stereo microscope inspection is a non-destructive testing (NDT) method that uses a specialized type of microscope to provide three-dimensional views of a sample. Unlike traditional microscopes offering a two-dimensional view, stereo microscopes utilize two optical paths that provide depth perception. This is particularly useful when inspecting the complex geometries of superalloy components.
The microscope features two separate lenses for each eye, creating a three-dimensional image of the examined part. This allows inspectors to see the component's surface and internal structure with high accuracy. Stereo microscopes have a wide field of view, typically between 10x to 100x magnification, providing excellent resolution for detecting minor defects and dimensional inconsistencies.
Stereo microscopes can also be equipped with various lighting techniques, such as reflected and transmitted light, to improve contrast and highlight surface features, allowing for detailed examination of even the most minor imperfections. This makes them essential for ensuring dimensional accuracy, particularly for complex parts where the geometry and surface features must be closely monitored. For example, they are commonly used in the final inspection of superalloy turbine blades to identify any flaws that could compromise part performance.
This non-destructive method ensures that superalloy components meet the strict standards required in industries such as aerospace and energy. It also plays a vital role in verifying the integrity of directional castings and other high-temperature alloys.
The Function of Stereo Microscope Inspection in Dimensional Accuracy
The primary function of stereo microscope inspection in dimensional accuracy is to assess the surface quality and structural integrity of superalloy components after they have been cast, forged, CNC machined, or 3D printed. These components are often subjected to high temperatures and stresses during their lifecycle, so any deviation from the specified dimensions or structural integrity could result in mechanical failure. In this context, superalloy precision forging and other processing methods must be closely monitored for dimensional accuracy to ensure that the parts perform as expected in their final applications.
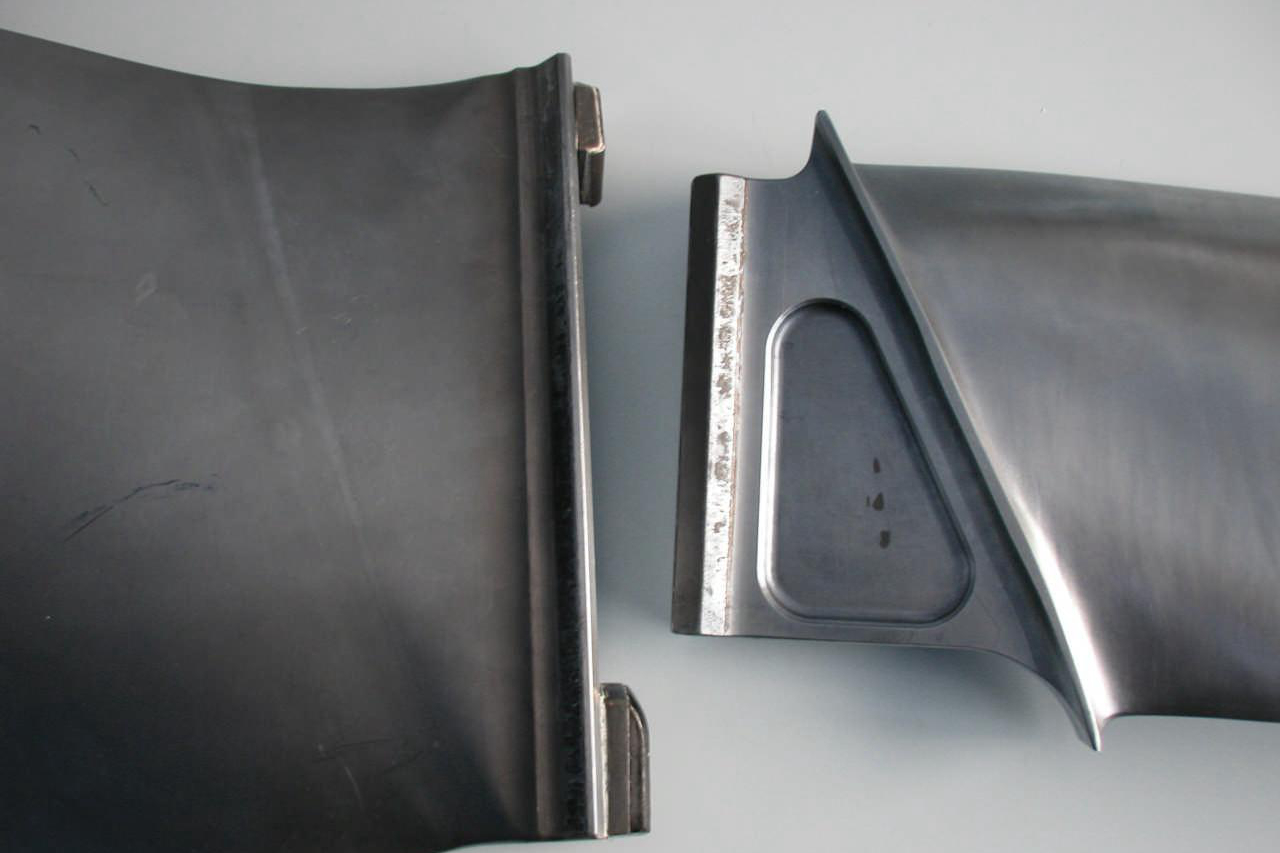
One of the critical advantages of stereo microscope inspection is its ability to identify subtle surface defects that may affect the dimensional stability of a part. For example, microscopic cracks, porosity, or inclusions can cause dimensional shifts in parts made from high-temperature alloys, especially after they undergo thermal cycles. The stereo microscope allows for detecting these imperfections early, ensuring that parts are corrected before they move to more costly or complex processing stages. This early detection is critical for preventing defects from compromising performance in demanding environments like aerospace and power generation.
Additionally, stereo microscopes help verify the consistency of microstructural features, such as grain boundaries and phase distribution, which are critical for ensuring that the material properties match the design specifications. In superalloy directional casting, any deviation in grain structure or the presence of undesired phases can compromise the dimensional stability and performance of the component. The stereo microscope inspection process detects such inconsistencies before the part proceeds to the next manufacturing stage.
Another essential function of stereo microscopes is verifying that the dimensions of the part match the engineering drawings or CAD models. Operators can use precise measurement techniques to check the part’s geometry, surface smoothness, and any other dimensional characteristics to ensure that they fall within the specified tolerances. This is particularly important in industries like aerospace, where components are often subject to extreme operating conditions. Accurate dimensional control ensures that superalloy parts perform reliably in mission-critical applications.
Which Superalloy Parts Require Stereo Microscope Inspection for Dimensional Accuracy?
Stereo microscope inspection is critical for ensuring the dimensional accuracy of superalloy parts used in demanding applications like aerospace and power generation. These parts, often made from high-temperature alloys such as Inconel, CMSX, Hastelloy, and Rene alloys, undergo complex manufacturing processes to achieve the desired mechanical properties and performance standards. Below are key superalloy components that require stereo microscope inspection to ensure precise dimensional accuracy:
Superalloy Castings
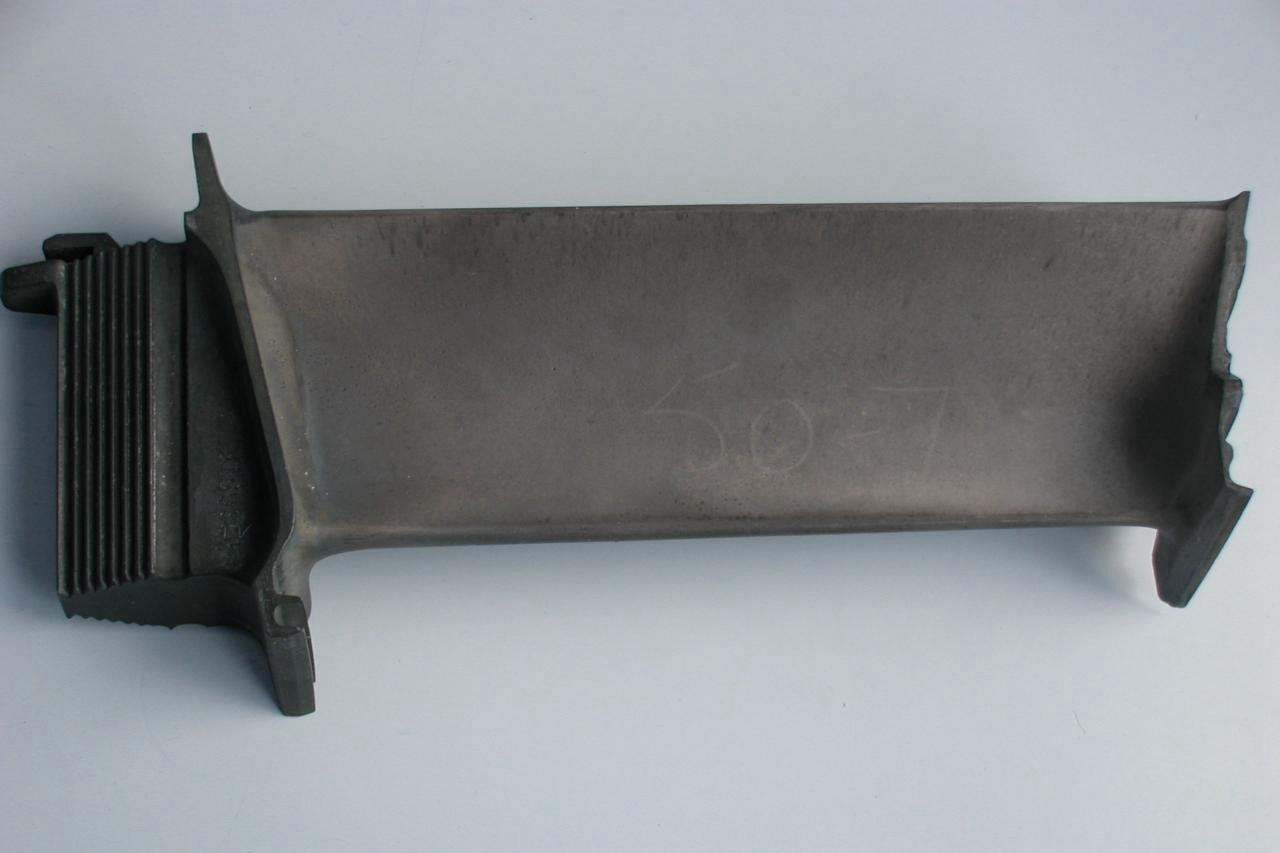
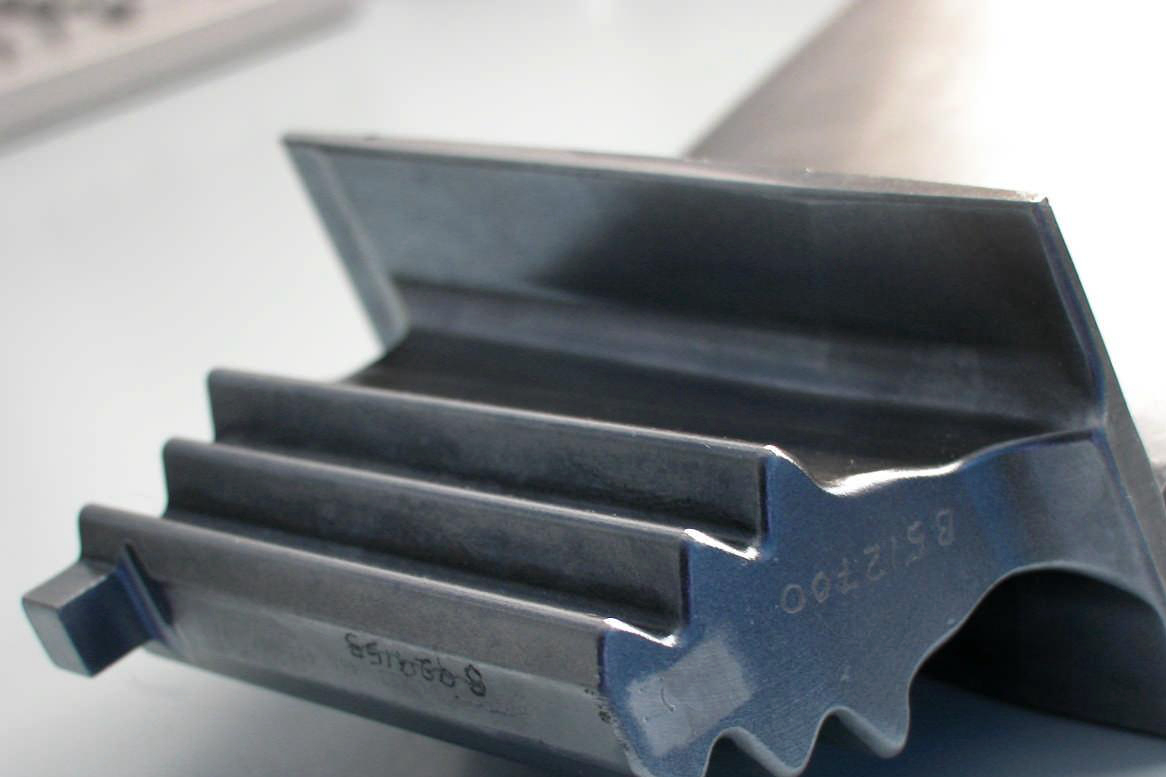
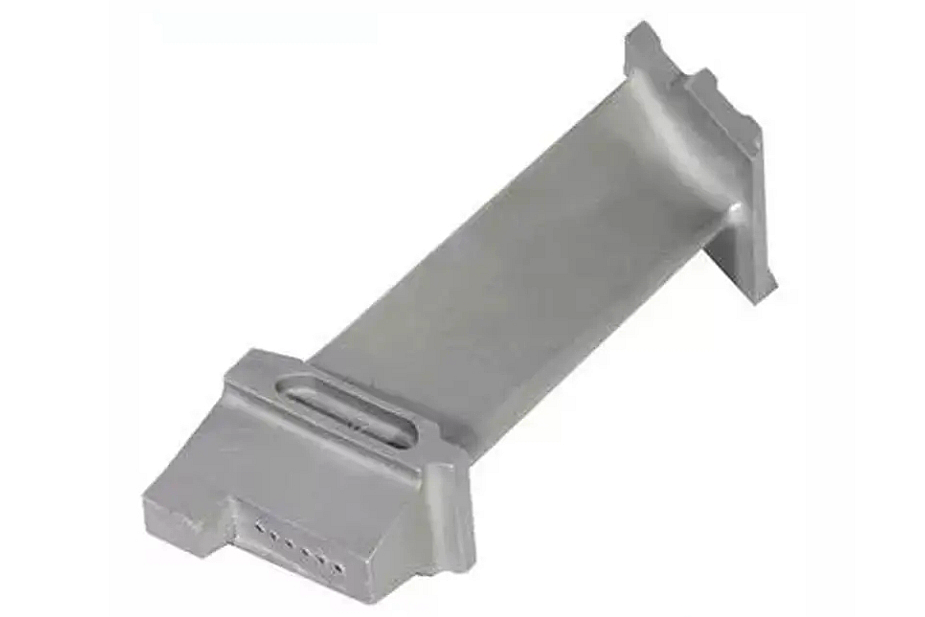
Superalloy castings, including turbine blades, casings, nozzle rings, and other high-performance components, are typically manufactured using processes like vacuum investment or single-crystal casting. These processes require strict control over the cooling rate and alloy composition to ensure that the parts meet specific mechanical properties. After casting, stereo microscopes are used to inspect the grain structure's surface quality, dimensional accuracy, and alignment. This inspection ensures that the cast parts conform to design specifications and will perform reliably under high-stress conditions, making it especially important for superalloy directional casting and other complex geometries.
Forging Parts
Forging processes are commonly used to produce superalloy forging turbine blades, turbine discs, and other high-strength components. After these parts are heated, shaped under high pressure, and cooled, superalloy rough forging, they are subjected to stereo microscope inspection to verify that the dimensional integrity has been maintained. The inspection focuses on surface roughness, microstructural features, and any dimensional deviations that could affect the final part's performance. Ensuring the accuracy of forged components is vital for high-performance systems that operate under extreme conditions, such as gas turbines and aerospace engines.
CNC Machined Superalloy Parts
Once superalloy castings and forged parts are created, they often undergo CNC machining to achieve the final geometry and surface finish. During this process, stereo microscopes examine the machined surfaces for dimensional shifts or surface irregularities that could impact the part's performance. The microscope's high magnification and 3D imaging capabilities make it possible to detect even the smallest machining defects, ensuring that the final product meets precise tolerances. This is especially critical for high-performance components like turbine blades or superalloy precision forging parts that require tight dimensional control for optimal function.
3D Printed Superalloy Parts
3D printing, or additive manufacturing, is increasingly used to produce complex superalloy components with intricate geometries. However, superalloy 3D printing requires careful inspection to ensure that parts are dimensionally accurate and that each layer has adequately bonded. Stereo microscopes are invaluable for checking the surface quality of 3D-printed parts, enabling the detection of issues such as layer misalignment, poor bonding, or surface roughness. These inspections ensure that 3D-printed superalloy components meet the required dimensional standards before they undergo further testing or are used in high-stress applications like turbines or aerospace components.
Comparison with Other Inspection Processes
While stereo microscope inspection is critical for ensuring dimensional accuracy, it is just one part of a broader quality control process that involves multiple inspection techniques. Each of these techniques offers unique advantages, and often, they are used in combination to ensure the highest level of quality in superalloy components.
Coordinate Measuring Machine (CMM)
Coordinate Measuring Machine (CMM) is another widely used technique for dimensional inspection. It involves using a probe to measure the physical dimensions of a part, often down to micrometer-level accuracy. While CMM is highly accurate and can measure the overall geometry of a part, it lacks the fine resolution provided by stereo microscopes for inspecting surface features and defects. CMM is also limited in detecting microscopic surface defects, whereas stereo microscopes excel at this.
X-ray Inspection
X-ray inspection primarily detects internal defects such as cracks, voids, and inclusions. While it is highly effective for identifying structural flaws, it does not provide the same level of detail when examining surface features and dimensional accuracy. Stereo microscopes, on the other hand, excel in inspecting the surface and ensuring the part meets the required dimensional specifications, especially for more minor, more intricate features.
Laser Scanning
Laser scanning is another technique that provides 3D data about a part's overall shape and dimensions. It is beneficial for detecting large-scale geometric deviations, such as part warping or misalignment. However, laser scanning is less effective at detecting surface defects like microcracks or minor porosity. Stereo microscopes provide superior resolution for inspecting the fine details of a part’s surface, making them ideal for capturing subtle surface imperfections that laser scanning cannot.
Tensile Testing
While tensile testing is essential for assessing superalloy components' strength and mechanical properties, it does not directly contribute to dimensional accuracy. Stereo microscopy, on the other hand, is focused on inspecting the part’s surface and geometry, making it an essential tool for verifying the dimensions before or after tensile testing. This ensures that the part meets its specifications and can withstand the mechanical stresses expected in real-world applications.
Industry Applications for Dimensional Accuracy in Superalloy Parts
Dimensional accuracy is crucial in many industries that rely on superalloy components for high-performance applications. These industries demand parts that meet strict dimensional specifications and perform reliably under extreme conditions.
Aerospace and Aviation
In the aerospace and aviation industry, turbine blades, engine components, and other high-temperature alloy parts are subjected to extremely high stresses and temperatures. Dimensional accuracy is essential for ensuring these components' performance, safety, and longevity. Stereo microscope inspection ensures that parts such as turbine blades and nozzle rings meet the required tolerances before they are put into service, preventing operational failures in critical aerospace systems.
Power Generation
Gas turbines used in power generation rely on superalloy components like turbine blades and discs that must be dimensionally accurate to ensure efficient performance and avoid failures. Stereo microscopes are used to verify the dimensions of these critical parts, ensuring that they meet the stringent specifications required for high-efficiency power generation. Accurate dimensions help prevent vibrations and thermal stresses, which can lead to catastrophic failures in power plant systems.
Oil and Gas
The oil and gas industry components, such as pumps, valves, and high-pressure seals, must withstand harsh environments. Dimensional accuracy ensures these components fit correctly and operate efficiently under extreme pressure and temperature conditions. Stereo microscope inspection ensures that parts meet the tolerances required for safe operation, preventing leaks or failures that could lead to operational disruptions in the field.
Military and Defense
In military and defense applications, turbine blades and other components must not only meet dimensional accuracy standards but also be able to function in extreme environments. Stereo microscopes help ensure that critical parts, such as missile components and aircraft engine parts, are dimensionally accurate and free from defects. Accurate parts are crucial for ensuring the reliability and effectiveness of military equipment in high-stress situations.
Nuclear
Nuclear reactor components, such as pressure vessels and cores, must be dimensionally precise to ensure safe operation. Stereo microscope inspection helps verify the accuracy of these components, ensuring that they meet strict safety standards and can withstand the demanding conditions inside a nuclear reactor. Ensuring dimensional precision in reactor parts is essential for preventing potential hazards and ensuring operational efficiency in nuclear power plants.
Dimensional accuracy is a fundamental requirement across industries using superalloy components in high-performance applications. Manufacturers ensure that critical parts meet the stringent tolerances necessary for safety, reliability, and long-term performance by using advanced inspection methods like stereo microscopy.
FAQs
What are the main advantages of stereo microscope inspection to ensure dimensional accuracy in superalloy parts?
How does stereo microscope inspection compare to CMM for checking dimensional accuracy in turbine blades?
What are the key challenges in achieving dimensional accuracy for 3D printed superalloy components?
How does stereo microscope inspection help in detecting microstructural flaws in superalloy components?
Which industries most benefit from using stereo microscopes for dimensional inspection of superalloy parts?


