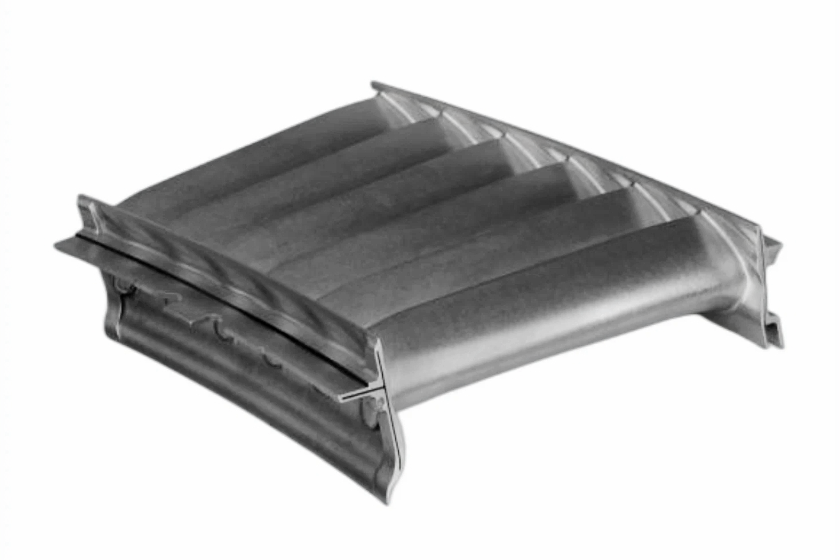
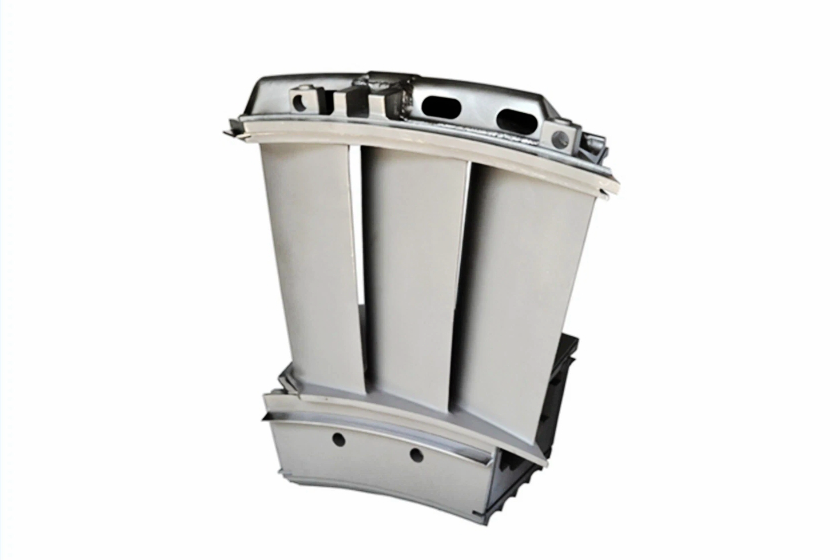
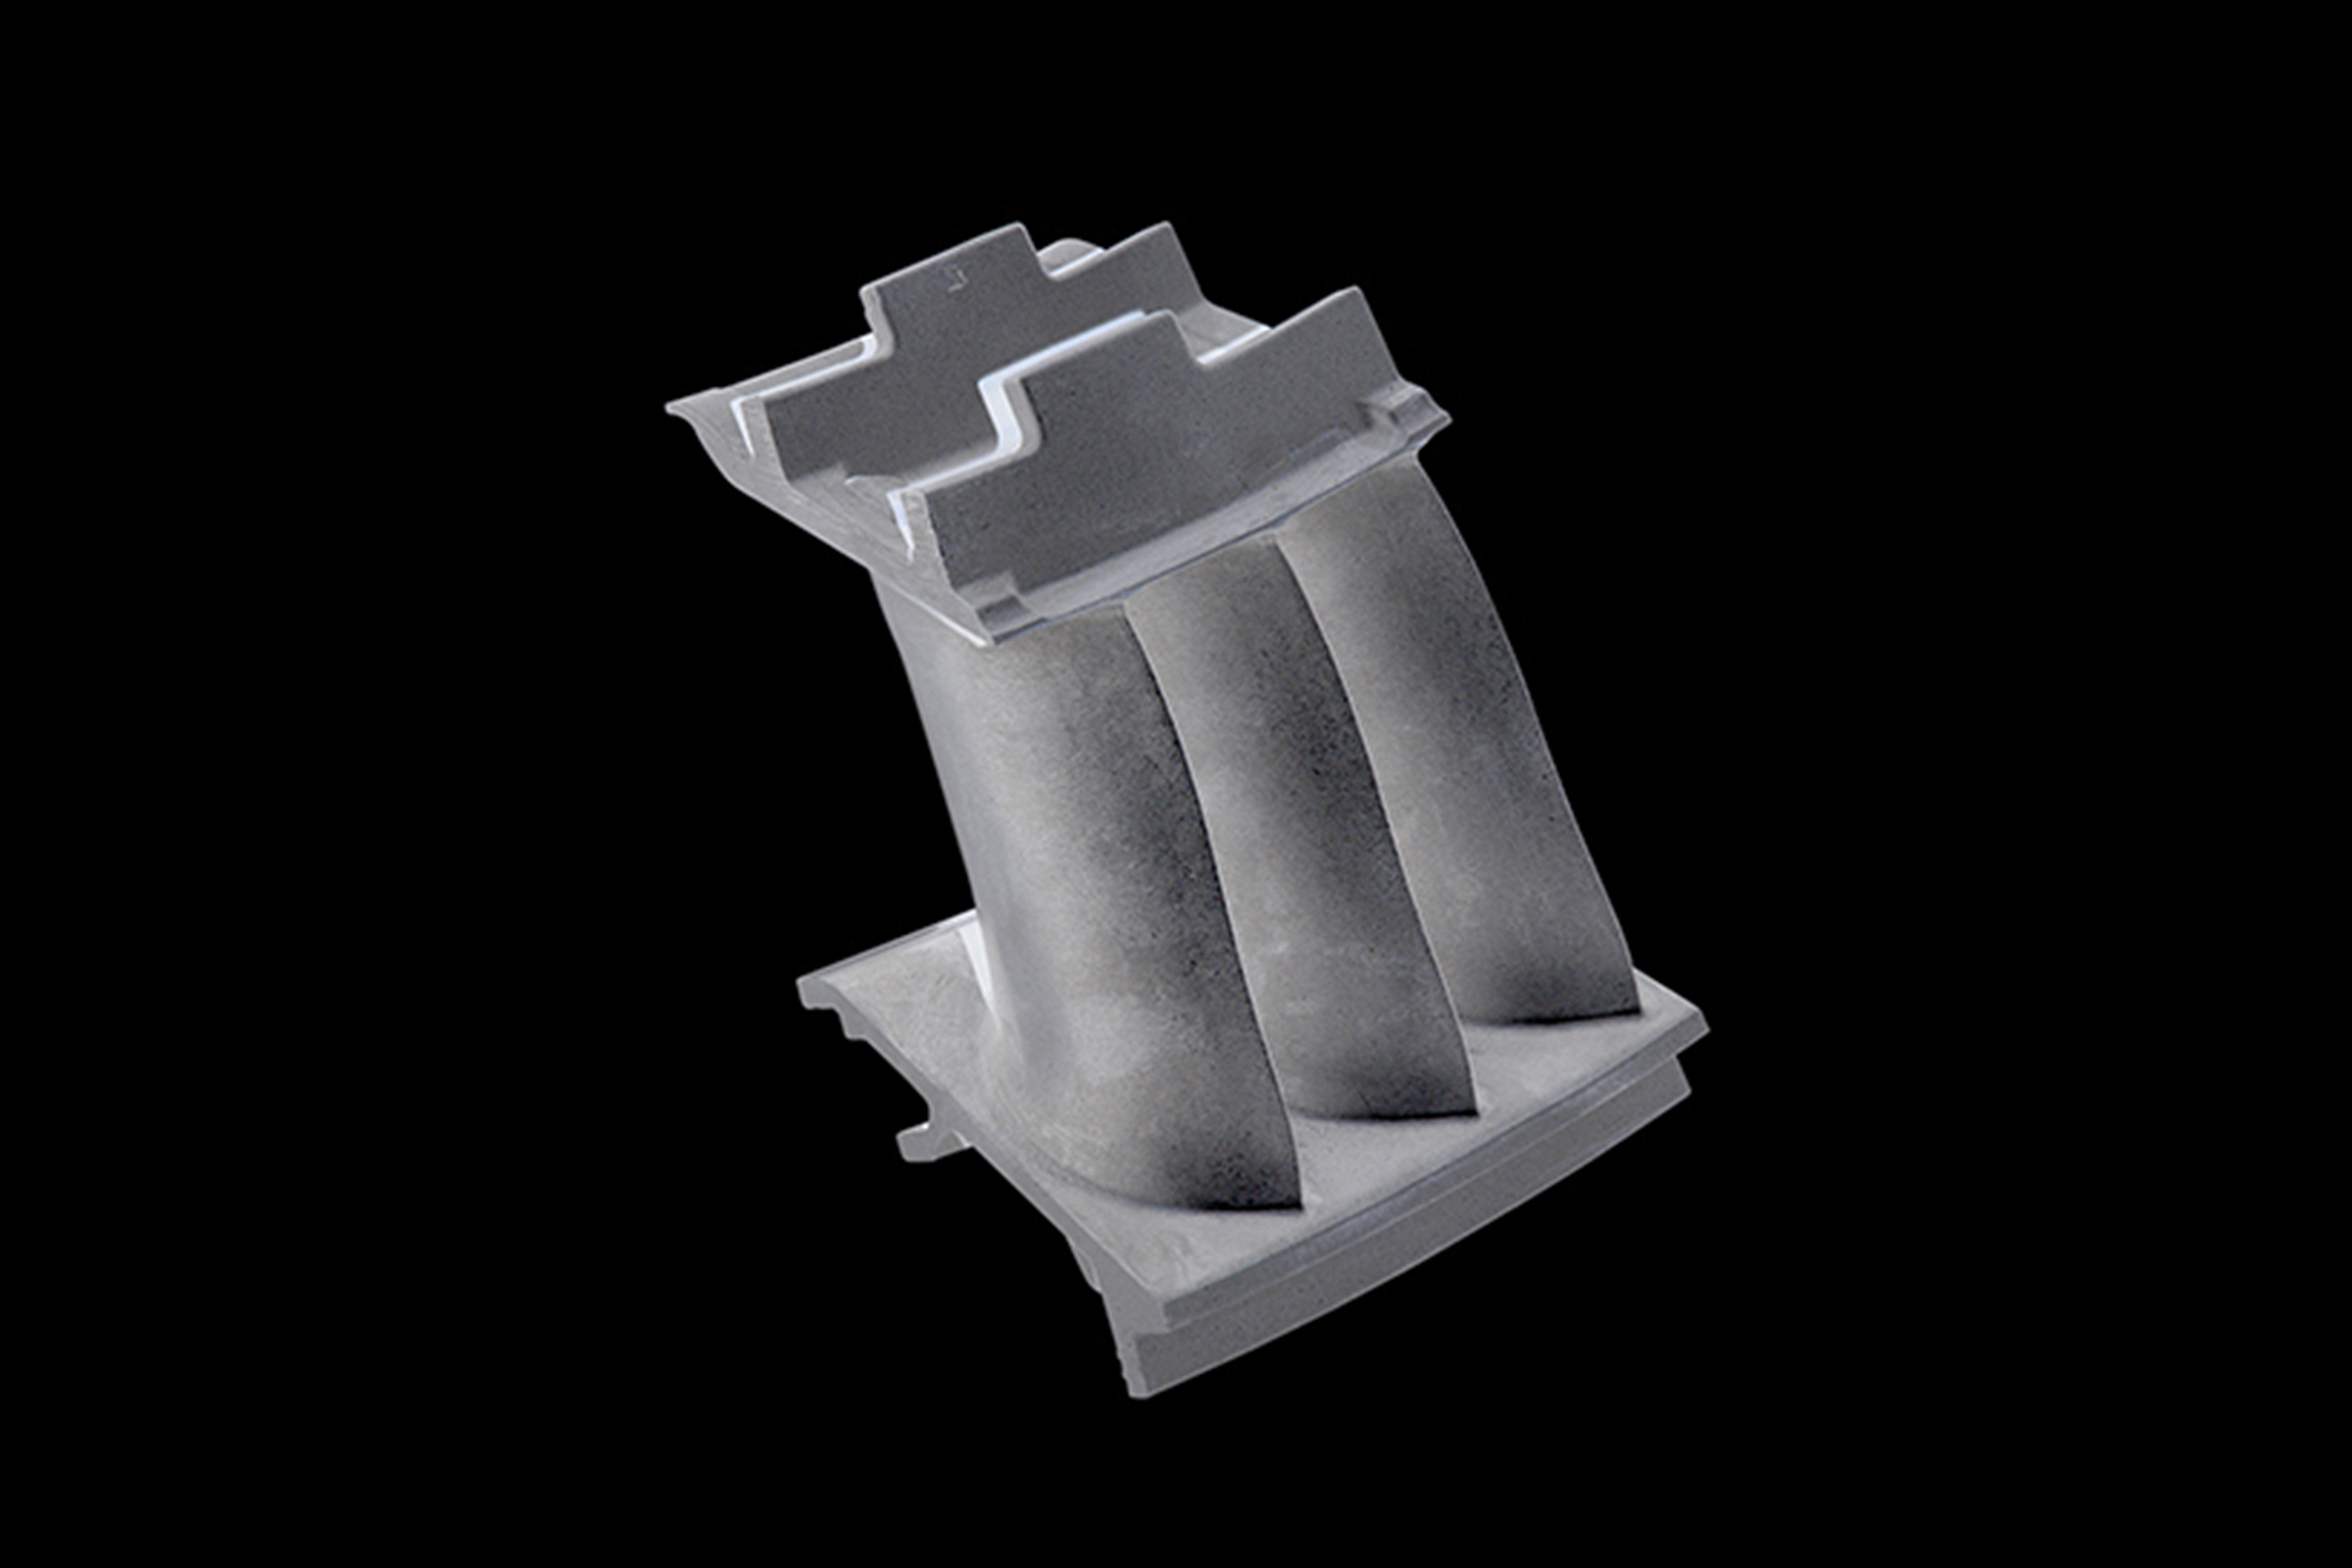
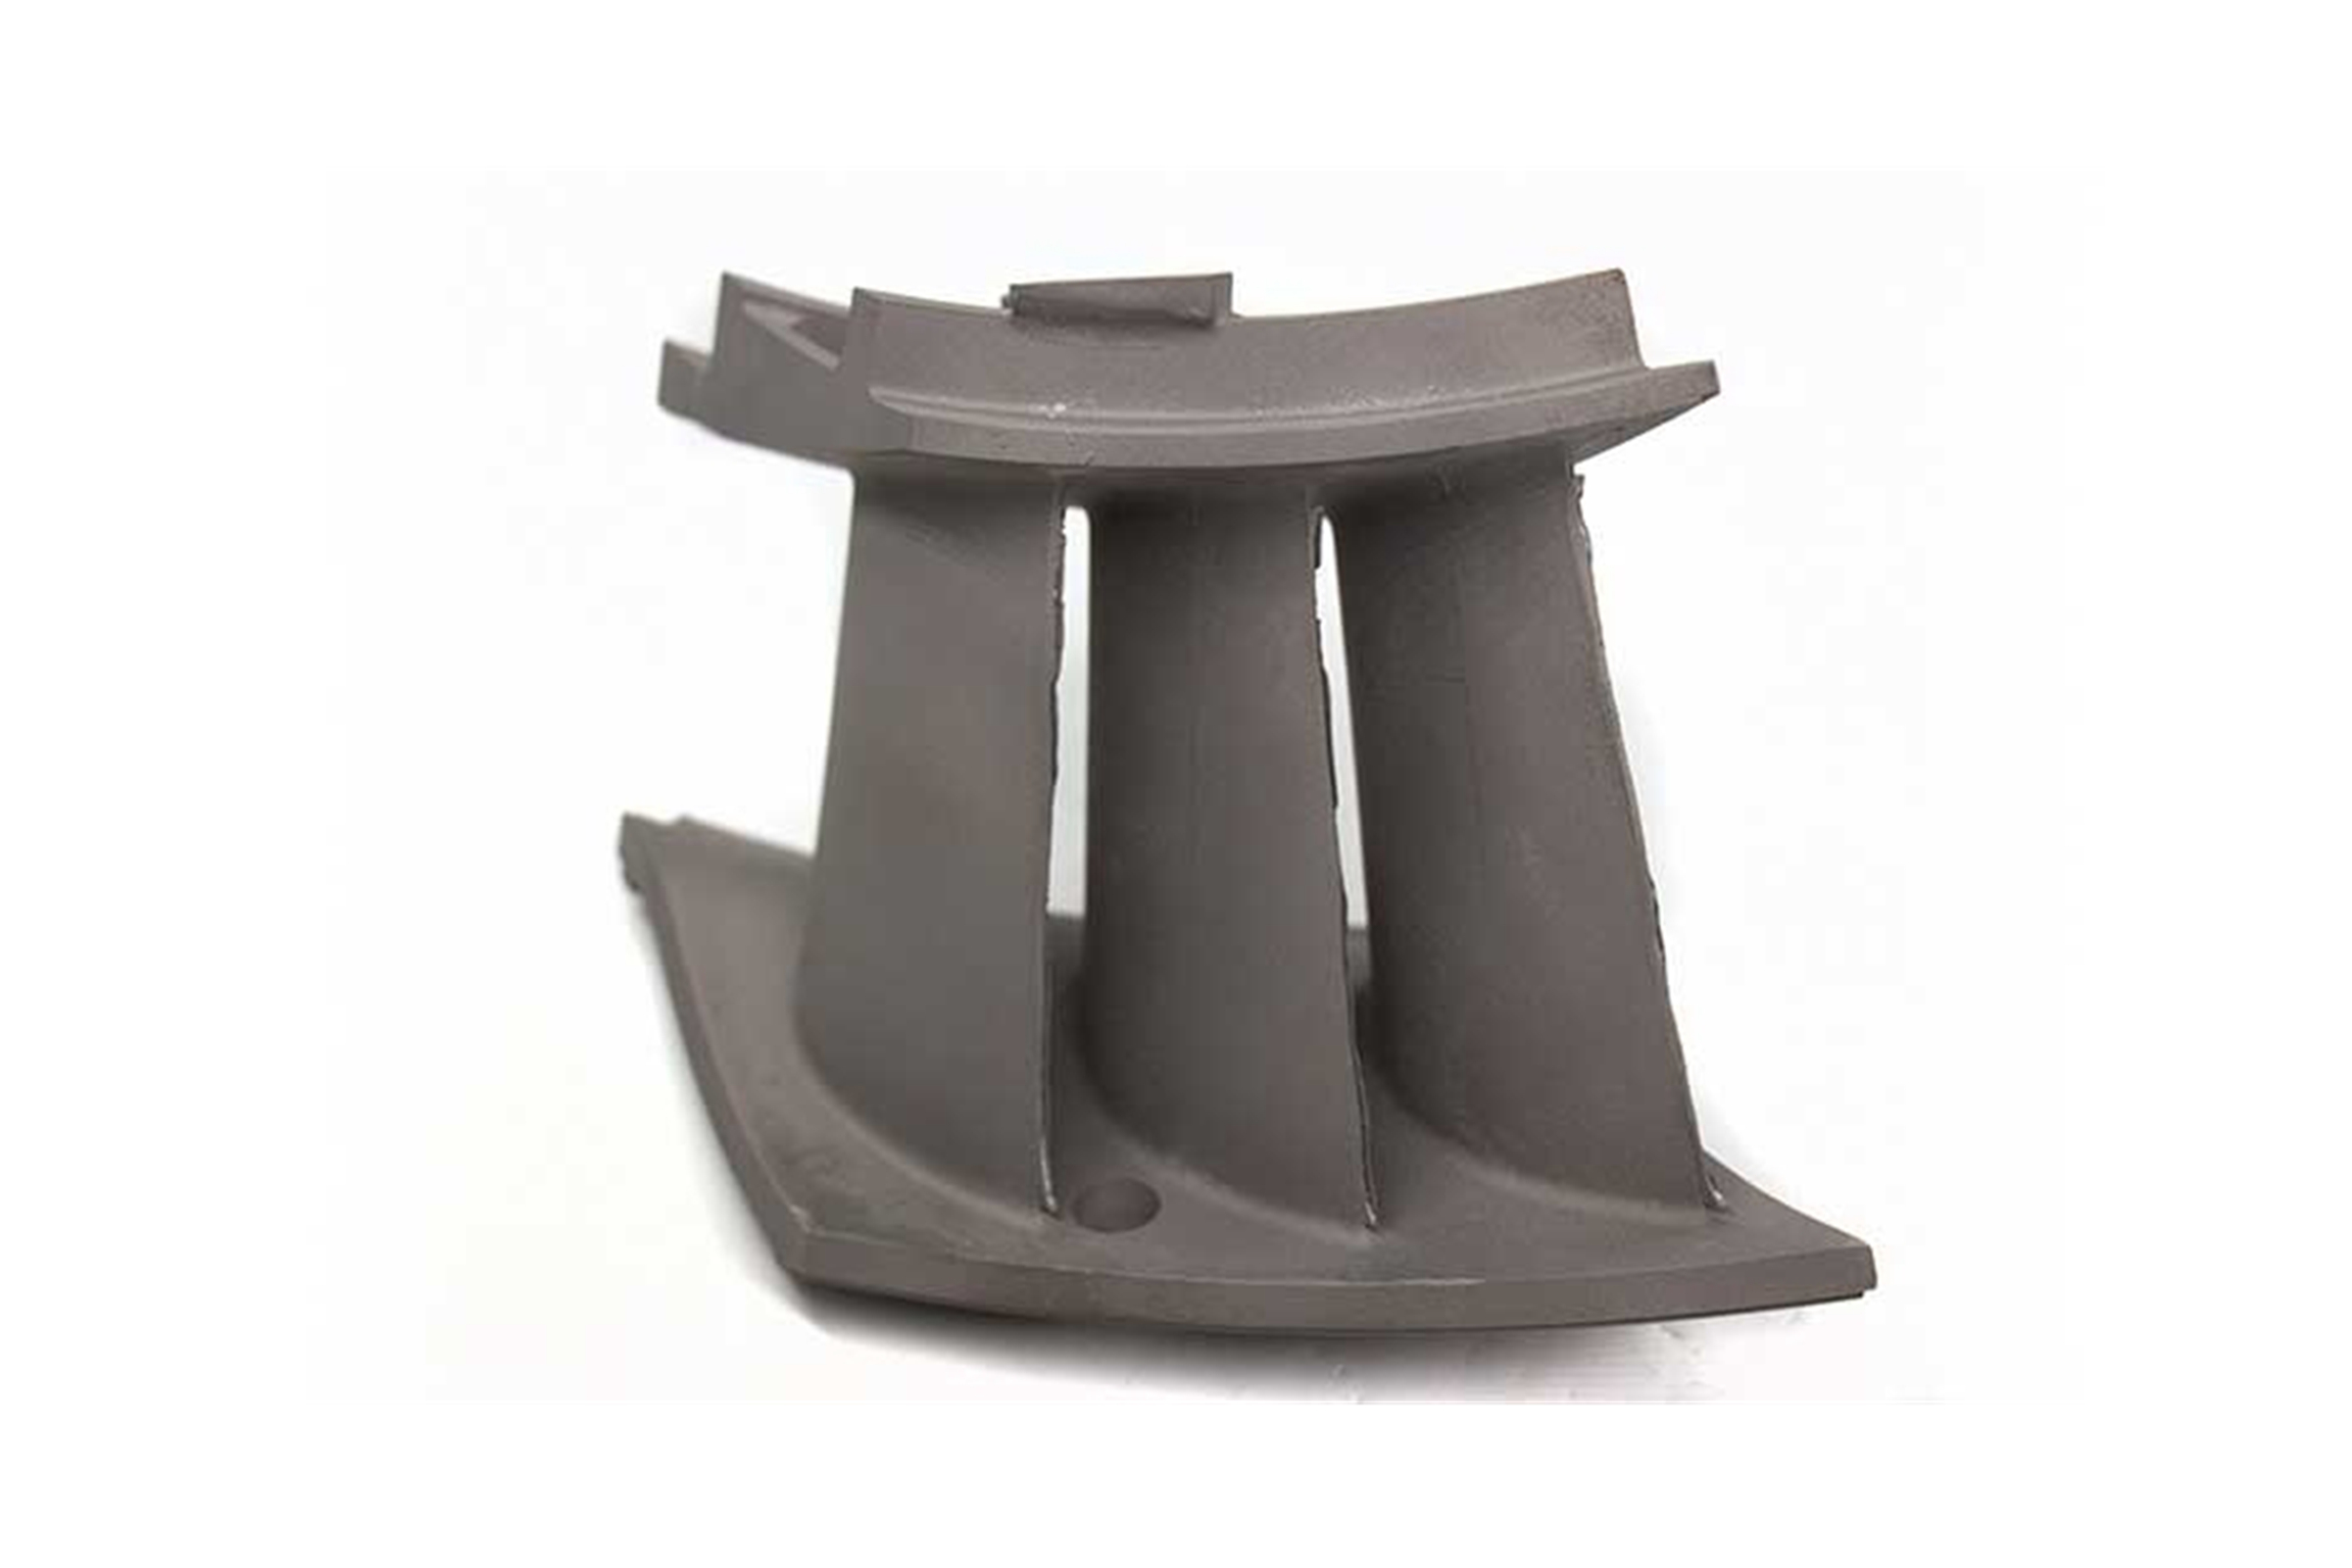
Ensuring Dimensional Accuracy in Superalloy Turbine Vanes: Benefits of 3D Scanning Measurement
Turbine vanes are essential components in aerospace and aviation, power generation, and many other industries, where high-performance materials and precision manufacturing are critical. These vanes must be manufactured with extreme dimensional accuracy as they are exposed to extreme temperatures and stress during operation. Any deviation from the required specifications can reduce performance, failure, or safety risks. Ensuring that turbine vanes meet exacting tolerances requires advanced inspection techniques, and 3D scanning measurement is emerging as one of the most effective methods for ensuring this precision.

In producing turbine vanes, high-temperature alloys, such as those processed through single crystal casting, enhance the material properties, providing the necessary strength and thermal resistance for demanding environments. Advanced inspection tools, like 3D scanning, ensure these high-performance materials are shaped and finished to meet the stringent specifications required for aerospace, power generation, and other critical applications. These methods help mitigate the risk of part failure, ensuring both safety and optimal performance in extreme conditions.
What is the 3D Scanning Measurement Process?
3D scanning is a non-contact technology used to capture the precise geometry of an object’s surface. In the context of superalloy turbine vanes, the 3D scanning process involves using laser or structured light scanners to measure the dimensions and surface details of the part. These scanners emit a beam of light (usually a laser or structured light grid) onto the object, and sensors capture the reflected light to calculate the distance and shape of the surface. This data is then used to generate a 3D model of the part.
The 3D model provides a detailed, highly accurate representation of the part, which can then be analyzed to ensure it matches the specifications in the CAD (computer-aided design) model. Unlike traditional measurement techniques, which often require physical contact with the part, 3D scanning enables rapid, detailed, and non-destructive measurement, especially for delicate or complex geometries such as turbine vans. This precision is critical in superalloy parts manufacturing, where small deviations can lead to performance issues, particularly in high-temperature environments such as gas turbines.
By employing 3D scanning, manufacturers can ensure that the components are accurately produced, meeting stringent design and performance standards. Additionally, the data captured during the process can be used for future reference and quality control checks.
The Function of 3D Scanning in Superalloy Turbine Vane Manufacturing
Ensured dimensional accuracy is critical in the production of superalloy turbine vanes. These parts must meet strict tolerances to ensure they perform under extreme conditions. 3D scanning plays a crucial role in this process, especially when integrated with advanced techniques like single crystal casting and superalloy precision forging.
Dimensional Verification
Turbine vanes are produced using various methods, including casting, forging, and machining. Each process introduces certain variations, and 3D scanning allows for precisely verifying the final dimensions. By comparing the scanned data to the original design (CAD model), manufacturers can confirm whether the turbine vanes are within the required tolerances before they proceed to further processing or assembly. This verification is essential in vacuum investment casting, where dimensional accuracy is crucial for complex geometries.
Surface Quality Assurance
Turbine vanes made from high-temperature superalloys are subjected to intense thermal and mechanical stresses, which can lead to surface defects like cracks, porosity, and inclusions. 3D scanning provides a detailed surface map of the part, allowing manufacturers to detect imperfections that could affect performance or safety. This enables early identification of defects and helps to reduce waste or rework. When paired with processes like superalloy CNC machining, the surface inspection capabilities of 3D scanning ensure that parts meet the strict quality standards required for aerospace and energy applications.
Real-time Feedback
One of the key advantages of 3D scanning is the ability to provide real-time feedback. As parts are scanned, manufacturers can instantly see if any discrepancies exist between the part and its design specifications. This allows for quick adjustments in the production process, preventing costly mistakes and ensuring that the final part meets quality standards. By integrating 3D scanning with processes like powder metallurgy turbine disc manufacturing, manufacturers can reduce production time and ensure that parts maintain the required mechanical properties.
CAD-to-Scan Comparison
After scanning a turbine vane, manufacturers can compare the scanned data directly to the original CAD model. This comparison provides valuable insight into whether the part has been accurately manufactured and whether any adjustments need to be made. This step is critical in producing high-performance components like turbine vanes, where slight deviations can significantly impact performance. The CAD-to-scan analysis ensures that every detail is captured and can be addressed before moving forward to the next manufacturing stage.
Integration with Manufacturing Systems
3D scanning is not just a standalone inspection tool; it can be integrated with other manufacturing systems, such as CNC machining or additive manufacturing (superalloy 3D printing). This integration allows for seamless workflow and ensures that the parts are continually checked against the design specifications throughout production. By using real-time data from 3D scanning in combination with advanced casting techniques, manufacturers can maintain high precision and quality control from start to finish.
Superalloy Parts That Benefit from 3D Scanning Measurement
Like many other high-performance components, superalloy turbine vanes require extreme manufacturing precision. 3D scanning measurement is beneficial for several types of superalloy parts, each of which has unique challenges and characteristics.
Superalloy Castings
Superalloy castings, such as single-crystal turbine vanes and other complex castings, are frequently used in high-temperature applications due to their excellent strength and thermal resistance. These castings often have intricate geometries and fine details that are difficult to measure using traditional methods. 3D scanning is ideal for inspecting these parts, as it can capture highly detailed surface data without the risk of damaging the part. This is especially important for single crystal castings, which have delicate internal structures that must be preserved to ensure optimal performance in applications such as aerospace and gas turbines.
Superalloy Forging Parts
Superalloy forging parts, like turbine blades and disks, must be manufactured with precise dimensions to ensure they fit properly and perform optimally under extreme conditions. The forging process can sometimes introduce distortions, affecting the part’s functionality. 3D scanning helps identify these variations and ensures that forged components remain within tight tolerances. Whether forged from Inconel, CMSX, or other superalloys, turbine blades, and other components benefit from the high accuracy of 3D scanning, ensuring reliability in industries like aerospace and energy.
CNC Machined Superalloy Parts
After superalloy castings or forging, many turbine components undergo CNC machining to refine the part into its final shape. CNC machining removes material to achieve precise dimensions, and 3D scanning ensures the parts conform to exact specifications. After machining, 3D scanning verifies that the final product matches the CAD model and ensures any residual deviations are within acceptable limits. This step is critical for superalloy CNC machining, especially for components used in highly demanding environments like gas turbines or aerospace engines.
3D Printed Superalloy Parts
Additive manufacturing, or 3D printing, allows for creating complex geometries that may be difficult to achieve through traditional casting or forging methods. However, 3D printing introduces challenges in terms of dimensional accuracy. 3D scanning provides an efficient way to ensure that these printed parts meet the design specifications. This is especially beneficial for 3D printed superalloy parts in rapid prototyping or low-volume production environments, where quick iteration and tight quality control are essential to meeting the high standards required for aerospace, automotive, and energy applications.
Comparison with Other Measurement Methods
While 3D scanning offers numerous advantages, it is essential to understand how it compares with other traditional measurement methods commonly used in superalloy turbine vane manufacturing.
Coordinate Measuring Machine (CMM) Checking: CMM is a widely used method for measuring the dimensions of components. However, CMM uses physical probes to contact the part, which can be time-consuming and potentially damaging to delicate parts like turbine vans. Additionally, CMM is often limited by the measured part's size and shape. In contrast, 3D scanning is non-contact, fast, and can handle complex geometries that may be difficult for a CMM to measure accurately. X-ray inspection, although useful for detecting internal defects, does not offer the dimensional precision of 3D scanning, which is crucial in high-performance turbine vane manufacturing.
X-ray and Ultrasonic Inspection: These methods detect internal defects such as porosity or cracks within superalloy turbine vanes. However, while they are helpful for non-destructive testing, they do not provide detailed geometric measurements or surface profiles. 3D scanning, on the other hand, offers high-resolution data that can be used to assess surface and internal features in terms of shape and geometry. Combined with metallographic microscopy, 3D scanning ensures a more comprehensive evaluation of material integrity and surface characteristics.
Optical Profilometry: Optical profilometry uses light to capture surface contours and defects at a high resolution. While this method provides excellent surface detail, it is typically limited to measuring only a part of the surface and may not be suitable for large, complex components. 3D scanning, in contrast, captures the entire surface of a part, providing a complete, high-precision 3D model for further analysis, including surface geometry inspections, which is crucial for the dimensional accuracy of turbine vanes.
Metallographic Microscopy: This method examines the microstructure of superalloy materials at a tiny scale. However, it is not designed for dimensional measurements. In contrast, 3D scanning allows for comprehensive measurement of the part's external geometry, helping to identify dimensional errors that could affect fit or function. While metallographic analysis is essential for examining material integrity, 3D scanning ensures that the part conforms to required tolerances, a critical step in high-performance applications like turbine engine components.
Industry Applications for 3D Scanning in Superalloy Parts Manufacturing
The benefits of 3D scanning extend beyond just the manufacturing process. Various industries rely on precise superalloy turbine vanes and components to perform under extreme conditions, making dimensional accuracy crucial for the success of these applications.
Aerospace and Aviation
In the aerospace and aviation industry, turbine vans are a critical part of jet engines, where high precision is required to ensure the safety and efficiency of aircraft. 3D scanning is used to verify that turbine vanes meet the exact specifications required for optimal engine performance. This ensures that components can endure extreme thermal and mechanical stresses during flight.
Power Generation
Gas turbines used in power plants also require high-performance turbine vanes. These turbines are exposed to extremely high temperatures, and the components must maintain dimensional stability over time. In power generation, 3D scanning helps to ensure that these parts are manufactured to tight tolerances for maximum efficiency and reliability, optimizing the performance of power plants by ensuring long-term durability and consistent operation.
Marine and Oil & Gas
Turbine components in the marine and oil & gas industries must withstand harsh environmental conditions, including exposure to saltwater, high pressure, and corrosive substances. 3D scanning helps ensure that parts are dimensionally accurate and defect-free before they are deployed in these challenging environments. For instance, superalloy pump components used in offshore drilling operations benefit from this technology to guarantee their precision and long-lasting performance in corrosive and high-pressure conditions.
Military and Defense
Superalloy turbine vanes are essential in military aircraft engines, where precision and performance are critical. 3D scanning helps verify that turbine vanes meet the stringent operational performance and safety requirements. These critical components, such as those used in jet engines, must adhere to the highest standards to ensure reliability under extreme conditions. Components like superalloy armor system parts also benefit from 3D scanning for accurate manufacturing to withstand ballistic impacts and intense heat.
Nuclear
Superalloy turbine components are used in nuclear power plants, where high reliability is essential. 3D scanning provides a non-destructive way to inspect parts for defects, ensuring they meet the necessary specifications for critical applications. Precision is crucial for safety for turbine components exposed to high radiation and temperatures, and 3D scanning ensures the parts are defect-free and meet stringent performance standards before being deployed in reactors.
By leveraging 3D scanning technology, industries that rely on superalloy turbine components can ensure that these parts are manufactured to exact specifications, ensuring optimal performance and safety in high-stress applications.
FAQs
How does 3D scanning improve the efficiency of turbine vane manufacturing?
What types of superalloy turbine vanes are most commonly inspected using 3D scanning?
How does 3D scanning compare to traditional CMM for measuring turbine vanes?
Can 3D scanning detect internal defects in turbine vanes?
What industries rely on 3D scanning for superalloy turbine vane production?


