Dimensional Measurement in Superalloy Production: Benefits of Stereo Microscopes
Dimensional measurement is a critical process in the production of superalloy components, particularly in industries that demand precision, durability, and safety. Superalloys, which are designed to perform in extreme environments such as high temperatures, corrosion, and mechanical stress, must adhere to tight dimensional tolerances to function effectively in critical applications like aerospace and aviation, power generation, and defense. One of the most effective tools for dimensional measurement in superalloy production is the stereo microscope.

Stereo microscopes provide high-resolution imaging that enables precise measurement of superalloy components at a microscopic level. Their ability to offer three-dimensional views of a part’s surface ensures that even the most minor dimensional deviations can be detected, which is crucial for components used in high-performance applications such as turbine blades and engine components. Since superalloy parts are often subjected to extreme operating conditions, ensuring they meet exacting tolerances is essential for maintaining their structural integrity and performance.
Compared to other dimensional measurements, such as coordinate measuring machines (CMM) or laser scanning, stereo microscopes are particularly advantageous for surface-level inspection. They offer a detailed view of the part’s microstructure, making them ideal for detecting minute surface defects and imperfections that could otherwise compromise a part’s functionality. This is particularly important in industries like oil and gas and chemical processing, where superalloy components are exposed to high levels of stress and need to maintain their integrity over extended periods.
What is Dimensional Measurement in Superalloy Production?
Dimensional measurement in superalloy production refers to determining a superalloy component's size, shape, and other geometric characteristics. This process ensures that the manufactured parts conform to the required specifications, such as length, width, thickness, and geometric tolerances. Precise dimensional accuracy is paramount in industries like aerospace and power generation, where superalloys are used to manufacture turbine blades, engine parts, and other mission-critical components.
Superalloy components, such as turbine blades, compressor discs, and heat exchangers, often feature complex geometries and intricate surface details. Any deviations from the specified dimensions can lead to mechanical failure, reduced efficiency, and safety risks. Therefore, precise dimensional measurement techniques are employed throughout the production cycle—from casting and forging to CNC machining and 3D printing—to verify that each part meets strict quality standards.
Additionally, dimensional measurement methods are integral to non-destructive examination (NDE) processes. For example, X-ray and stereo microscope inspections help detect internal and surface imperfections while maintaining dimensional accuracy. This process is crucial for high-performance components, ensuring they function optimally in demanding environments like turbine engines.
The Function of Stereo Microscope in Dimensional Measurement
Stereo microscopes are powerful instruments that provide 3D imaging, enabling the inspection and measurement of small features and detailed geometries. These microscopes use optical systems to create a stereoscopic effect, providing depth perception and allowing the inspector to see a part's surface in greater detail. This 3D visual capability is handy for measuring superalloy components, which often have intricate features that require high precision.
High Precision Measurement
The primary function of a stereo microscope in dimensional measurement is to provide magnification and clarity when inspecting parts for size, shape, and other dimensional characteristics. Stereo microscopes can detect minor surface flaws, measure small features with high precision, and help ensure that parts meet dimensional tolerances. For example, stereo microscopes can measure turbine blade fillet radii, the thickness of coatings, and other critical geometric parameters in superalloy parts, commonly produced through superalloy directional casting and superalloy CNC machining.
Early Detection of Surface Flaws
Stereo microscopes are also essential for measuring components in real-time, significantly reducing the likelihood of errors or discrepancies that could go unnoticed with other measurement methods. The ability to see detailed surface structures allows manufacturers to identify potential defects or irregularities early in the production process, facilitating faster corrections and improving overall quality control. This capability is precious in industries such as aerospace, where dimensional accuracy is crucial for ensuring the reliability and safety of components like turbine blades and engine parts.
Enhancing Production Efficiency
By providing high-resolution, 3D images of intricate parts, stereo microscopes facilitate accurately measuring critical dimensions. This helps reduce the risk of defects during processes like vacuum investment casting and powder metallurgy turbine disc manufacturing. With precise dimensional measurements, manufacturers can optimize their production processes, ensuring components meet stringent specifications and maintaining high levels of quality throughout the manufacturing lifecycle.
Superalloy Parts Requiring Dimensional Measurement
Dimensional measurement is a critical step in ensuring superalloy components' integrity, performance, and fit across various manufacturing processes. Precision is essential in aerospace and energy production applications, where even minor deviations can impact part functionality. The following superalloy parts benefit from precise dimensional measurement:
Superalloy Castings
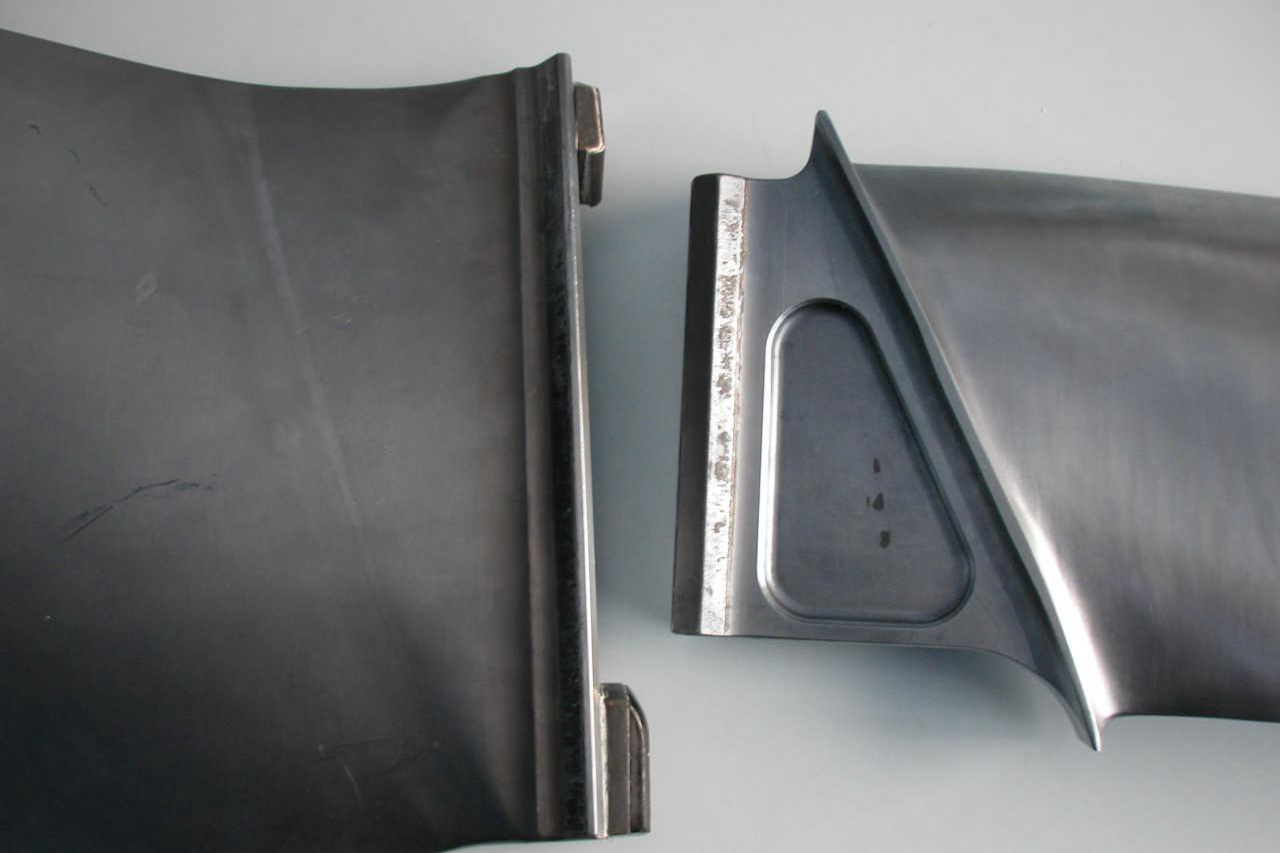
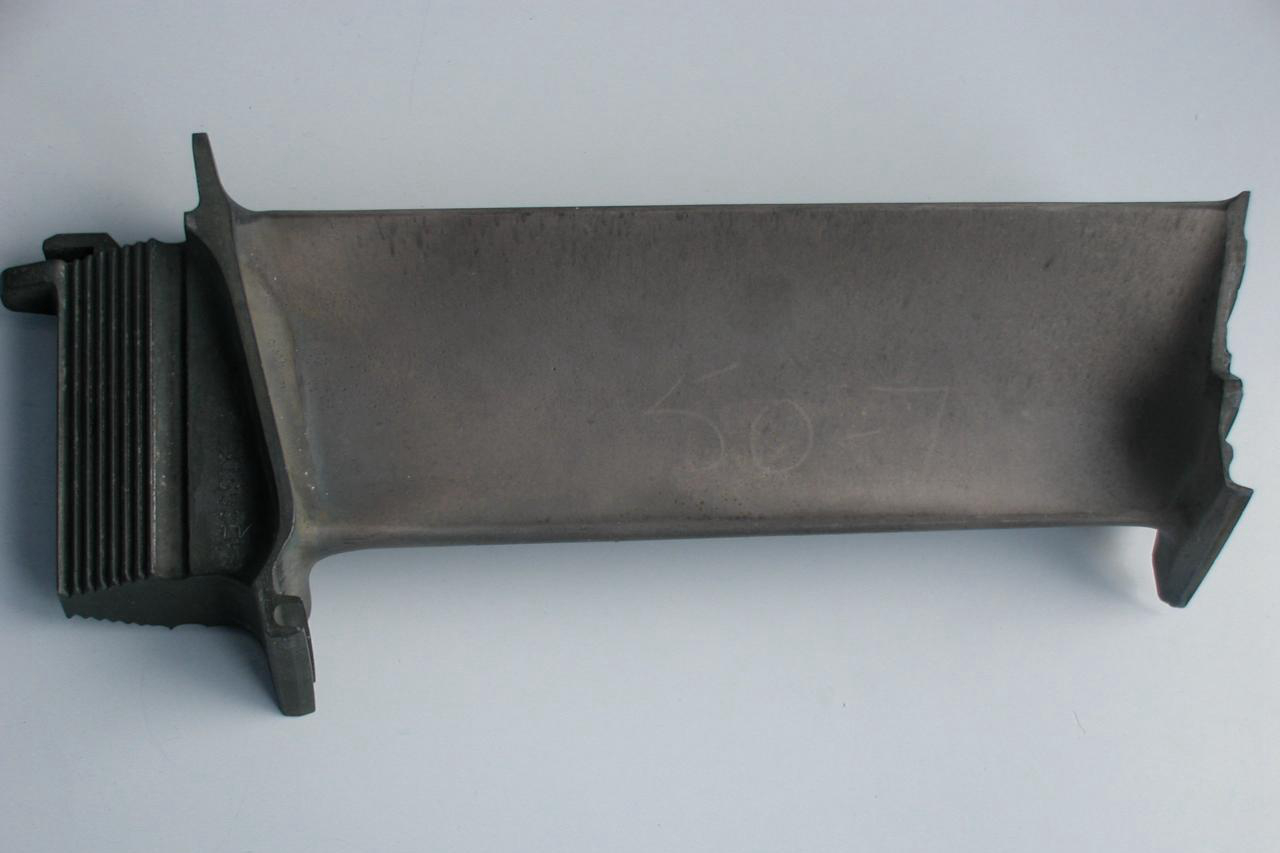
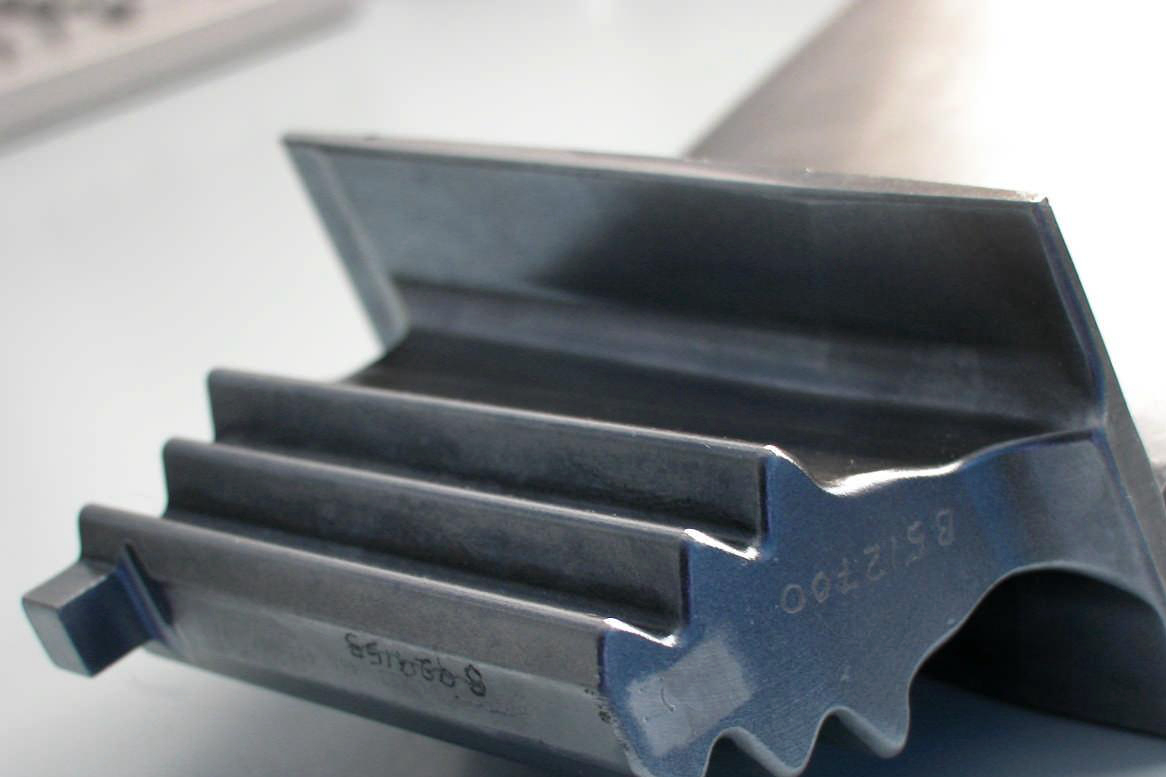
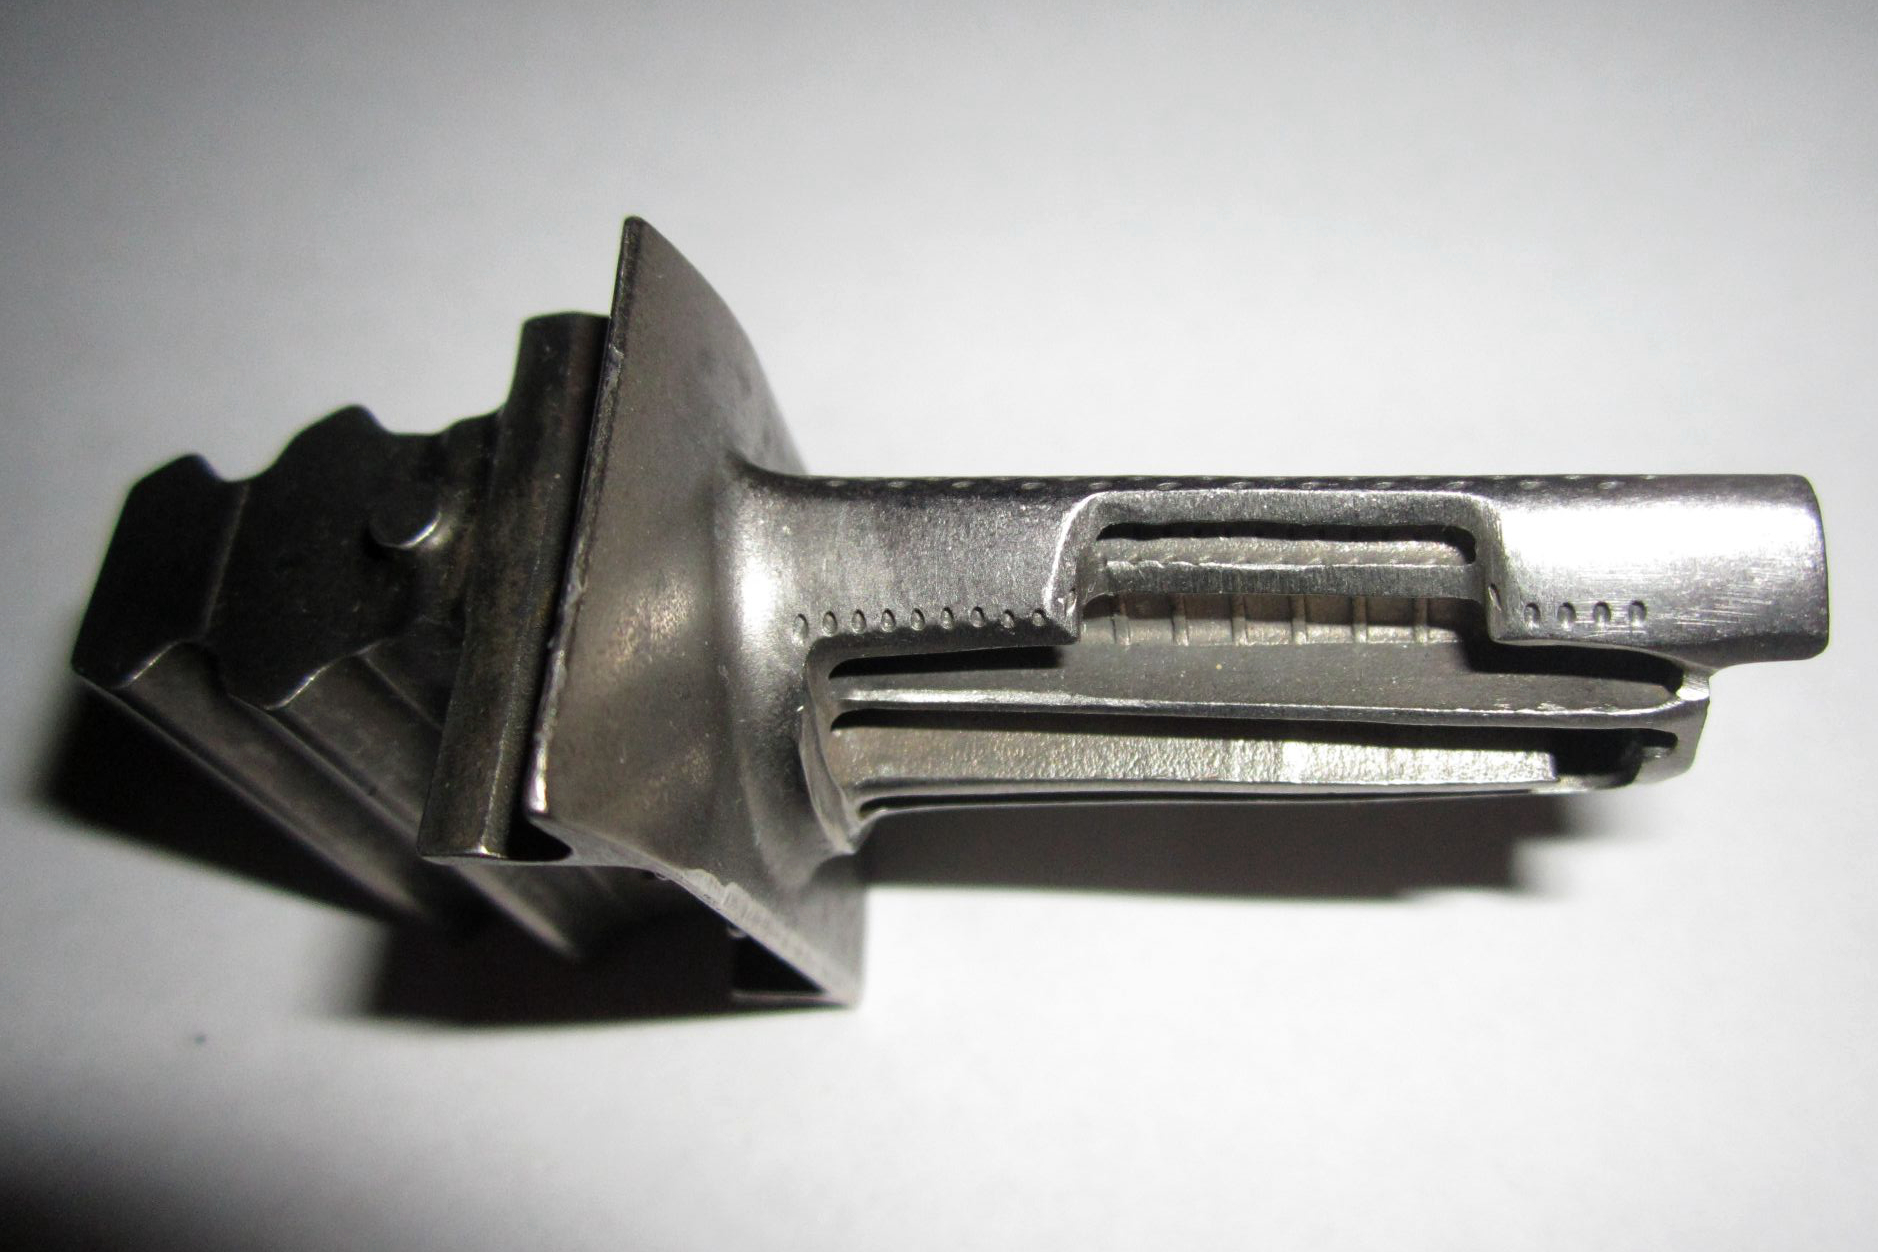
Superalloy castings, such as turbine blades, nozzle rings, and combustion chambers, often feature complex geometries with intricate internal and external details. Accurate measurement of these fine features—like radii, fillets, and surface finishes—is crucial. For example, turbine blades require precise measurements of root geometry, airfoil thickness, and other critical dimensions to ensure optimal aerodynamic performance and fit within the engine. Single-crystal casting and vacuum investment casting are frequently used for these parts, requiring high-precision dimensional inspection to detect any deviations that could affect functionality.
Forging Parts
Forged superalloy components, such as turbine discs and compressor blades, undergo high heat and pressure during the forging process, which can cause dimensional changes. Superalloy precision forging ensures that forged parts maintain strict tolerances for proper fit and performance in engine assemblies. Stereo microscopes help measure the overall dimensions and fine details, such as surface imperfections and dimensional accuracy in complex features like blade edges and disc contours. These measurements ensure that the part performs reliably under high stress, particularly in critical aerospace and power generation applications.
CNC Machined Superalloy Parts
After forging or casting, many superalloy components, such as impellers and blades, undergo CNC machining to achieve precise geometries. During this process, fine tolerances for surface roughness, dimensional accuracy, and geometric features are essential to ensure proper function. Stereo microscopes are invaluable in measuring these features, mainly to verify that machining processes have not introduced errors. For example, checking for dimensional deviations or imperfections in features such as airfoils and internal cooling passages is crucial for the part’s performance and durability in demanding environments.
3D Printed Superalloy Parts
Additive manufacturing, or 3D printing, is increasingly used to produce complex superalloy components like turbine blades and engine parts. However, 3D-printed parts require rigorous dimensional verification to meet geometric specifications. Stereo microscopes check layer alignment, detect warping or misprints, and measure critical dimensions such as wall thickness or internal channel sizes. Ensuring dimensional accuracy in these printed superalloy parts is essential for their performance in high-temperature and high-stress applications, such as aerospace engines or gas turbines.
In conclusion, dimensional measurement is a key aspect of ensuring that superalloy parts—whether cast, forged, CNC machined, or 3D printed—meet the precise specifications necessary for optimal performance. Stereo microscopes provide a reliable and accurate method for inspecting these parts, guaranteeing that they perform as intended in critical applications.
Comparison with Other Dimensional Measurement Techniques
While stereo microscopes provide many benefits for dimensional measurement, other measurement techniques are commonly used in superalloy production. Below is a comparison of stereo microscopes with other dimensional measurement methods.
Coordinate Measuring Machines (CMM)
CMMs are widely used for dimensional inspection, particularly for more significant components. They use a probe to touch different points on the part's surface and generate a 3D profile. While CMMs are highly accurate for large, simple measurements, they are often unsuitable for intricate surface detail inspection. Stereo microscopes excel in measuring small, complex features that may be challenging for a CMM to capture accurately, such as microstructural details or fine surface imperfections.
Laser Scanning
Laser scanning is another popular measurement method that creates a 3D model of the part's surface. While laser scanning helps capture the overall geometry of significant components, it may not offer the same level of precision for small features or surface defects as stereo microscopes. Stereo microscopes provide higher magnification and better detail for inspecting microstructures, cracks, and surface roughness, making them ideal for precise surface inspections that require high resolution.
X-ray and Ultrasonic Testing
X-ray and ultrasonic testing methods are non-destructive techniques used to detect internal material flaws. While they are invaluable for detecting subsurface defects such as voids or cracks, they do not provide detailed dimensional measurement information. Stereo microscopes complement these techniques by providing high-precision surface measurements, allowing manufacturers to detect both internal and external issues that could affect dimensional accuracy. This combination of methods ensures a comprehensive inspection process, covering surface and subsurface defects in superalloy parts.
Industry and Application of Dimensional Measurement with Stereo Microscopes
The importance of dimensional measurement in superalloy production extends across several industries, each with unique requirements for high-performance components. Below are the key industries and applications that benefit from precise dimensional measurement using stereo microscopes:
Aerospace and Aviation
Superalloy components used in aerospace and aviation, such as turbine blades, combustion chambers, and nozzles, must adhere to strict dimensional tolerances. Any deviation from specifications can compromise the performance and safety of the aircraft. Stereo microscopes measure critical features like blade root geometry, airfoil thickness, and surface finish to ensure optimal performance in extreme conditions. Accurate measurements ensure that turbine blades can withstand high temperatures and stresses, preventing failures that could endanger the aircraft.
Power Generation
Superalloy components in power generation, including gas turbine parts and heat exchangers, are exposed to high temperatures and mechanical stress. Accurate dimensional measurement is essential to ensure these parts fit together correctly, function efficiently, and withstand the harsh operating environment. Stereo microscope inspection measures these parts and identifies any surface imperfections that could lead to performance issues. In power generation turbines, for example, precise blade geometry is essential for maintaining efficiency and preventing mechanical failure under high operational stress.
Oil and Gas
The oil and gas industry relies on superalloy components for valves, pumps, and turbines used in drilling and extraction processes. These components are exposed to extreme pressures and temperatures, making dimensional accuracy crucial for safe and efficient operation. Stereo microscopes help ensure that these parts are manufactured to precise specifications, preventing issues like misalignment or poor fitting that could lead to leaks, inefficiency, or catastrophic failure in demanding environments like offshore oil rigs.
Defense and Military
In defense and military applications, superalloy parts are used in missile systems, naval vessels, and military aircraft. Dimensional accuracy is critical to ensure these parts perform reliably under challenging conditions. Stereo microscopes inspect components like missile casings and aircraft engine parts, ensuring they meet the required tolerances for safety and performance. These measurements help guarantee that superalloy components are structurally sound and can endure the extreme operational conditions faced in defense missions.
Nuclear Energy
Superalloy components used in nuclear energy applications, such as reactor vessels and related equipment, must meet stringent dimensional standards to ensure structural integrity and safe operation. Stereo microscope inspection helps verify the dimensions of reactor vessel components, steam generators, and other critical parts to ensure they comply with safety regulations. In a nuclear plant, precise measurements are essential to prevent misalignment or other issues that could compromise reactor safety, potentially leading to system failures or hazardous conditions.
Dimensional measurement with stereo microscopes ensures that superalloy parts across these industries meet the exact specifications required for safety, performance, and reliability in extreme conditions. This precise inspection process helps safeguard the operational success of critical systems in aerospace, power generation, oil and gas, defense, and nuclear energy sectors.
FAQs
How do stereo microscopes improve the accuracy of dimensional measurement in superalloy production?
What types of superalloy parts benefit the most from stereo microscope measurement techniques?
How do stereo microscopes compare with coordinate measuring machines (CMM) for measuring superalloy components?
Can stereo microscopes detect both surface defects and dimensional inaccuracies in superalloy parts?
What industries benefit from using stereo microscopes for dimensional measurement of superalloy components?


