Dimensional Accuracy Verification in Equiaxed Crystal Casting Parts Using X-ray Inspection
X-ray inspection is a non-destructive testing (NDT) method widely used in manufacturing high-performance components to verify the dimensional accuracy of parts. In particular, it plays a crucial role in equiaxed crystal casting, where precision is vital for ensuring the proper performance of superalloy components. This process involves using X-rays to capture high-resolution images of the internal and external geometries of the part, providing a detailed visual representation of the casting’s structure. The X-ray images reveal any internal defects or dimensional discrepancies that may affect the part’s function, which is essential in aerospace and aviation and power generation.

For equiaxed crystal casting, X-ray inspection is particularly valuable because it can evaluate the quality of the internal structure, including porosity, cracks, shrinkage cavities, and variations in wall thickness, all of which could lead to failures in demanding applications such as aerospace or power generation. Unlike conventional inspection methods, X-ray allows for a comprehensive analysis of internal and external features in a single scan, making it indispensable to ensure that the casting adheres to the required tolerances. This capability is critical for ensuring the reliability of components used in military and defense and nuclear applications, where component integrity is paramount.
In industries that require high-performance materials, such as oil and gas and marine, ensuring the structural integrity of superalloy parts is vital. X-ray inspection offers an effective way to detect flaws that would be difficult or impossible to identify with traditional visual inspection, preventing potential failures in high-stress environments. By providing a detailed analysis of internal structures, this technology plays a key role in maintaining the safety and reliability of superalloy components across a range of applications.
The Function of X-ray Inspection in Dimensional Accuracy Verification
X-ray inspection is primarily used to verify the dimensional accuracy of equiaxed crystal castings by detecting deviations from the desired specifications. In superalloy casting, maintaining tight dimensional tolerances ensures that components can withstand extreme stresses and high temperatures in aerospace, energy, and military industries. X-ray inspection checks for internal features such as wall thickness, voids, and structural integrity while confirming that the part meets precise external dimensions.
One of the main advantages of using X-rays for dimensional accuracy verification is its ability to check parts without requiring direct contact. This non-invasive method eliminates the risk of damaging delicate parts, which can often occur with mechanical measurement techniques. X-ray technology captures the overall shape of the casting, including intricate internal geometries, which might be impossible to measure with traditional surface-based methods. This ensures that every part meets the stringent specifications required for performance under high-stress conditions, such as those found in gas turbines or turbine blades.
In addition, X-ray inspection can detect internal defects that might be invisible to the naked eye, such as cracks or porosity, which could significantly impact the part’s mechanical properties and reliability. By providing a clear, 3D image of the part’s internal and external dimensions, X-ray inspection offers a more accurate representation of the part’s overall quality than surface-only measurements. This makes it an invaluable tool for ensuring that superalloy parts meet the quality standards for high-performance applications.
Superalloy Parts Requiring Dimensional Accuracy Verification via X-ray
Dimensional accuracy is critical for the performance and safety of superalloy parts used in high-performance applications. X-ray inspection is an excellent method for verifying the dimensional accuracy of parts, especially those with complex internal structures. This non-destructive method allows for precise measurements without damaging the component. Below are the key superalloy parts that benefit from X-ray inspection for dimensional accuracy verification:
Superalloy Castings
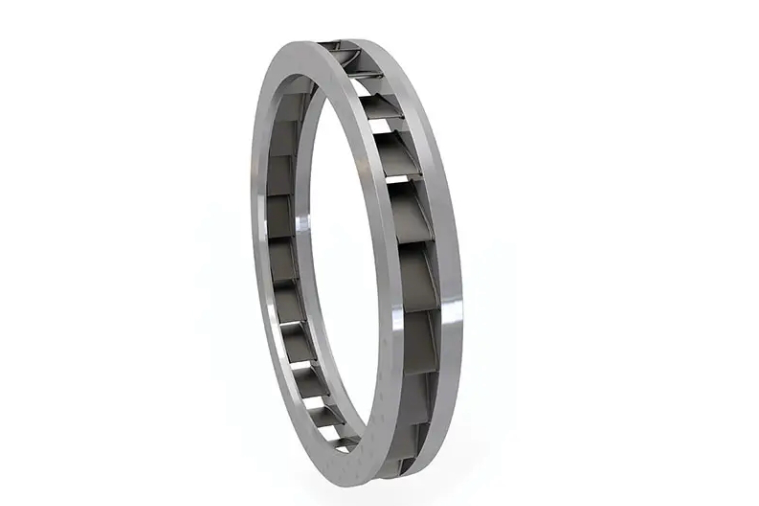
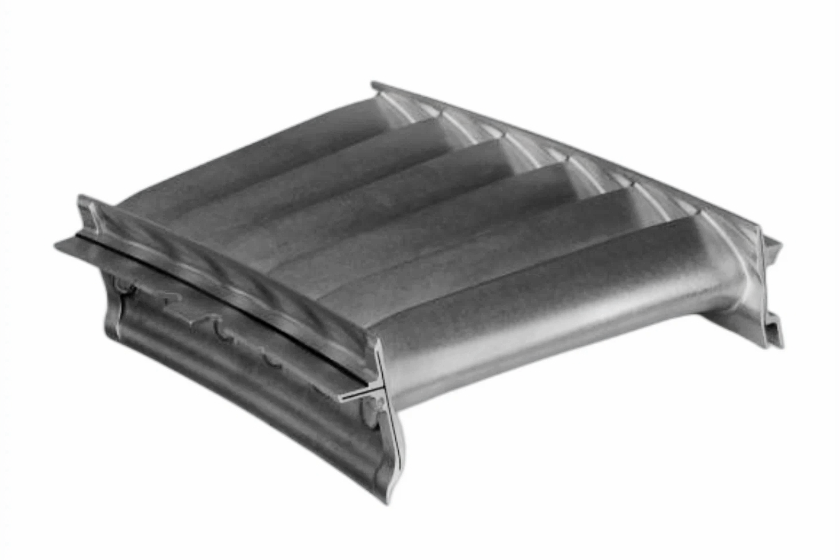
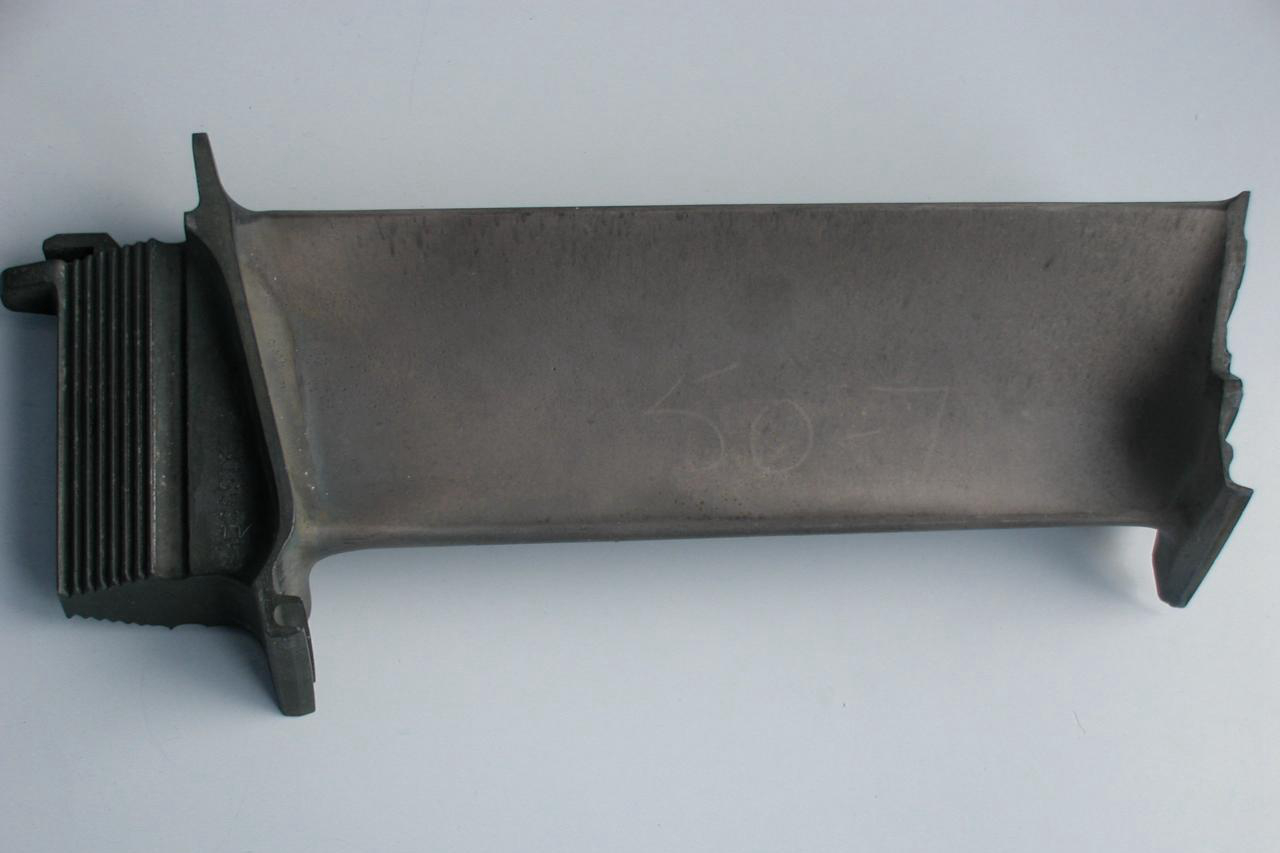
Superalloy castings, such as turbine blades, combustion chambers, impellers, and casings, are integral to high-performance engines. In these components, precision is crucial for optimal performance and safety. For example, turbine blades must be dimensioned perfectly to fit within the turbine assembly. Even the slightest misalignment in these parts could lead to catastrophic failure. X-ray inspection allows for the precise measurement of both internal and external dimensions, ensuring that the casting meets the necessary tolerances and fits accurately within its application.
Forging Parts
Superalloy forging parts, such as turbine discs, seals, and engine components, must also undergo dimensional accuracy verification. The forging process involves extreme forces and high temperatures, which makes maintaining dimensional precision even more critical. X-ray inspection ensures that parts such as turbine discs are within the required tolerances, preserving their strength and reliability in high-stress environments. Any dimension deviation can compromise the part’s performance and overall system efficiency, making accurate verification essential for forged components.
CNC Machined Superalloy Parts
CNC machined superalloy parts, including brackets, connectors, and fasteners, must meet strict dimensional tolerances to ensure they fit and function correctly within an assembly. Rigorous quality checks often follow CNC machining and X-ray inspection is vital in this process. It provides an accurate method for verifying the internal and external dimensions of the machined parts, ensuring that any internal defects or dimensional deviations are identified before the parts are put into service. For example, fasteners used in aerospace applications must adhere to exact specifications, which X-ray testing helps confirm.
3D Printed Superalloy Parts
Additive manufacturing, or 3D printing, is increasingly used to create complex superalloy parts like jet engine components and heat exchangers. These parts often feature intricate geometries that are difficult to measure with traditional methods. X-ray inspection is beneficial in these cases, as it allows for precise dimensional verification of the internal and external structures. For example, a 3D printed part, such as a turbine blade, may have complex internal cooling channels or other features that require detailed inspection to ensure they meet the required performance standards.
In all of these cases, X-ray inspection is crucial in ensuring the superalloy parts meet strict dimensional tolerances, essential for maintaining high-performance systems' overall efficiency, safety, and reliability.
Comparison with Other Methods for Dimensional Accuracy Verification
While X-ray inspection is a highly effective tool for dimensional accuracy verification, it is essential to consider how it compares with other methods commonly used in the industry, such as CMM (Coordinate Measuring Machine), laser scanning, and ultrasonic testing. Each method has its advantages and limitations, and understanding these differences can help determine when X-ray inspection is the best choice.
X-ray vs. CMM (Coordinate Measuring Machine)
The CMM is a widely used method for measuring the dimensions of a part by contacting the surface with a probe. While CMMs provide accurate measurements for external features, they are limited when measuring internal structures, which may not be accessible to the probe. Additionally, CMMs require physical contact with the part, which could lead to damage, especially for delicate components like turbine blades. X-ray inspection, on the other hand, is non-invasive and provides a more complete view of both internal and external dimensions in a single scan. This makes it ideal for ensuring the dimensional accuracy of complex superalloy parts with intricate internal geometries.
X-ray vs. Laser Scanning
Laser scanning is often used to measure the external geometry of parts by scanning their surface to create a 3D point cloud. This method is efficient for checking large volumes of parts but unsuitable for inspecting internal features, such as voids, cracks, or thickness variations. X-ray inspection, by contrast, can measure internal and external features simultaneously, making it a more comprehensive solution for dimensional accuracy verification in complex superalloy castings. This ability to inspect the internal structure is crucial in high-performance applications where defects inside the part could compromise its integrity.
X-ray vs. Ultrasonic Testing
Ultrasonic testing is commonly used for detecting internal flaws such as cracks, delaminations, and porosity. However, while ultrasonic testing can identify defects, it does not provide a complete visual representation of the part’s geometry or internal structure. X-ray inspection, on the other hand, gives a detailed 2D or 3D image of the part, making it easier to visualize dimensional discrepancies and assess overall quality. X-ray inspection is the preferred method when precise dimensional verification, including internal and external features, is critical for superalloy components used in aerospace, power generation, and other high-performance industries.
Industry and Application of Dimensional Accuracy Verification Using X-ray in Superalloy Parts
Dimensional accuracy verification is essential in industries where high-performance parts are required to meet strict safety, efficiency, and reliability standards. X-ray inspection significantly ensures that superalloy components meet the dimensional tolerances necessary for these applications. Some key industries where X-ray inspection is particularly valuable include:
Aerospace & Aviation
In aerospace and aviation, components like turbine blades, combustion chambers, and impellers must adhere to strict dimensional tolerances to ensure optimal performance under extreme conditions. X-ray inspection helps to verify that these parts meet the precise specifications required for operation in aircraft engines, where even a minor deviation could result in mechanical failure. The aerospace industry relies heavily on X-ray inspection to guarantee critical engine components' structural integrity and safety, ensuring that parts like turbine blades are free from internal flaws that could compromise their performance.
Power Generation
Power generation equipment, including turbine discs, heat exchangers, and seals, must be manufactured to tight tolerances to ensure efficiency and prevent operational issues. X-ray inspection is used extensively to check for internal voids, cracks, and other dimensional discrepancies that could affect the performance of these high-stress parts. Ensuring accurate dimensions helps prevent failure and extends the life of power generation components like turbine discs, where dimensional defects could lead to catastrophic operational failure in gas turbines.
Oil & Gas
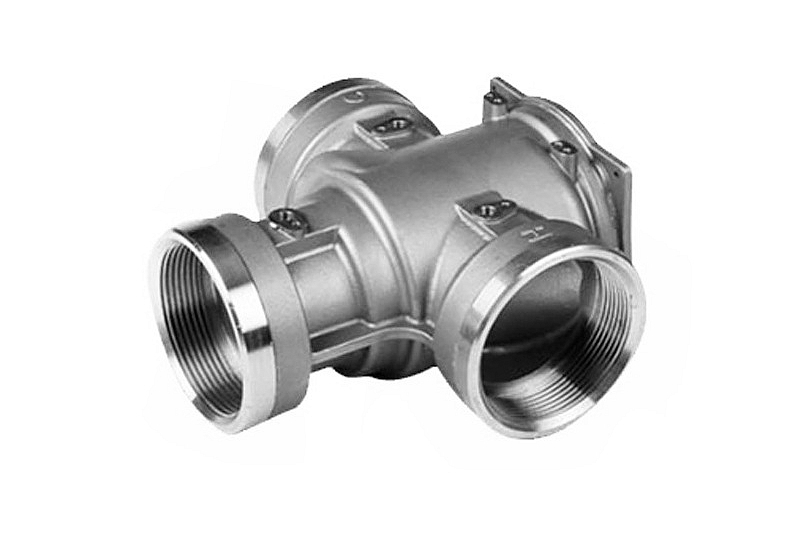
The oil and gas industry uses superalloy components in pumps, valves, and pressure vessels, which must withstand harsh environmental and high pressures. X-ray inspection is employed to verify the dimensional accuracy of these parts and to detect internal defects, such as cracks or porosity, that could compromise their integrity. Parts like superalloy pump system assemblies are vital for safe and efficient operations, and dimensional accuracy is critical to ensuring they perform as expected in high-stress environments.
Military & Defense
In military and defense applications, superalloy components such as missile segments, armor systems, and aircraft parts must meet stringent quality and dimensional standards to ensure the safety and reliability of weapons and defense systems. X-ray inspection is vital in ensuring that these parts are free of defects that could affect their performance or safety. Superalloy armor system parts, for example, require exacting precision to meet military specifications for protection and durability.
Marine & Nuclear
Superalloy parts used in marine propulsion systems, nuclear reactors, and heat exchangers require dimensional accuracy to ensure proper fit and function under extreme operating conditions. In marine and nuclear industries, X-ray inspection helps verify that these parts meet the necessary dimensional tolerances and are free from defects that could lead to system failures in these critical environments. For example, superalloy reactor vessel components must be accurately fabricated to prevent any risk of leaks or structural failures in nuclear power plants.
By utilizing X-ray inspection to ensure dimensional accuracy, these industries can mitigate the risk of failures and enhance critical superalloy components' safety, reliability, and longevity. This technology helps verify that each part meets the specifications for optimal performance under extreme conditions.
FAQs
How does X-ray inspection verify the dimensional accuracy of superalloy equiaxed crystal castings?
What are the advantages of X-ray inspection over traditional methods like CMM or laser scanning for verification of dimensional accuracy?
How does dimensional accuracy verification impact the performance of turbine blades and combustion chambers in the aerospace industry?
What types of superalloy parts require dimensional accuracy verification through X-ray inspection in the power generation industry?
Why is dimensional verification particularly crucial for superalloy components used in military and defense applications?


