Detecting Internal Defects in Superalloy Equiaxed Crystal Castings: The Role of X-ray
X-ray inspection is a critical non-destructive testing (NDT) method to detect internal defects in superalloy components, especially those produced through equiaxed crystal casting. Superalloys, made from high-performance materials like Inconel alloy, CMSX series, and Rene alloys, are commonly used in industries that require components to withstand extreme temperatures, stresses, and corrosive environments. In particular, equiaxed crystal castings, commonly used in aerospace and aviation, power generation, and defense sectors, must meet stringent performance and safety standards.

These alloys are vital for high-stress components such as turbine blades, engine casings, and gas turbine components, where even the slightest internal defect can compromise the integrity and performance of the part. X-ray inspection ensures castings are free from internal flaws like porosity, cracks, and inclusions that could otherwise lead to catastrophic failures. By using X-rays to penetrate the material and capture images of its internal structure, manufacturers can detect hidden issues that would be invisible to the naked eye. This ensures that superalloy components meet the high reliability and safety standards required in demanding industries such as aerospace-grade metal fuel system modules and high-temperature alloy reactor vessel components.
What is X-ray Inspection Process?
X-ray inspection is a non-destructive testing method that uses X-rays to examine the internal structure of a material. In the case of superalloy equiaxed crystal castings, the process begins by placing the part in an X-ray machine, which generates X-rays that pass through the material. As the X-rays pass through the casting, they interact with the material's internal structure, and the radiation's intensity changes based on the density of the material. This variation in radiation is captured by a detector, creating an image that highlights any inconsistencies or internal defects in the material. The process is crucial for ensuring the quality and reliability of components used in industries like aerospace, where parts like turbine blades must meet rigorous standards.
The resulting image is a radiograph, showing areas of high and low density within the component. High-density areas (like cracks, inclusions, or other defects) appear lighter, while areas with fewer or no defects will appear darker. Advanced imaging systems can convert these 2D X-ray images into 3D models, allowing for a more detailed examination of complex geometries and more significant components. This ability is especially beneficial in processes like superalloy precision investment casting, where parts with intricate internal structures require a thorough inspection to detect defects that may not be visible on the surface.
The equipment involved in X-ray inspection includes high-powered X-ray machines, digital detectors, and imaging software. The X-ray machine emits radiation while the detector captures the passing X-rays. The imaging software processes and presents the data in a visual format, allowing engineers and quality control professionals to identify potential defects. This technology is precious for inspecting superalloy parts with intricate geometries that would be difficult to examine using traditional methods. It is widely used in casting and machining applications where precision and defect-free performance are essential.
The Function of X-ray Inspection in Detecting Internal Defects
The main function of X-ray inspection in superalloy equiaxed crystal casting is to detect and evaluate internal defects that may compromise the component's performance, safety, and durability. These defects, which can include porosity, cracks, voids, or inclusions, are often invisible on the part's surface but can significantly impact the material’s strength and overall performance under extreme conditions. For instance, defects in turbine blades or other critical components may not be visible but can cause catastrophic failures if left undetected. X-ray inspection ensures these imperfections are identified early, allowing for timely intervention in superalloy precision casting and vacuum investment casting.
X-ray inspection allows manufacturers to detect these defects early in production before the part is subjected to further machining or assembly. Early detection of defects is crucial, as it helps prevent producing flawed parts that could lead to safety risks, operational failures, or costly repairs. X-rays can reveal even the most minor imperfections inside the casting, which might not be detected by other inspection methods, mainly when dealing with high-performance alloys such as Inconel or Hastelloy.
For example, X-ray inspection is beneficial for detecting porosity within the casting, which can occur during the cooling process. In superalloy equiaxed crystal castings, the cooling rate and solidification process can cause the formation of tiny gas bubbles or voids within the material. These pores can weaken the material, making it more prone to failure under high-stress conditions. X-ray inspection can detect these imperfections, ensuring that they are identified and addressed before the part is used in critical applications like jet engines or gas turbines. This is crucial in superalloy directional casting, where the internal structure and void-free properties are vital for ensuring durability under extreme operational conditions.
In addition to detecting internal flaws, X-ray inspection also helps assess the overall uniformity and quality of the equiaxed crystal structure in the casting. This is essential because the homogeneity of the crystal structure affects the material’s mechanical properties, such as its strength, fatigue resistance, and creep resistance. Any irregularities in the crystal structure could lead to performance issues during operation. X-ray inspection allows engineers to examine the internal crystal structure of the casting, ensuring that it meets the required standards for high-performance applications like turbine blades or heat exchanger parts.
Superalloy Parts That Require X-ray Inspection
X-ray inspection plays a critical role in manufacturing superalloy components, especially those used in high-performance industries like aerospace, power generation, and automotive. By providing an internal view of the parts, X-ray inspection helps ensure that these components meet the required quality and safety standards. Below are some superalloy parts that require X-ray inspection to detect internal defects and ensure their integrity.
Superalloy Castings
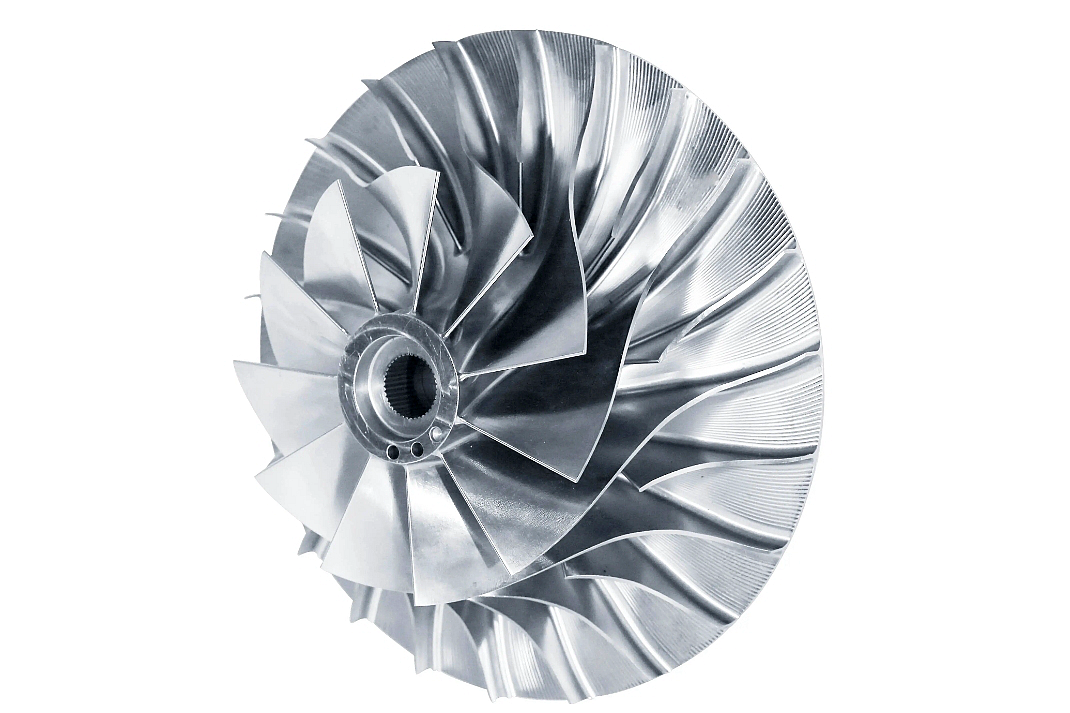
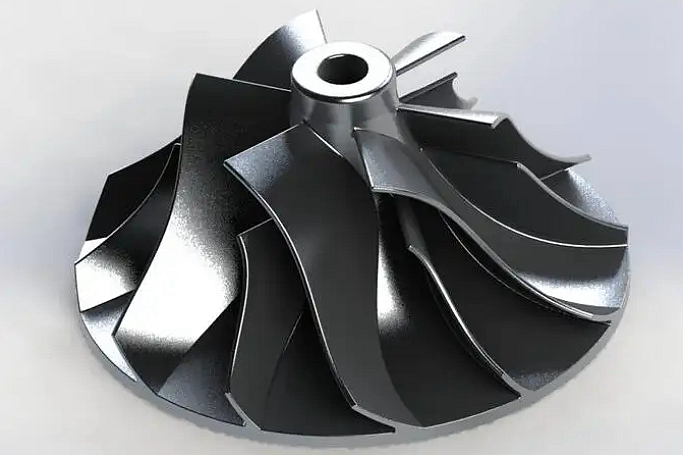
Superalloy castings, including turbine blades, combustion chambers, and impellers, are essential in demanding aerospace and power generation industries. Materials such as Inconel 718 and Rene 104 are commonly used for these parts. Due to the complexity of their internal structures, these castings are highly susceptible to defects like porosity or inclusions. Such flaws can lead to catastrophic failure in high-stress applications like jet engines. X-ray inspection helps detect these internal defects, ensuring the cast parts meet critical application performance requirements.
Forging Parts
Superalloy forging processes, such as precision and free forging, create parts like turbine discs, compressor blades, and other high-performance components. However, forging can introduce internal stresses or create voids that are not visible on the surface. X-ray inspection is essential for detecting these internal defects, which could compromise the part's strength, fatigue resistance, and overall reliability. By revealing hidden inconsistencies, X-ray inspection helps ensure that forged parts meet the rigorous standards required for aerospace, power generation, and other high-stress environments.
CNC Machined Superalloy Parts
Superalloy parts that undergo CNC machining, such as seals, connectors, and brackets, may still contain internal defects despite the precision of the machining process. CNC machining ensures dimensional accuracy, but voids, inclusions, or cracks may remain inside the material, affecting its performance. Post-machining X-ray inspection is crucial for verifying the internal quality of the parts and ensuring they meet the necessary safety and quality standards. This inspection step helps guarantee that CNC machined parts will perform reliably in their intended applications.
3D Printed Superalloy Parts
Additive manufacturing, or 3D printing, is increasingly used to produce complex superalloy parts, especially for industries like aerospace and automotive. However, the layer-by-layer construction process can introduce internal defects such as incomplete bonding or voids. These defects are often not visible on the surface of 3D-printed parts, making X-ray inspection essential for ensuring the internal integrity of these components. X-ray inspection helps manufacturers detect and correct issues before the parts are deployed in critical applications, ensuring their performance and reliability.
Comparison of X-ray Inspection with Other Non-destructive Testing Methods
While X-ray inspection is widely used for detecting internal defects in superalloy components, it is essential to understand how it compares with other non-destructive testing (NDT) methods. Different NDT methods have their strengths and weaknesses, and the choice of method depends on the specific application and the type of material being tested. Material testing techniques like ultrasonic detection or X-ray inspection provide valuable insights into material integrity.
X-ray vs. Ultrasonic Testing
Ultrasonic testing is another standard NDT method used to detect internal defects in materials. It uses high-frequency sound waves to pass through the material and measure the reflections from any defects or inconsistencies. While ultrasonic testing is effective for detecting flaws in materials with uniform thickness, it can struggle with complex geometries or materials with varying density. 3D scanning measurement and metallographic microscopy can complement ultrasonic testing by offering more detailed, high-resolution views of material structure, especially for intricate components.
X-ray inspection, on the other hand, provides a more comprehensive view of the internal structure and is better suited for superalloy components with intricate shapes or varying material densities. It is capable of revealing internal defects, such as cracks or voids, that may not be detected by ultrasonic testing alone.
X-ray vs. Visual Inspection
Visual inspection is one of the simplest and most commonly used NDT methods, but it is limited to detecting surface flaws and cannot reveal internal defects. In contrast, X-ray inspection provides a detailed internal view of the part, allowing for the detection of subsurface issues such as voids, cracks, and inclusions. This makes X-ray inspection far more effective for detecting critical defects that could compromise the performance and safety of the part. While visual inspection is valuable for detecting surface defects, its limitations make it unsuitable for comprehensive structural analysis, especially in components exposed to extreme conditions.
X-ray vs. Magnetic Particle Inspection
Magnetic Particle Inspection (MPI) is primarily used to detect surface and near-surface defects in ferromagnetic materials. However, it cannot detect subsurface flaws, which makes it less practical for materials like superalloys, which may have internal defects that are not visible on the surface. X-ray inspection provides a more comprehensive analysis, detecting surface and internal superalloy components' flaws. While MPI may be useful in some situations, its limitations in detecting deep internal flaws underscore the need for advanced methods like X-ray inspection to ensure the highest material integrity in demanding applications such as turbine blade production.
In summary, while each NDT method has its place, X-ray inspection provides a detailed and comprehensive view of the internal structure of superalloy components. For applications where internal integrity is critical, especially in aerospace or turbine components, X-ray inspection is vital to ensure quality and reliability.
Industry Applications and Benefits of X-ray Inspection in Superalloy Equiaxed Crystal Castings
X-ray inspection is crucial across various industries where superalloy components are essential for high-performance applications. These industries rely on superalloy components' precision, strength, and reliability, and X-ray inspection ensures that these parts meet the required standards.
Aerospace & Aviation
In the aerospace and aviation industry, superalloy components like turbine blades, combustion chambers, and engine casings undergo extensive X-ray inspection to ensure they can withstand the extreme conditions encountered during flight. Detecting even minor internal flaws through X-ray ensures critical components function safely and efficiently under high-stress, high-temperature environments. For instance, superalloy jet engine components are routinely inspected to meet stringent performance standards.
Power Generation
In power generation, X-ray inspection ensures the quality and integrity of components like gas turbine blades, turbine discs, and reactor vessel parts. Superalloy components used in gas turbines must withstand extreme thermal and mechanical stresses, and X-ray inspection helps detect defects that could lead to costly failures or safety hazards. For example, superalloy heat exchanger parts are subject to X-ray checks to detect any internal inconsistencies that could affect performance over time.
Oil & Gas
Superalloy parts used in the oil and gas industry, such as valves, pumps, and downhole tools, are subjected to harsh conditions like extreme pressures and temperatures. X-ray inspection helps ensure these parts are accessible from internal defects that could lead to equipment failure, especially in offshore drilling operations. For instance, high-temperature alloy pump components undergo X-ray inspection to identify potential issues before they cause failures in demanding conditions.
Defense & Military
In defense and military applications, where reliability and performance are critical, X-ray inspection ensures that superalloy components like missile casings, armored vehicle parts, and weapons systems are free from defects that could compromise their function in combat. Components such as superalloy missile segment parts are examined with X-ray technology to detect internal flaws that could undermine their mission-critical reliability.
Marine & Nuclear
In the marine and nuclear industries, where superalloy parts are used in reactors, heat exchangers, and naval ship systems, X-ray inspection ensures that these components are defect-free and can withstand the extreme conditions of the marine environment and nuclear reactors. For example, superalloy reactor vessel components undergo X-ray checks to ensure their structural integrity in highly demanding environments.
X-ray inspection plays a pivotal role in these industries by ensuring that superalloy components meet the highest quality and safety standards, preventing costly failures, and ensuring that parts perform as expected under extreme operating conditions.
FAQs:
What types of defects can X-ray inspection detect in superalloy equiaxed crystal castings?
How does X-ray inspection compare to ultrasonic testing for detecting internal flaws?
What is the typical resolution of an X-ray inspection image for superalloy castings?
Which superalloy materials are most commonly inspected using X-ray in the aerospace industry?
How does X-ray inspection improve the reliability of superalloy components used in gas turbines?


