Defect Detection in Vacuum Investment Castings: Using Metallographic Microscopy
In high-precision industries, such as aerospace and aviation, power generation, and defense, the quality of components is paramount. Metallographic microscopy is one of the most reliable methods for detecting defects in superalloy vacuum investment castings. This technique allows engineers to closely examine the microstructure of castings and identify potential flaws that could compromise the performance of the part.
Metallographic microscopy involves preparing a sample of the material and examining it under a microscope to assess the grain structure, phase distribution, and presence of any defects such as porosity, cracks, or inclusions. This method provides critical insights into the material's properties, including strength, flexibility, and resistance to thermal and mechanical stresses. For industries like oil and gas and marine, where parts are exposed to extreme temperatures and harsh environments, ensuring the integrity of these materials is vital to preventing catastrophic failures.

The advantages of metallographic microscopy extend beyond defect detection; it helps engineers understand the root cause of any issues and determine how they might affect the performance of a part. Whether it's assessing the uniformity of the alloy or detecting hidden cracks, this method provides a comprehensive picture of the material's overall quality. By utilizing metallographic microscopy early in manufacturing, companies can identify and address defects before parts reach critical applications, ensuring safety, reliability, and cost-effectiveness.
What is Defect Detection in Vacuum Investment Castings Using Metallographic Microscopy?
Vacuum investment casting is a sophisticated manufacturing process used to produce high-performance parts, particularly in aerospace and energy industries where material integrity is critical. The process involves creating a precise mold around a wax pattern, which is then melted and replaced with molten metal. To withstand extreme conditions, the mold is made from high-temperature alloys, such as Inconel or Hastelloy.
Defect detection in these castings is crucial, as even minor flaws can lead to catastrophic failure in applications like turbine blades or reactor components. Metallographic microscopy plays a vital role in identifying these defects, such as porosity, cracks, inclusions, and hot tears, by analyzing the microstructure of the cast parts.
Metallographic microscopy involves the examination of a material’s structure at a microscopic level. After a sample from the casting is prepared—typically by cutting, mounting, polishing, and etching—it is examined under a microscope. The process allows engineers to inspect the part for surface defects or anomalies in grain structure that might not be visible to the naked eye.
The Function of Metallographic Microscopy in Defect Detection
The primary function of metallographic microscopy is to reveal a material's microstructural features, including grain size, phase distribution, and potential defects. By examining these features, technicians can identify imperfections affecting the material's mechanical properties or overall performance. This makes it a vital tool for ensuring the quality of high-temperature alloys, especially in critical applications.
Metallographic microscopy is effective in detecting various defects commonly found in vacuum investment castings:
Porosity: Small voids within the material due to gas entrapment during the casting process. Porosity can weaken the material and reduce strength, making it unsuitable for high-stress applications. Detecting and assessing porosity is crucial in superalloy directional casting, where structural integrity is paramount for components like turbine blades.
Inclusions: Foreign particles, such as slag or impurities, that get trapped in the casting during the pouring process. Inclusions can lead to weaknesses in the material, reducing its fatigue resistance. In superalloy casting techniques like single crystal casting, where uniformity is critical, identifying inclusions early can help prevent defects in high-performance parts like turbine blades.
Cracks and Hot Tears: These occur when the material cools too quickly or unevenly, causing stress within the material. Hot tears can significantly compromise the integrity of critical components. In processes like superalloy rough forging, detecting cracks during the inspection stage ensures that parts meet the demanding requirements of aerospace and power generation applications.
Grain Structure: The arrangement of the crystalline grains within the casting plays a key role in determining the material's mechanical properties. Irregularities in the grain structure can lead to decreased material strength, poor fatigue resistance, or reduced creep resistance. This makes grain structure evaluation essential in casting methods such as vacuum investment casting or superalloy precision forging, where the material's microstructure directly impacts its performance under extreme conditions.
By using metallographic microscopy, engineers can precisely assess these defects and evaluate the overall quality of the casting. This is particularly important for components subjected to extreme temperatures, stresses, or corrosive environments, such as turbine blades or reactor vessel components. Detecting and addressing these defects ensures that the final parts will perform as expected in demanding industrial sectors such as aerospace, energy, and defense.
Which Superalloy Parts Benefit from Defect Detection Using Metallographic Microscopy?
Metallographic microscopy is crucial in inspecting superalloy parts, especially those produced through vacuum investment casting, forging, CNC machining, and 3D printing. This technique is vital for detecting defects and ensuring that parts meet the stringent standards of high-performance applications. Below are the key superalloy parts that benefit most from metallographic inspection:
Superalloy Castings
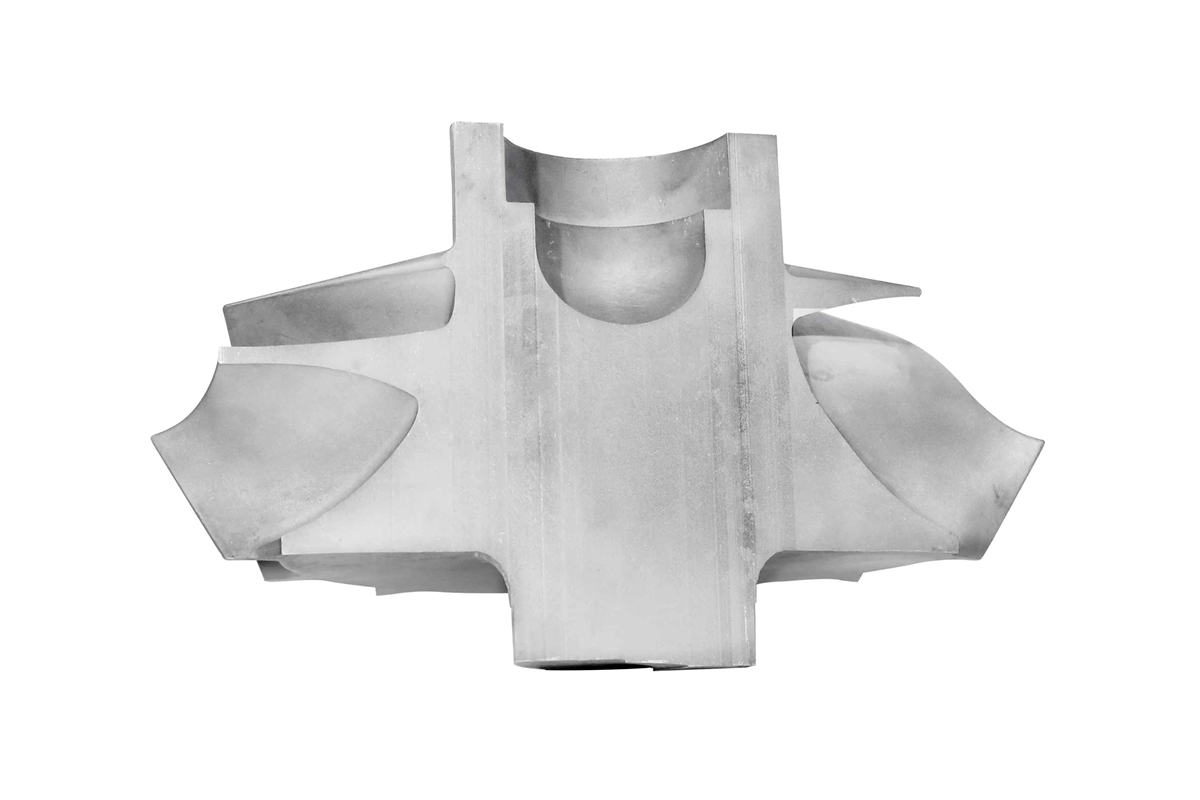
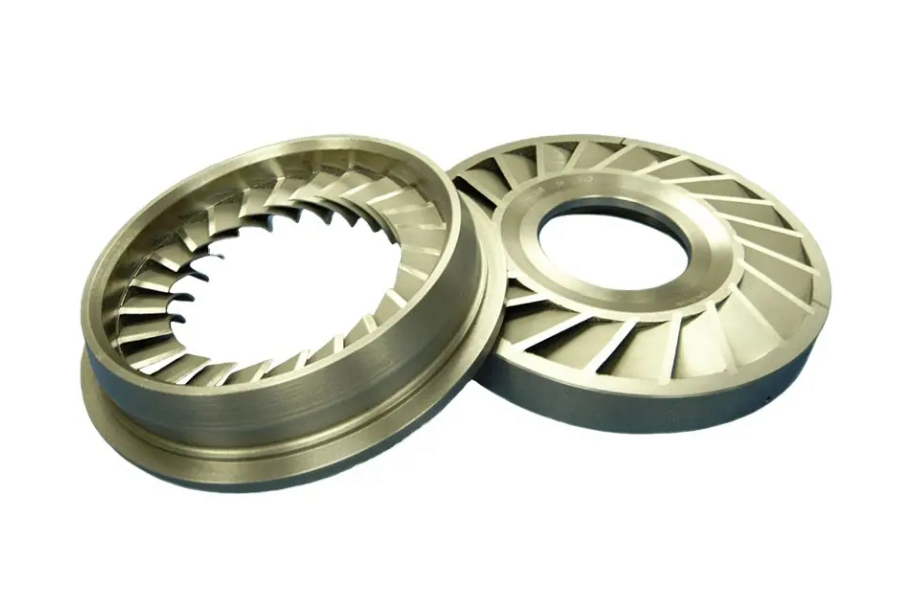
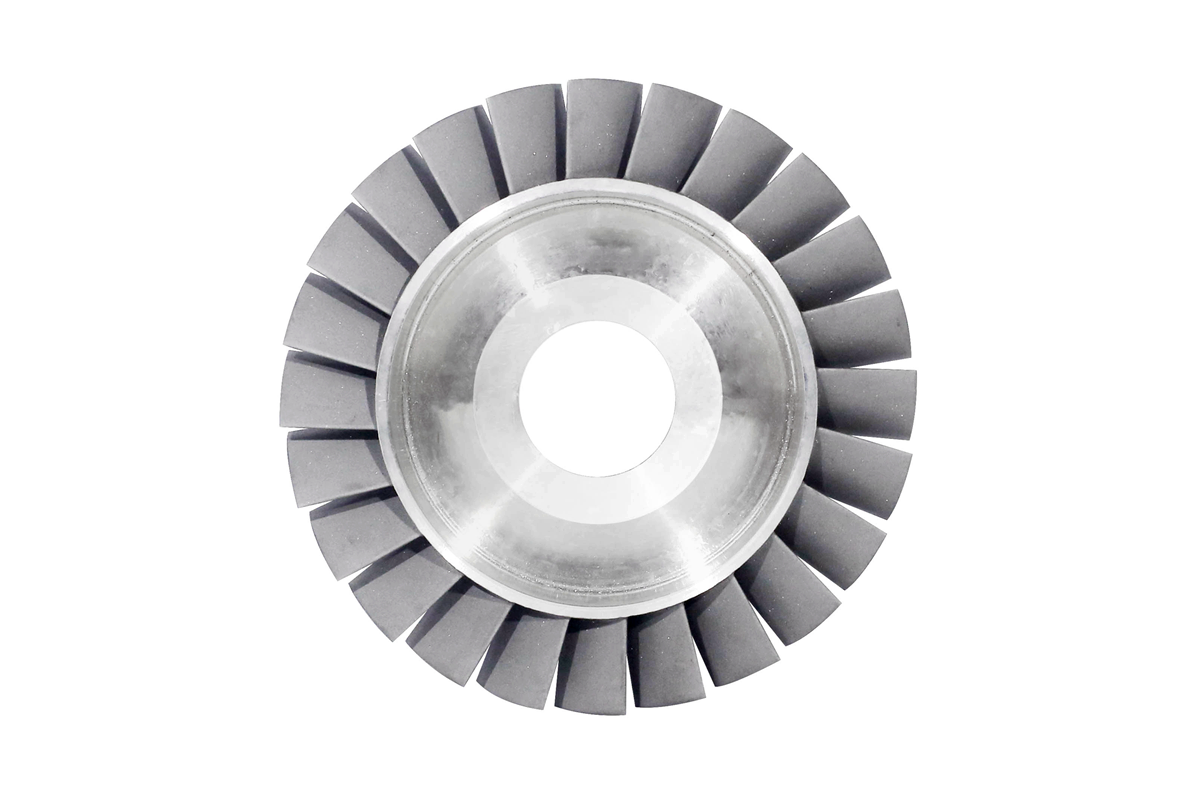
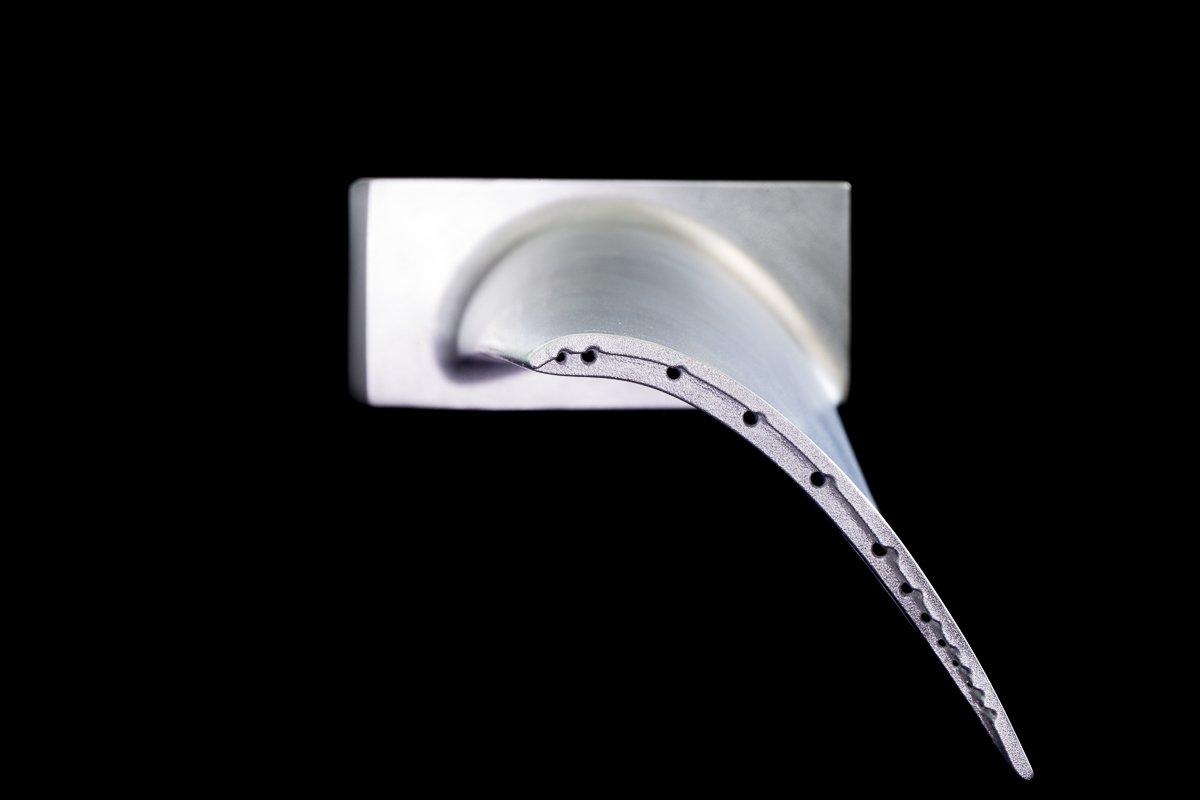
High-temperature components such as turbine blades, nozzle rings, combustion chambers, and impellers are often produced using vacuum investment casting. Due to the complexity of the casting process, these components are highly susceptible to defects like porosity, shrinkage, and inclusions. Metallographic microscopy is critical for detecting these flaws, ensuring that the cast parts meet the strict material specifications required for aerospace, energy, and other high-performance applications.
Forged Superalloy Parts
Superalloy forged parts, such as turbine discs, shafts, and engine components, undergo high heat and pressure to improve their mechanical properties. However, the forging process can introduce internal defects, such as cracks or voids, that may compromise the part’s strength and durability. Metallographic microscopy is essential to assess these parts' grain structure, toughness, and overall strength, ensuring they can withstand the extreme operational stresses typically encountered in aerospace, power generation, and other high-demand sectors.
CNC Machined Superalloy Parts
After cast or forged, superalloy parts are often subjected to CNC machining to achieve precise dimensions and finish. The machining process, however, can cause work hardening or introduce new defects such as cracks or surface irregularities. Metallographic microscopy helps to verify that the material's microstructure remains intact and free from any hidden defects, ensuring that the machined parts—such as gears, seals, and structural components—meet the necessary performance and durability requirements.
3D Printed Superalloy Parts
As 3D printing continues to gain popularity in industries like aerospace and medical technology, the need for rigorous quality control becomes increasingly important. The additive manufacturing process can result in defects like porosity, incomplete fusion, or irregular grain structures due to temperature fluctuations and material deposition inconsistencies. Metallographic microscopy is a powerful tool for detecting these issues, ensuring that 3D-printed superalloy parts meet the high standards required for critical applications where material integrity is paramount.
How Defect Detection with Metallographic Microscopy Compares with Other Processes
While metallographic microscopy is one of the most effective methods for detecting defects in vacuum investment castings, it is essential to understand how it compares with other testing methods. Each defect detection technique has its strengths and is suitable for specific types of inspections.
X-ray Inspection: X-ray inspection is often used to detect internal defects, such as porosity or inclusions, which are difficult to observe through visual inspection. However, X-rays only provide limited information about the microstructure of the material. In contrast, metallographic microscopy offers a detailed view of the material’s grain structure and phase distribution, allowing for a more comprehensive assessment of the casting’s quality.
Ultrasonic Testing: This method detects internal flaws or variations in material density by sending high-frequency sound waves through the material. While ultrasonic inspection is excellent for detecting large internal cracks, it is less effective at visualizing microstructural defects such as grain boundary issues or slight inclusions. Metallographic microscopy excels in examining these finer details.
Scanning Electron Microscopy (SEM): SEM offers much higher magnification than optical microscopy, allowing for examining minimal features and providing detailed information about the material’s surface. While SEM is beneficial for high-resolution imaging, it requires more sophisticated equipment and preparation, making metallographic microscopy a more practical and cost-effective choice for routine inspections.
Tensile Testing: Tensile testing measures the strength and flexibility of a material by stretching it until it breaks. While tensile testing is critical for assessing the mechanical properties of a material, it does not provide information about microstructural defects. Metallographic microscopy, on the other hand, helps identify the root cause of a material’s failure by revealing defects within its microstructure.
Each defect detection method has its advantages and applications. Still, when analyzing the microstructure and detecting surface and near-surface defects in castings, metallographic microscopy remains an essential tool in quality control.
Industries and Applications of Defect Detection in Superalloy Vacuum Investment Castings
Detecting defects in vacuum investment castings using metallographic microscopy is crucial in industries where performance and reliability are critical. The aerospace, power generation, and defense sectors rely heavily on superalloy components that can withstand extreme conditions, and any defect in these parts can lead to catastrophic failures. Below are the key industries and applications where defect detection plays a vital role in ensuring the quality and performance of superalloy components:
Aerospace and Aviation
Turbine blades, nozzle rings, and combustion chambers, which are subject to extreme temperatures and mechanical stresses, must be free of defects to ensure the safe operation of jet engines. Metallographic microscopy helps detect flaws like porosity or cracks that could compromise the integrity of these critical components. Components such as superalloy jet engine components undergo detailed analysis to verify their structural integrity before being put into service, ensuring safe flight operations.
Power Generation
In power plants, turbine blades, heat exchangers, and other high-temperature components made from superalloys are subject to both thermal and mechanical stresses. Defects in these parts could lead to failures that cause costly downtimes and safety hazards. Metallographic microscopy inspects these parts for any microstructural anomalies that could affect their performance. For critical components like superalloy heat exchanger parts, ensuring defect-free microstructure is essential for minimizing the risk of system failure and maintaining efficient operations.
Oil and Gas
In the oil and gas industry, high-temperature superalloy components such as valves, pumps, and heat exchangers must withstand extreme pressure and temperature fluctuations. Metallographic microscopy helps ensure that these components are free of internal defects, improving reliability and safety in harsh environments. Superalloy pump components, for example, undergo meticulous inspection to detect microstructural flaws that could lead to failures in critical systems.
Military and Defense
Military applications, such as missile components, armor systems, and propulsion systems, require the highest levels of precision and reliability. Metallographic microscopy is used to detect any microstructural defects that could jeopardize the performance of critical defense components. Superalloy parts like missile segments and armor systems are inspected to ensure they meet the stringent demands for strength and durability in military applications.
Nuclear
Nuclear reactor components, such as pressure vessels and control rods, must undergo rigorous inspection to ensure their safety and longevity. Metallographic microscopy allows for detecting microstructural issues that could lead to material failure under extreme conditions. Components such as nickel-based alloy control rod modules are thoroughly inspected to ensure that they meet the highest standards of quality and reliability for nuclear safety.
Marine and Automotive
Superalloy parts used in engines, exhaust systems, and other high-performance components in marine and automotive applications are also subject to defect detection. These components must maintain structural integrity under high temperatures and mechanical stresses, and metallographic microscopy plays a key role in quality control. For instance, superalloy exhaust system parts are analyzed for microstructural defects that could affect their performance and lifespan.
Defect detection through metallographic microscopy is essential for ensuring superalloy vacuum investment castings' safety, reliability, and longevity across various critical industries. This method allows manufacturers to verify that their high-performance components meet stringent specifications and are free from defects that could lead to failures or compromised performance.
FAQs
How does metallographic microscopy detect porosity in vacuum investment castings?
What are the key differences between metallographic microscopy and X-ray inspection for defect detection?
Why is defect detection in superalloy castings so important for aerospace applications?
How can metallographic microscopy be used to evaluate the effectiveness of the casting process?
Can metallographic microscopy be used for all types of superalloy parts, including those created by 3D printing?


