Defect Detection in Superalloy Components: How Corrosion Processes Reveal Surface Imperfections
In manufacturing superalloy components, ensuring the structural integrity and longevity of parts is crucial, particularly in aerospace, power generation, and defense. Superalloys are engineered to perform in the harshest environments—high temperatures, extreme pressures, and corrosive settings. However, despite their strength and durability, surface imperfections, such as cracks, porosity, or other defects, can lead to catastrophic failures. The challenge lies in detecting these flaws before the components are subjected to operational stresses. One effective method for revealing such surface defects is through corrosion-based defect detection, a process that uses controlled corrosive environments to expose latent imperfections in the material.
This detection method is essential for critical parts used in aerospace-grade metal fuel system modules or superalloy jet engine components, where failure could result in severe consequences. Corrosion testing helps identify microfractures or hidden defects that could compromise the safety and functionality of the component during operation. By using corrosion-induced methods, manufacturers can ensure that only defect-free superalloy components make it to the assembly line, guaranteeing reliability in high-stress environments such as marine or nuclear applications.

What is the Defect Detection Process Using Corrosion Techniques?
Corrosion-based defect detection is a method that leverages the material's response to a corrosive environment to identify surface imperfections. When a superalloy part is exposed to a corrosive environment, any irregularities on its surface—such as cracks, porosity, or uneven material composition—tend to be highlighted. These surface defects disrupt how the material reacts to the corrosion, making them more visible and accessible to detect, especially in superalloy turbine disc manufacturing applications.
The process begins with cleaning and preparing the superalloy component to ensure no contaminants interfere with the corrosion process. Once the part is ready, it is subjected to a controlled corrosive environment, often using techniques like electrochemical corrosion testing, salt spray testing, or accelerated oxidation testing. These methods simulate real-world environmental conditions, such as exposure to high humidity, heat, and corrosive chemicals common in superalloy exhaust system parts.
In electrochemical testing, for example, the superalloy part is immersed in an electrolyte solution, passing a current through it. This induces localized corrosion at surface defects, making cracks, pores, and other imperfections more evident. Similarly, salt spray testing involves exposing parts to a saline mist to accelerate corrosion. This is particularly useful for parts exposed to marine environments or high-humidity conditions, such as superalloy turbine blade single crystal casting. On the other hand, accelerated oxidation testing applies heat and oxygen to speed up the natural oxidation process, helping to uncover any defects in parts that will endure high-temperature conditions, like jet engine components.
The Function of Corrosion-Based Defect Detection
The primary function of corrosion-based defect detection is to reveal surface imperfections that might go unnoticed. Superalloy components are typically exposed to extreme environments where they face thermal cycling, chemical exposure, and mechanical stress. If these components have unaddressed surface flaws, they can lead to premature failure under such conditions. Corrosion processes highlight these flaws by exploiting their impact on the material’s surface reaction, which is especially important in industries like aerospace and energy.
Surface defects like micro-cracks, porosity, and inclusions are common in superalloy components. These imperfections can form during manufacturing, particularly in casting and forging, where solidification or stress during cooling can create internal voids or cracks. Corrosion testing accelerates the natural deterioration of these defects, making them visible. This allows manufacturers to take corrective action before the part is put into service, helping to prevent failures in high-stress applications such as turbine engines.
The corrosion-induced defect detection process works by creating conditions that exaggerate the effects of any flaws. For example, a micro-crack that goes unnoticed during routine inspection might become a focal point during corrosion testing, as corrosion will typically concentrate in the crack, revealing its location and severity. This approach effectively identifies hidden flaws that could lead to catastrophic failures, such as cracking under stress or fatigue during operation, particularly in critical aerospace and power generation applications.
Additionally, corrosion-based defect detection helps simulate the real-world environment in which the part will operate. Superalloy components often endure extreme temperatures and reactive chemicals in environments like turbine engines, combustion chambers, and reactors. Corrosion testing replicates these harsh conditions, offering an early warning about potential failures during actual service, ensuring the long-term reliability of critical components in sectors like aerospace and chemical processing.
Superalloy Parts that Benefit from Corrosion-Based Defect Detection
Corrosion-based defect detection is crucial in identifying hidden flaws in superalloy parts used in high-performance applications. This method is particularly effective for components that undergo extreme thermal and mechanical stresses. Below are some of the superalloy parts that benefit from corrosion-based defect detection:
Superalloy Castings
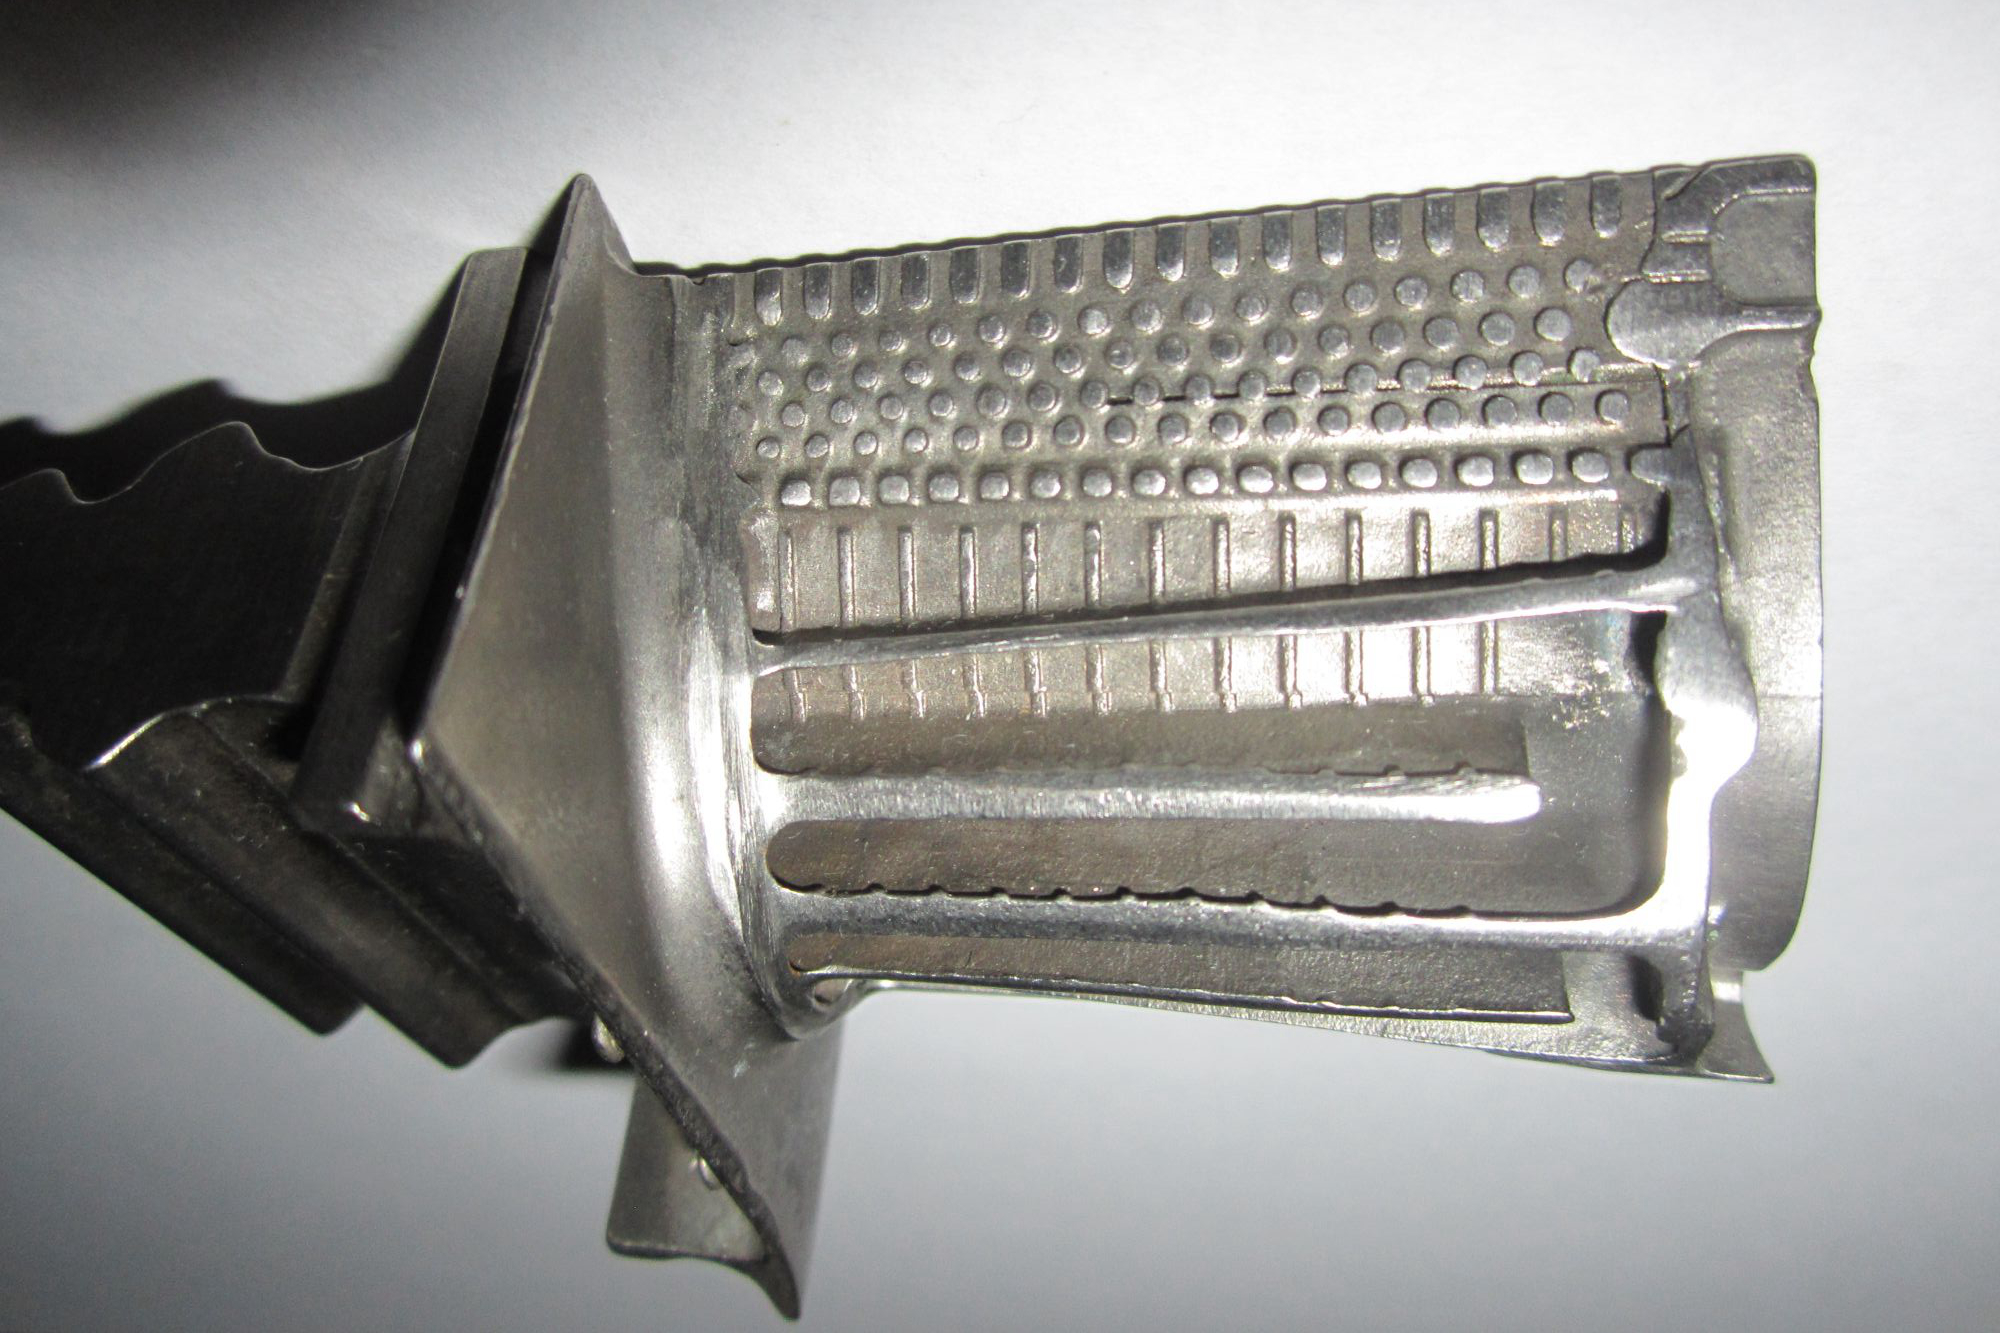
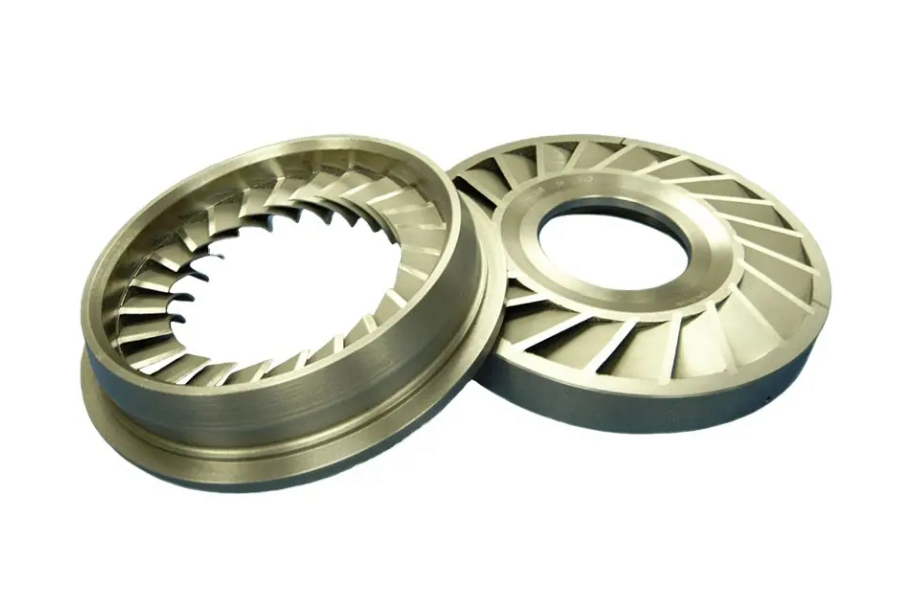
Superalloy castings, including turbine blades, combustion chambers, and nozzle rings, are used in aerospace and power generation applications, where they must perform under high temperatures and pressures. During casting, these parts can develop imperfections such as porosity, micro-cracks, or voids, undermining their structural integrity. Corrosion-based defect detection is beneficial for revealing these hidden defects by accelerating the corrosion process along these flaws. This ensures that the components meet the required material standards and can withstand the harsh conditions they are exposed to in service.
Forging Parts
Forged superalloy parts, such as turbine discs and structural components, are subjected to high mechanical stresses during operation. Forging processes can sometimes introduce internal defects like voids, micro-cracks, or inconsistencies that are not visible during routine inspections. Corrosion-based defect detection helps uncover these hidden flaws by using corrosion to highlight weak areas within the material. This method ensures that internal defects do not compromise critical components' performance or safety before being deployed in applications like aerospace and power generation.
CNC Machined Superalloy Parts
CNC machined superalloy parts are precision-engineered components used in various industries, including aerospace, automotive, and defense. While CNC machining ensures tight tolerances and high accuracy, the process can sometimes create small surface defects such as cracks, tool marks, or micro-impurities that could lead to failure under stress. Corrosion-based defect detection can identify these fine surface imperfections that might not be visible through traditional inspection methods. Revealing these flaws early in the manufacturing process allows for corrective actions to be taken, ensuring the part's integrity in its final application.
3D Printed Superalloy Parts
3D printed superalloy parts are gaining traction in industries that require complex, customized components, such as aerospace and defense. However, 3D-printed parts often have unique surface characteristics, such as porosity or uneven bonding between layers, which are difficult to detect using standard inspection techniques. Corrosion-based defect detection is particularly beneficial in identifying these defects, as it helps to accelerate corrosion along any flaws in the material. This testing ensures that the 3D-printed components meet stringent performance standards and can withstand high-stress, high-temperature environments.
By incorporating corrosion-based defect detection into the quality control process, manufacturers can identify hidden flaws in superalloy parts that may compromise their performance. This method is especially critical for ensuring that parts used in high-performance applications such as aerospace, power generation, and defense are free from defects and able to withstand the harsh conditions of service.
Comparison with Other Defect Detection Processes
While corrosion-based defect detection offers several advantages, it is essential to understand how it compares to other standard methods for identifying surface imperfections in superalloy components.
Ultrasonic Testing
Ultrasonic testing is a non-destructive testing (NDT) method that uses high-frequency sound waves to detect material subsurface defects. While ultrasonic testing is highly effective for detecting internal flaws, it may not always be as effective at identifying surface defects, such as small cracks or porosity. Corrosion testing, on the other hand, is specifically designed to highlight surface flaws by inducing localized corrosion in areas of weakness, making it more suitable for identifying surface imperfections in high-temperature alloys.
X-ray and CT Scanning
X-ray and computed tomography (CT) scanning are advanced imaging techniques to detect internal defects in materials. These methods can provide a detailed view of the internal structure of a part, but they are typically more expensive and time-consuming than corrosion-based detection. Corrosion testing is often quicker and more straightforward, providing a more direct way to reveal surface imperfections without detailed imaging. While CT scanning offers high-resolution internal analysis, corrosion testing provides a more immediate solution for detecting surface corrosion that can be critical in high-stress environments.
Visual Inspection
Visual inspection is one of the most common methods for detecting surface defects. However, this technique relies on the ability of the inspector to spot flaws, which can be difficult when dealing with microscopic cracks or small irregularities. Corrosion testing, in contrast, enhances the visibility of defects by exaggerating their impact on the material’s surface, making flaws easier to detect even without advanced equipment. This is especially valuable in applications such as aerospace turbine blades, where material integrity is critical to overall performance and safety.
In summary, while ultrasonic testing, X-ray scanning, and visual inspection each have their roles in defect detection, corrosion-based methods offer a more targeted approach for identifying and amplifying surface imperfections, which is essential for ensuring the reliability of high-performance superalloy components in industries like aerospace and power generation.
Industry Applications and Benefits
Corrosion-based defect detection is particularly beneficial in industries where superalloy components are subjected to extreme conditions, ensuring these critical parts maintain their integrity and reliability over time. The following industries rely heavily on corrosion testing to detect surface defects that could lead to catastrophic failures, system downtime, or safety risks.
Aerospace and Aviation
In aerospace and aviation, superalloy parts like turbine blades, compressor blades, and exhaust nozzles must endure high temperatures and oxidative environments. Corrosion testing ensures that these critical components are free from surface defects that could lead to catastrophic failures during flight. For example, superalloy turbine blades undergo rigorous corrosion testing to detect microcracks or oxidation that could impact their performance, ensuring the safety of flight operations.
Power Generation
In power generation, power plants rely on superalloy turbine blades and heat exchangers that operate under high temperatures and pressures. Corrosion-based defect detection is crucial for identifying flaws in these components, helping to prevent unexpected failures that could lead to power outages or safety risks. Parts like superalloy heat exchangers benefit from corrosion testing to maintain thermal efficiency and structural integrity under extreme operating conditions.
Oil and Gas
The oil and gas industry requires superalloy components that can withstand corrosive substances and high pressures. Components such as valves, pumps, and heat exchangers benefit from corrosion testing to detect surface defects that could affect their performance in offshore or high-pressure drilling environments. For instance, superalloy pump components undergo corrosion-based defect detection to ensure reliability in demanding applications like deep-water drilling and gas extraction.
Military and Defense
In the military and defense sector, superalloy parts used in missile systems, armored vehicles, and aircraft must meet the highest performance standards. Corrosion-based defect detection helps ensure these components remain reliable and safe, even under extreme operating conditions. For example, superalloy missile segments undergo corrosion testing to maintain structural integrity under high temperatures and mechanical stress, preventing failure during critical missions.
Nuclear
In the nuclear industry, superalloy components like reactor vessel components and control rods are exposed to radiation and high temperatures. Corrosion testing is used to detect surface imperfections that could compromise the structural integrity of these parts, ensuring safe operation over extended periods. Testing helps ensure that critical parts like superalloy reactor vessel components can endure the harsh conditions inside nuclear reactors without compromising safety or operational efficiency.
Corrosion-based defect detection is vital in industries that depend on superalloy components. Identifying defects early helps prevent failures, reduce maintenance costs, and improve the safety and reliability of systems in high-risk environments.
FAQs
How does corrosion-based defect detection reveal surface imperfections in superalloy components?
What are the main benefits of using corrosion testing over other methods like ultrasonic or X-ray inspection?
Which types of superalloy components most commonly undergo corrosion-based defect detection?
How does corrosion testing help simulate real-world conditions for superalloy components?
What industries rely on corrosion-based defect detection for superalloy parts, and why is it essential?


