5 Benefits of X-ray Inspection In Custom Superalloy Equiaxed Crystal Casting Components
X-ray inspection is one of the most effective non-destructive testing (NDT) methods used in manufacturing high-performance superalloy components, particularly in industries such as aerospace and aviation, power generation, and military and defense. This technique employs X-rays to examine the internal structures of superalloy parts, providing crucial insights into the integrity of materials critical for high-stress applications.
Superalloys, such as those in the Inconel alloy, CMSX series, and Rene alloys, are typically used in environments subject to extreme temperatures, high stresses, and corrosive conditions. The equiaxed crystal casting process, commonly used in producing these components, creates complex geometries that are essential for performance but may also conceal internal flaws. X-ray inspection allows manufacturers to detect hidden defects such as cracks, voids, porosity, and inclusions, which may compromise the performance and safety of the final product.

The process involves passing X-rays through the part and capturing the image using a detector. The resulting images reveal internal structures and anomalies, such as voids or other imperfections that could harm the component's functionality. This method is precious when dealing with the intricate, often irregular geometries in superalloy castings, which may be difficult or impossible to assess using visual inspection alone. By detecting these defects early, manufacturers can ensure that high-temperature alloy components like superalloy turbine blades or high-temperature alloy pump components meet the necessary performance standards for their demanding applications.
Function of X-ray Inspection in Superalloy Equiaxed Crystal Casting Components
The primary function of X-ray inspection in the context of superalloy equiaxed crystal castings is to detect and evaluate internal defects. These defects can range from small micro-voids to more extensive inclusions that could reduce the material's structural integrity or lead to catastrophic failure when subjected to high mechanical stresses. X-ray inspection allows for non-destructive evaluation, ensuring the material remains unaltered while defects are identified.
X-ray inspection is essential for quality control in aerospace, power generation, and automotive industries, where component failure can lead to significant safety risks or costly downtime. The technology enables manufacturers to detect such flaws early in production, preventing defective components from reaching the customer or being used in critical applications. X-rays provide an in-depth look into the interior of superalloy components, offering a detailed representation of material density, which makes it possible to assess the uniformity of the material structure and pinpoint anomalies that would otherwise remain hidden.
Another essential function of X-ray inspection is ensuring that the equiaxed crystal structure of the casting is homogeneous. A uniform crystal structure is vital for superalloys, affecting mechanical properties and performance under high-stress conditions. X-ray inspection ensures that structural inconsistencies or misalignments in the crystal matrix are identified and corrected before they cause performance issues. This process is crucial in industries like aerospace, where precision is essential for safe and reliable operations.
Superalloy Parts That Benefit from X-ray Inspection
X-ray inspection is an essential quality control tool in the manufacturing of superalloy parts, especially for those used in high-performance applications such as aerospace, energy, and power generation. This technology enables manufacturers to detect internal defects that could compromise the structural integrity of components. Whether the parts are cast, forged, CNC machined, or 3D printed, X-ray inspection ensures that only the highest-quality superalloy parts make it into critical applications.
Superalloy Castings
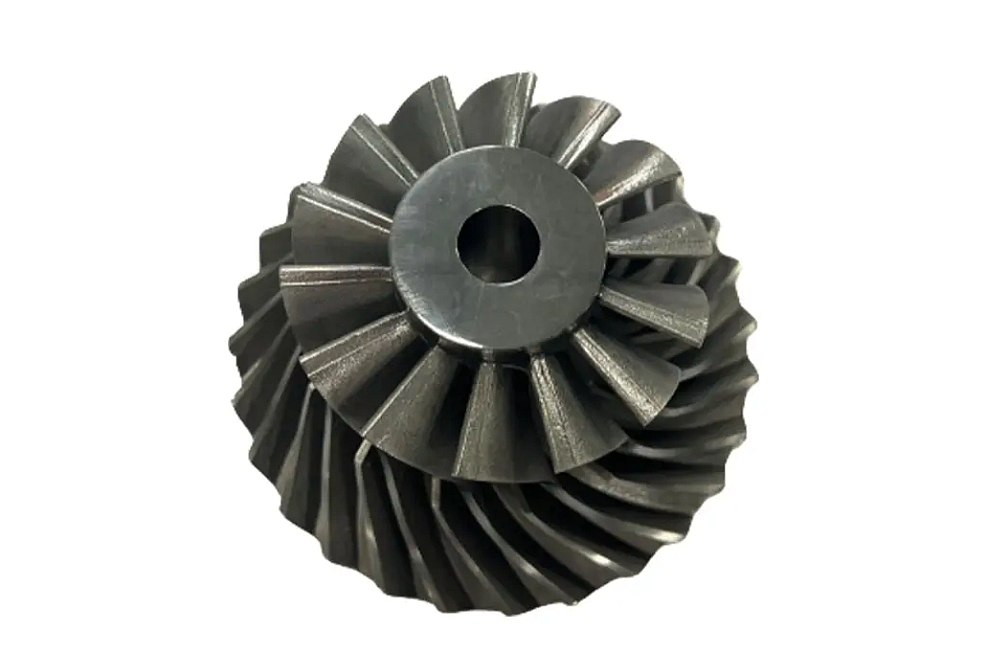
Superalloy castings, including turbine blades, combustors, and other high-temperature engine components, are subjected to intense operational stress in aerospace and power generation industries. Castings made from materials such as Inconel 718, Rene 104, and CMSX-10 often undergo X-ray inspection to ensure no internal defects like porosity or inclusions are present. These defects, even in small amounts, can lead to catastrophic failure in critical applications like jet engines. X-ray inspection helps identify these issues before the components are deployed in high-stress environments, ensuring that the cast parts meet the necessary safety and performance standards.
Forging Parts
After undergoing superalloy forging processes such as precision forging, isothermal forging, or free forging, components like turbine discs, compressor blades, and engine parts require a thorough inspection to confirm their structural integrity. X-ray inspection plays a key role in identifying any internal inconsistencies, such as cracks or voids, that may not be visible on the surface. By revealing any potential flaws in forged parts, this process helps ensure these critical components maintain their strength and durability under extreme conditions.
CNC Machined Superalloy Parts
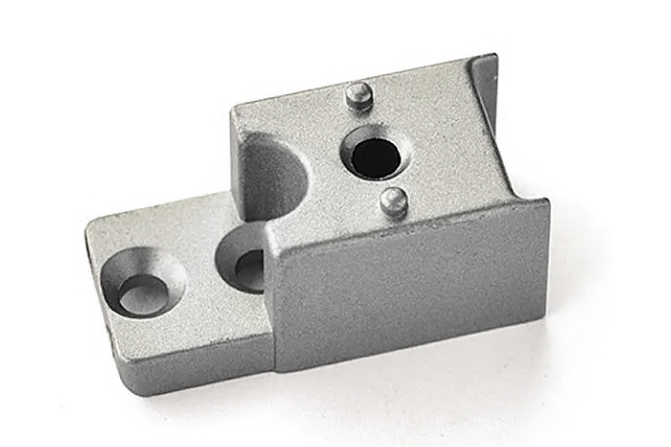
Superalloy parts that undergo CNC machining require a stringent inspection to confirm that no internal defects remain after shaping. Precision is crucial for machined parts in high-performance applications such as seals, mounts, and connectors. X-ray inspection allows for a comprehensive view of the part's internal structure, identifying imperfections that might compromise the final product’s integrity. For example, after CNC machining, turbine discs, and other components can be inspected to ensure they meet all safety and quality standards.
3D Printed Superalloy Parts
Additive manufacturing, or 3D printing, has become vital for producing complex superalloy parts, especially in industries like aerospace and automotive. However, the layer-by-layer construction process of 3D printing can sometimes result in internal defects, such as incomplete bonding or voids, which may not be visible on the surface. X-ray inspection plays a vital role in verifying the internal quality of 3D printed superalloy parts. By checking for internal consistency, X-ray analysis ensures that parts made from materials like Inconel 625, Rene N5, or Ti-6Al-4V meet the high standards required for critical applications.
Comparison with Other Inspection Processes
While X-ray inspection offers numerous advantages, comparing it with other standard non-destructive testing methods is essential to understand its unique benefits.
X-ray vs. Visual Inspection
Visual inspection is an essential technique where the surface of a component is examined for any obvious flaws or irregularities. However, visual inspection can only reveal surface-level defects and is ineffective for detecting internal issues, such as porosity, cracks, or inclusions within the material. X-ray inspection, on the other hand, provides a much more comprehensive evaluation, allowing for the detection of internal defects critical to superalloy components' performance and safety.
X-ray vs. Ultrasonic Testing
Ultrasonic testing uses high-frequency sound waves to detect internal flaws. It is effective for materials with uniform thickness but can struggle with complex geometries, such as those often found in superalloy castings. X-ray inspection, in contrast, offers a full 3D image of the component’s internal structure, making it more effective in evaluating the intricate geometries of superalloy parts. Ultrasonic testing may also be less effective at identifying certain defects, such as small voids or inclusions, which X-ray can easily detect.
X-ray vs. Magnetic Particle Inspection (MPI)
Magnetic Particle Inspection (MPI) is commonly used to detect surface cracks or defects in ferromagnetic materials. However, MPI is limited to surface-level issues and cannot detect subsurface flaws. X-ray inspection is more comprehensive, providing a detailed image of the internal structure and making it ideal for superalloy components, which may have internal defects that cannot be identified through MPI.
Industries and Applications Benefiting from X-ray Inspection of Superalloy Equiaxed Crystal Castings
X-ray inspection is widespread across many industries, especially those requiring superalloy components to operate under extreme conditions. These industries rely on high-quality, defect-free parts to ensure safety, performance, and operational efficiency.
Aerospace and Aviation
The aerospace and aviation industry is one of the largest beneficiaries of X-ray inspection in producing superalloy parts. Turbine blades, combustors, and engine casings made from Inconel and other high-performance alloys must meet stringent safety and performance standards. Even minor internal defects could lead to catastrophic failures during flight, making X-ray inspection an essential part of the manufacturing process for these components. For example, superalloy jet engine components are subjected to X-ray testing to ensure structural integrity and reliability under high-stress conditions.
Power Generation
In power generation, superalloy parts like gas turbine blades and reactor vessel components are subjected to extreme temperatures and pressures. X-ray inspection ensures that these components are free from internal flaws that could compromise their structural integrity. The detection of such flaws before they lead to failure can save power plants from costly repairs, downtime, and potential safety hazards. Parts like superalloy heat exchanger components are commonly inspected with X-ray technology to detect any internal inconsistencies that could affect performance and longevity.
Oil and Gas
In the oil and gas industry, where superalloy components are used in harsh, corrosive environments such as offshore drilling rigs or downhole tools, X-ray inspection ensures that parts like valves, pumps, and tubing are free of internal defects. These components are critical for maintaining safe and efficient operations, and the ability to detect hidden flaws is crucial for minimizing the risk of failure. For example, high-temperature alloy pump components are often X-rayed to identify any potential weaknesses that could compromise performance in extreme operating conditions.
Military and Defense
Superalloy components are widely used in military and defense applications, from missile systems to armored vehicles. These parts' strength, durability, and reliability are paramount, and X-ray inspection plays a key role in ensuring that components like missile casings and armor-piercing rounds are free from defects that could compromise their effectiveness. The military’s high standards for safety and performance make X-ray inspection an indispensable tool. For example, superalloy missile segment components undergo rigorous X-ray inspection to detect any potential internal flaws that could impact mission success and safety.
By using X-ray inspection technology, these industries can ensure the reliability and performance of critical superalloy components, ultimately improving safety, reducing downtime, and preventing costly failures.
Frequently Asked Questions (FAQs)
What are the key advantages of using X-ray inspection over other non-destructive testing methods in superalloy manufacturing?
How does X-ray inspection work in detecting internal defects in superalloy equiaxed crystal castings?
What types of superalloy parts are typically subjected to X-ray inspection during the manufacturing process?
In what industries is X-ray inspection most critical for ensuring the safety and performance of superalloy components?
How does X-ray inspection compare to ultrasonic testing in terms of detecting defects in complex superalloy geometries?


