5 Benefits of Stereo Microscope Inspection in Superalloy Directional Casting Turbine Blades
The Role of Stereo Microscope Inspection in Superalloy Component Quality Control
Stereo microscope inspection is a critical quality control step in manufacturing superalloy components, particularly those used in high-performance turbine blades. The complex nature of superalloy materials, combined with the harsh operating environments they are designed for, demands high scrutiny to ensure that each part meets stringent specifications. This is especially true in industries like aerospace and aviation, military and defense, where failure of a single component can have catastrophic consequences.

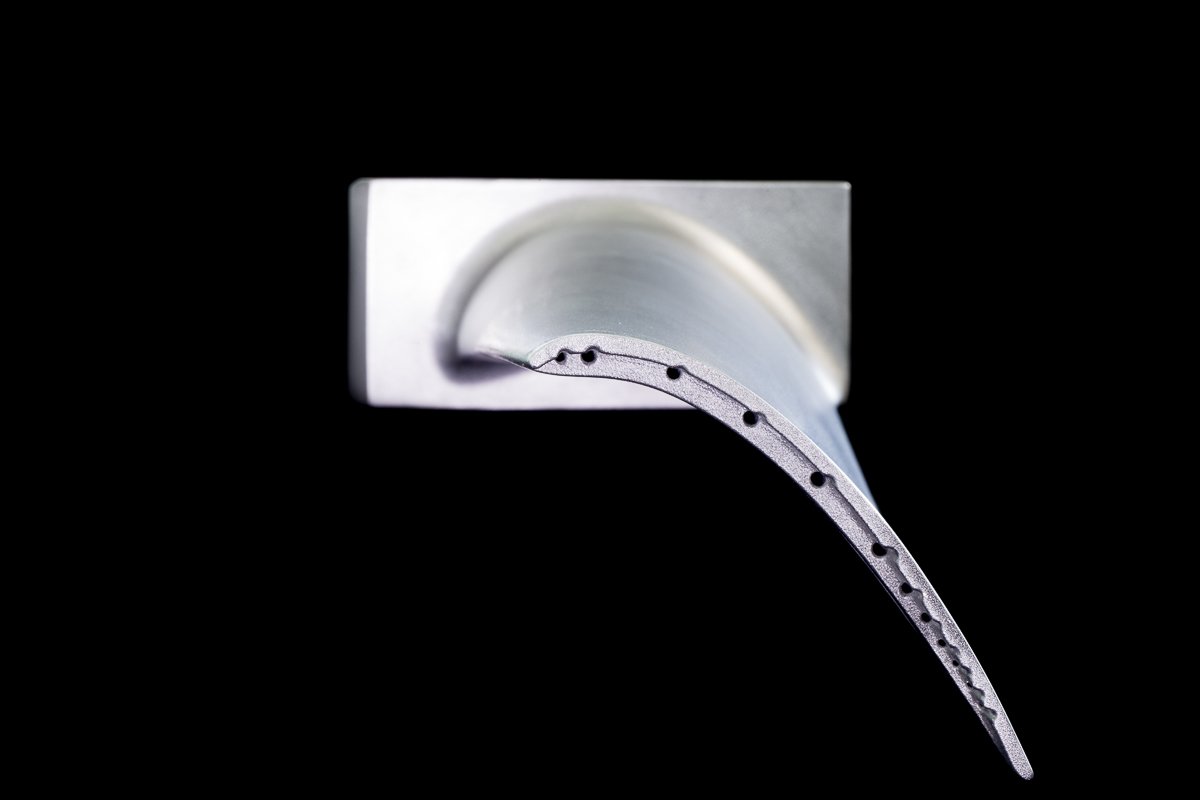
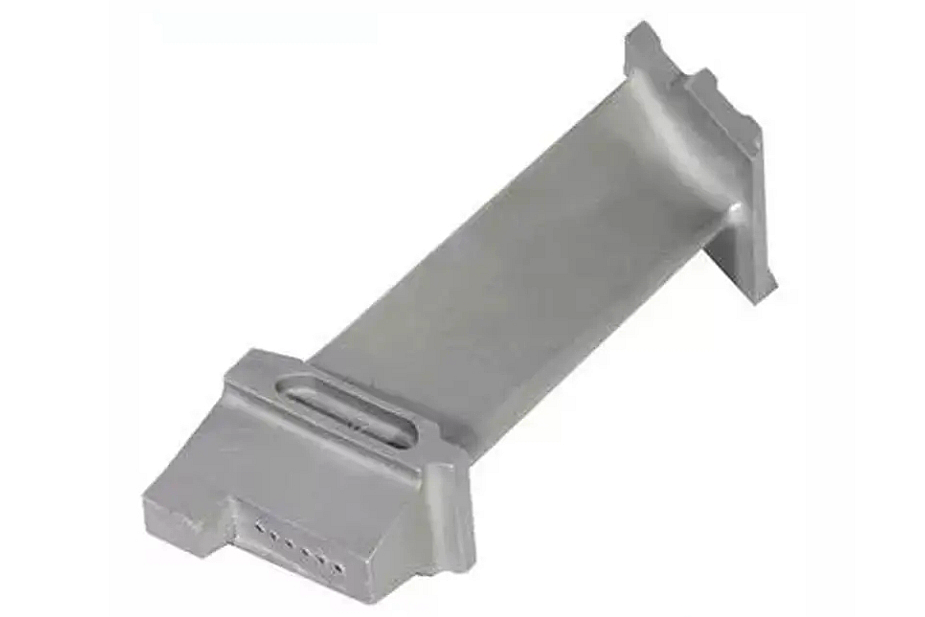
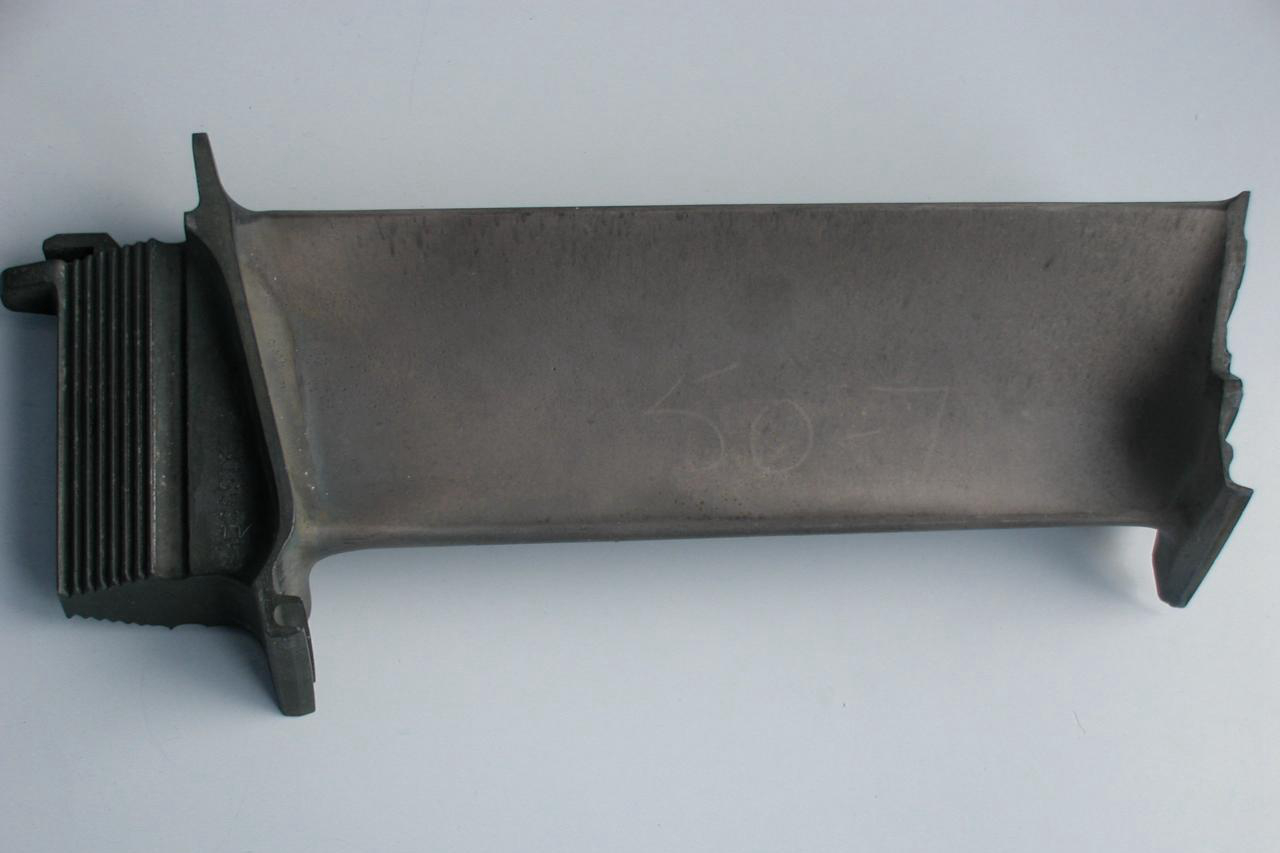
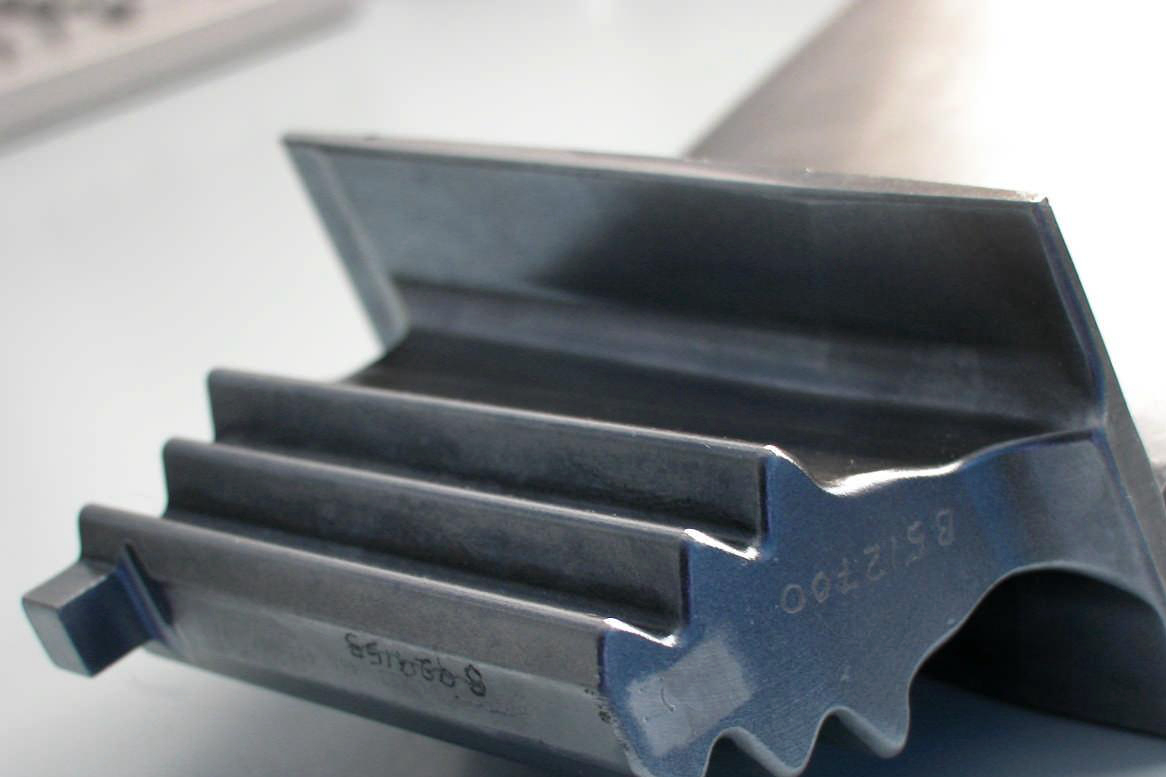
The stereo microscope, with its unique ability to provide three-dimensional visualization, is an indispensable tool in inspecting turbine blades' microstructure and surface quality. It allows for thoroughly examining the superalloy directional casting process, ensuring that all casting features meet the criteria for high-performance parts. For example, turbine blades manufactured for power generation need to withstand extreme thermal and mechanical stresses, making such inspections vital to preventing defects that could lead to failure.
One of the critical applications of stereo microscope inspection is examining the superalloy turbine blade, ensuring that the material's microstructure aligns with the required specifications. This inspection method provides a high level of detail, identifying potential issues, such as inclusions or cracks, that could compromise the integrity of the part. Compared with other inspection methods like X-ray checking, the stereo microscope offers a more detailed view of the surface and finer structures, making it particularly valuable for parts that must meet tight tolerances and rigorous safety standards.
Industries like oil and gas and nuclear also benefit from stereo microscope inspections, where components are subject to high stress and corrosion. Ensuring the integrity of superalloy components, particularly for turbine blades, is essential for these high-risk applications, where part failure could result in significant damage or safety hazards.
What is Stereo Microscope Inspection?
Stereo microscopy involves using a specialized microscope that provides a three-dimensional view of the surface and structure of a sample. Unlike traditional optical microscopes, which offer a two-dimensional view, stereo microscopes offer a wide field of view and depth perception. This allows for detailed surface inspection at magnifications ranging from 10x to 100x, making them ideal for inspecting superalloy parts like turbine blades that require a closer examination for imperfections such as cracks, voids, inclusions, and surface roughness.
A stereo microscope combines two optical paths to produce a 3D image. The sample is illuminated by light from above or below, reflected through the lenses, providing a detailed view of the specimen’s surface. This non-destructive inspection method allows operators to observe critical features without damaging the part.
In the context of turbine blades made from high-temperature alloys, stereo microscope inspection is often used as a final check to ensure that the parts are free from defects that could cause failure during operation. Providing clear, high-resolution images plays an important role in validating the quality of directional castings and other superalloy components.
The Function of Stereo Microscope Inspection in Superalloy Directional Casting
Superalloy turbine blades used in gas turbines are typically made via directional casting techniques, where the molten superalloy is cooled in a controlled manner to form a specific grain structure. This process allows the material to withstand extreme conditions, such as high temperatures and stress, without losing integrity. However, due to the complex nature of the casting process, defects such as porosity, inclusions, and cracks can occur, affecting the strength and performance of the final part.
Stereo microscope inspection is essential for identifying and documenting these defects. The high resolution of the stereo microscope enables operators to examine even the most minor surface imperfections that could lead to catastrophic failures if left undetected. Some of the key benefits of this inspection method in superalloy directional casting include:
Surface Defect Detection
The stereo microscope is handy for identifying surface-level defects such as microcracks, small voids, and inclusions that might be missed during other inspection methods. These surface flaws, while small, can significantly impact the performance and lifespan of turbine blades. This inspection is critical in precision casting where even minor surface defects can lead to failure during high-stress applications like those in aerospace and energy industries.
Grain Structure Examination
In directional casting, the grain structure of the superalloy is crucial for its mechanical properties. Stereo microscopes help evaluate the uniformity and alignment of the grain structure, ensuring that it meets the specifications for optimal performance under stress. This helps maintain the strength and integrity required in components used in high-temperature environments like gas turbines.
Porosity Detection
Porosity is typical in casting processes, where trapped gas bubbles create voids within the material. These voids can weaken the structural integrity of the turbine blade. Stereo microscopy allows operators to examine the part for internal porosity, which might not be visible to the naked eye but could be crucial for the part's durability. Effective defect minimization is essential to detect such weaknesses early, preventing failure in demanding operational conditions.
Detailed Inspection of Thin Sections
Superalloy turbine blades often have intricate, thin sections that are difficult to inspect with other methods. The stereo microscope allows for the detailed examination of these parts to ensure no surface irregularities could lead to failure. This is particularly important in superalloy free forging, where precision and strength are paramount in achieving the required properties for high-performance applications.
Improved Decision-Making in Quality Control
The high level of detail provided by stereo microscopes allows operators to make more informed decisions about whether a part meets quality standards. If defects are detected, the part can be rejected or sent for further processing, reducing the risk of defects going unnoticed. This enhances the overall quality control process and ensures that only parts that meet strict standards are used in final assemblies, thereby improving the reliability of superalloy components in industries such as aerospace and power generation.
Which Superalloy Parts Require Stereo Microscope Inspection?
Stereo microscope inspection ensures the integrity of superalloy parts used in high-stress applications like turbines and aerospace. The precision and complexity of superalloy components demand thorough inspection to identify any defects or microstructural issues that could affect their performance. Below are key superalloy parts that benefit from stereo microscope inspection:
Superalloy Castings
Superalloy castings, including directional cast turbine blades, nozzle rings, and casings, are subjected to complex manufacturing processes like vacuum investment casting. These processes can sometimes introduce surface defects or microstructural issues that could affect the performance of the final part. Stereo microscopes are essential for detecting these potential flaws early, ensuring that the parts meet stringent standards before moving to further processing, such as superalloy precision forging or superalloy CNC machining.
Forging Parts
After superalloy castings are made, they may undergo forging to improve their mechanical properties and optimize performance. Though strengthened, forged turbine blades and other parts remain susceptible to surface defects and inclusions. Stereo microscopes examine these areas in detail, ensuring that the forged components meet the required quality standards and are free from defects that could compromise their functionality in high-temperature, high-stress applications.
CNC Machined Superalloy Parts
Once superalloy parts are forged or cast, they often undergo CNC machining to achieve the required precision. This process subjects the parts to mechanical forces, heat, and wear that can sometimes lead to surface damage. Stereo microscope inspection provides a detailed view of the machined surfaces, allowing for the identification of any defects, scratches, or irregularities that could affect the part's performance in aerospace, gas turbines, or other critical industries.
3D Printed Superalloy Parts
Additive manufacturing, particularly superalloy 3D printing, has revolutionized the production of complex parts like turbine blades and engine components. However, these parts require careful inspection to ensure that the layers have bonded correctly and that no internal or external defects are present. Stereo microscopes are ideal for quickly and effectively examining 3D printed superalloy parts, ensuring they meet the specifications before undergoing additional testing or being used in high-performance applications.
By utilizing stereo microscopes, manufacturers can ensure the quality and reliability of superalloy parts at each production stage, from casting to forging, machining, and 3D printing, ultimately ensuring safety and performance in demanding environments.
Comparison with Other Inspection Processes
While stereo microscope inspection is essential for identifying surface defects and microstructural issues, it is not the only inspection method used in superalloy parts manufacturing. Other inspection techniques, such as X-ray checking, scanning electron microscopy (SEM), and 3D scanning, each offer advantages and are often used with stereo microscopy to ensure comprehensive quality control.
X-ray Checking
X-ray inspection is primarily used to detect internal defects such as cracks, voids, and inclusions that are not visible on the surface. However, unlike stereo microscopy, X-ray inspection does not provide the level of detail needed for surface examination or grain structure evaluation. Therefore, these methods are often used together, with X-ray testing detecting internal flaws and stereo microscopes handling surface inspection.
Scanning Electron Microscope (SEM)
SEM magnifies more than stereo microscopes and can detect even more minor defects and microstructural features. However, SEM is generally more expensive and time-consuming, requiring samples to be prepared in a vacuum chamber. Stereo microscopes, on the other hand, are faster, easier to use, and less costly, making them ideal for routine inspection. For more detailed surface analysis, SEM can be the preferred choice, but for efficient and cost-effective quality control, stereo microscopy is often the go-to option.
3D Scanning
3D scanning helps capture the dimensions of complex parts and checking for geometric deviations. While it can provide useful data about the overall shape of a part, it is not ideal for examining the surface quality or grain structure of materials. Stereo microscopy complements 3D scanning by providing detailed surface features and microstructure information. Metallographic microscopy also plays a key role in phase composition and microstructure analysis, complementing 3D scanning for a complete understanding of the part's integrity.
Industry Applications for Stereo Microscope Inspection in Superalloy Parts
The benefits of stereo microscope inspection extend across several industries that rely on high-temperature alloy parts for critical applications. These industries depend on the reliability and performance of their components, and stereo microscopy plays a crucial role in ensuring the quality and integrity of superalloy parts used in turbines, reactors, and other high-stress applications.
Aerospace and Aviation
In aerospace and aviation applications, turbine blades are exposed to extreme temperatures and mechanical stresses. Stereo microscopes inspect turbine blades for surface defects, porosity, and grain structure alignment to ensure their durability during flight. High-performance parts like superalloy jet engine components require precise inspection to ensure structural integrity and prevent failure under extreme conditions.
Power Generation
Gas turbines in power generation plants rely on superalloy components like turbine blades and casings. Stereo microscopy helps ensure that these parts meet the high standards for safe and efficient power generation. Regular inspection of superalloy heat exchanger parts ensures that components perform efficiently over extended periods, reducing the risk of failure and improving system reliability.
Oil and Gas
Components such as pumps, valves, and turbine blades used in oil and gas extraction must withstand harsh conditions. Stereo microscope inspection ensures these parts are free of defects that could lead to operational failures. Critical parts like superalloy pump components are thoroughly inspected to ensure their performance in high-pressure, corrosive environments.
Military and Defense
In military and defense applications, components like turbine blades, missile segments, and reactor parts must be reliable under extreme conditions. Stereo microscopy helps identify critical defects before these parts are deployed in high-risk environments. Inspection of components such as superalloy armor system parts ensures their integrity and readiness for combat situations.
Nuclear
Nuclear applications demand superalloy reactor vessel components that meet strict quality standards to prevent catastrophic failures. Stereo microscope inspection allows for the detailed examination of these parts, ensuring that they are free from microcracks and other defects that could compromise safety. Regular inspection of reactor components, such as superalloy reactor vessel components, is essential for maintaining nuclear safety and operational efficiency.
Stereo microscope inspection is vital in ensuring the integrity of superalloy parts across these industries. Detecting defects early helps maintain the reliability and performance of critical components used in high-stress applications.
FAQs
What are the primary defects that stereo microscope inspection helps to identify in superalloy turbine blades?
How does stereo microscope inspection compare to SEM in terms of defect detection?
What are the advantages of using stereo microscopes for inspecting 3D-printed superalloy parts?
Why is stereo microscope inspection critical for aerospace applications?
How does stereo microscope inspection contribute to the overall quality control process in superalloy parts manufacturing?


