5 Benefits of Scanning Electron Microscope (SEM) in Superalloy Castings Manufacturing
In superalloy parts manufacturing, ensuring the highest quality and performance is paramount. From aerospace turbine blades to power generation components, superalloys are essential for industries that demand materials capable of withstanding extreme temperatures and mechanical stresses. Advanced inspection technologies like the Scanning Electron Microscope (SEM) play a crucial role in guaranteeing the integrity and reliability of these components.
SEM is an invaluable tool for examining the microstructure and properties of superalloy materials, providing insights that are not achievable through conventional optical microscopy or other inspection techniques. By enabling detailed analysis of surfaces, microstructures, and chemical compositions at the microscopic level, SEM helps manufacturers identify defects, optimize material properties, and enhance the performance of superalloy components. This blog will explore the benefits of SEM in superalloy castings manufacturing, its specific applications, and its comparison with other standard inspection processes.

The benefits of SEM go beyond just detecting defects—it also aids in optimizing the alloy composition for parts used in high-demand sectors like military and defense, and energy. For instance, SEM provides crucial data for developing superalloy reactor vessel components, ensuring these parts perform reliably under extreme conditions. Moreover, SEM is particularly useful in assessing material degradation, ensuring that components like superalloy heat exchanger parts maintain their efficiency over time.
Compared to traditional inspection methods, SEM offers a much higher level of precision in analyzing superalloy components' surface and internal structure. This makes it an indispensable tool in producing critical parts used across industries such as oil and gas, where understanding material properties at the microscopic level can make all the difference in performance and safety.
What is Scanning Electron Microscope (SEM)?
A Scanning Electron Microscope (SEM) is a sophisticated imaging tool used to examine the surface of a material at an extremely high resolution. Unlike traditional optical microscopes, which rely on light to magnify samples, SEM uses a focused beam of electrons to scan the surface of a specimen. These electrons interact with the material's atoms, generating secondary electrons detected by the microscope to create high-resolution images of the sample’s surface.
SEM technology operates at magnifications ranging from 20x to over 1,000,000x, far surpassing the capabilities of optical microscopy. One of its key features is its depth of field, allowing it to capture sharp, detailed images of surface topography and structure even at high magnifications. In addition to imaging, SEM can be equipped with Energy Dispersive X-ray Spectroscopy (EDS) to provide elemental analysis of the sample, allowing for detailed chemical composition profiling.
The Function of SEM in Superalloy Castings Manufacturing
SEM plays several vital roles in superalloy castings manufacturing, particularly in quality control and failure analysis. Here are some of the primary functions of SEM in superalloy manufacturing:
Surface Inspection
One of the most crucial functions of SEM is its ability to conduct surface inspection at the microscopic level. In superalloy castings, porosity, cracks, and surface imperfections can significantly impact the material’s strength and performance. SEM allows manufacturers to detect even the most minor surface irregularities that may not be visible to the naked eye or through other inspection methods. This level of inspection is critical for ensuring that components meet the rigorous standards required for high-performance applications like jet engine components and turbine blades.
Microstructural Analysis
SEM is invaluable for examining the microstructure of superalloy materials. Superalloys, particularly those used in high-temperature environments, often have complex microstructures composed of various phases, including solid solution phases, carbides, and precipitates. These phases' morphology, distribution, and size directly influence the material's strength, flexibility, thermal fatigue, and creep resistance.
Using SEM, manufacturers can study the microstructure of castings, including grain boundaries, phase compositions, and potential defects such as dendrites or segregation. This detailed microstructural analysis allows manufacturers to understand the material’s properties better and optimize alloy compositions for improved performance, which is critical for superalloy directional casting and superalloy precision forging.
Elemental Analysis
An essential feature of SEM is its ability to perform elemental analysis through Energy Dispersive X-ray Spectroscopy (EDS). This technique identifies and quantifies the elemental composition of a sample by detecting the X-rays emitted from the sample when it is bombarded with electrons. Precise control over elemental composition is crucial for superalloy castings, as slight variations in elements such as nickel, chromium, cobalt, and aluminum can drastically alter the material's performance characteristics.
EDS provides a clear picture of the alloy's composition, allowing manufacturers to ensure that each batch of superalloy castings meets the required strength, corrosion resistance, and heat resistance specifications. This is particularly important in aerospace and power generation industries, where material performance is critical to safety and efficiency.
Failure Analysis
SEM is an essential tool for failure analysis in cases where superalloy components fail prematurely. The microscope can identify the root cause of failure: fatigue, corrosion, thermal degradation, or mechanical fracture. SEM can reveal the fracture surface, including the failure mode, such as ductile or brittle fracture, and provide insights into the underlying material behavior.
For example, SEM can identify cracks or voids that may have formed during the casting process, which could have contributed to the failure. By understanding these failure mechanisms, manufacturers can refine their production processes to prevent similar issues in the future, particularly for parts used in demanding environments like superalloy turbine discs.
Improving Performance
By providing detailed insights into the microstructure and composition of superalloy castings, SEM helps manufacturers optimize their materials for better performance. For instance, SEM can help design superalloy alloys with specific properties, such as improved creep resistance, enhanced oxidation resistance, or better thermal stability. These optimizations can lead to longer-lasting, higher-performing components for critical applications, from jet engines to turbine blades.
Which Superalloy Parts Require SEM Inspection?
Superalloy components, including castings, forged parts, CNC machined parts, and 3D printed parts, require careful inspection to meet the necessary performance standards. Scanning Electron Microscopy (SEM) is an invaluable tool in inspecting these parts, helping detect defects, and ensuring their quality. Here’s how SEM is applied to each type of superalloy part:
Superalloy Castings
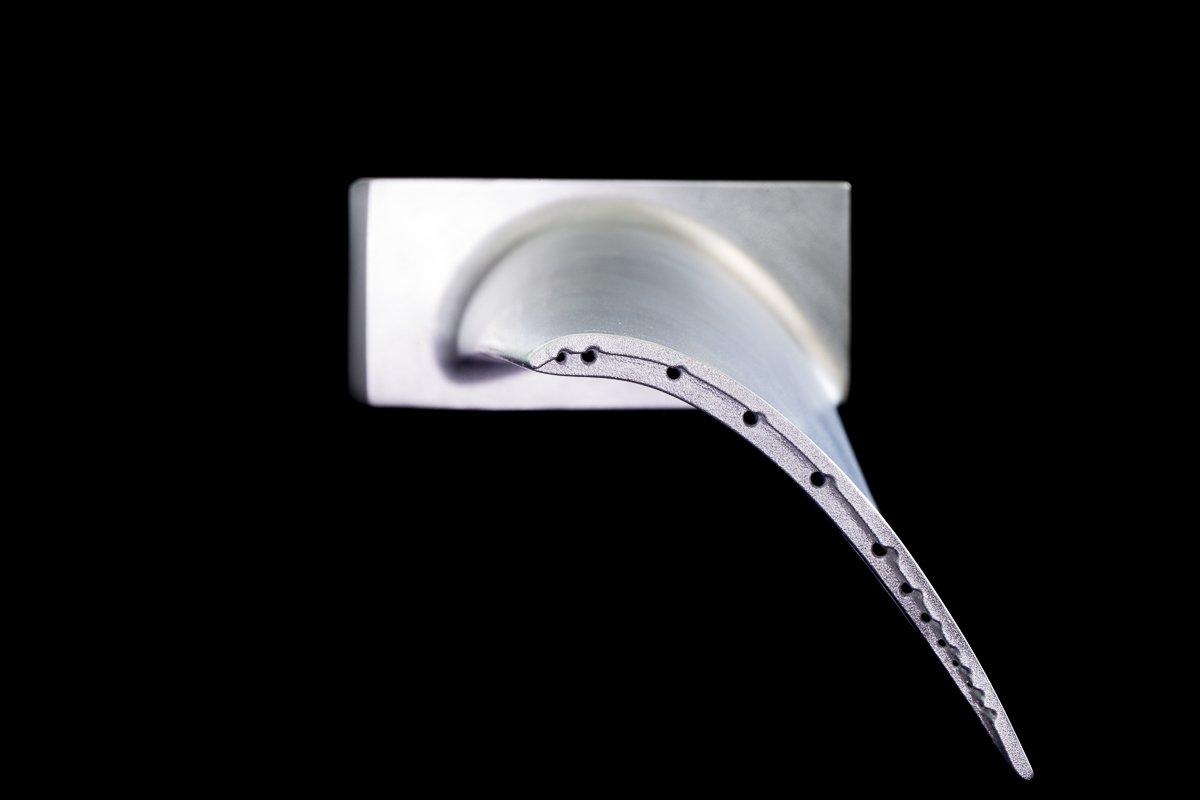
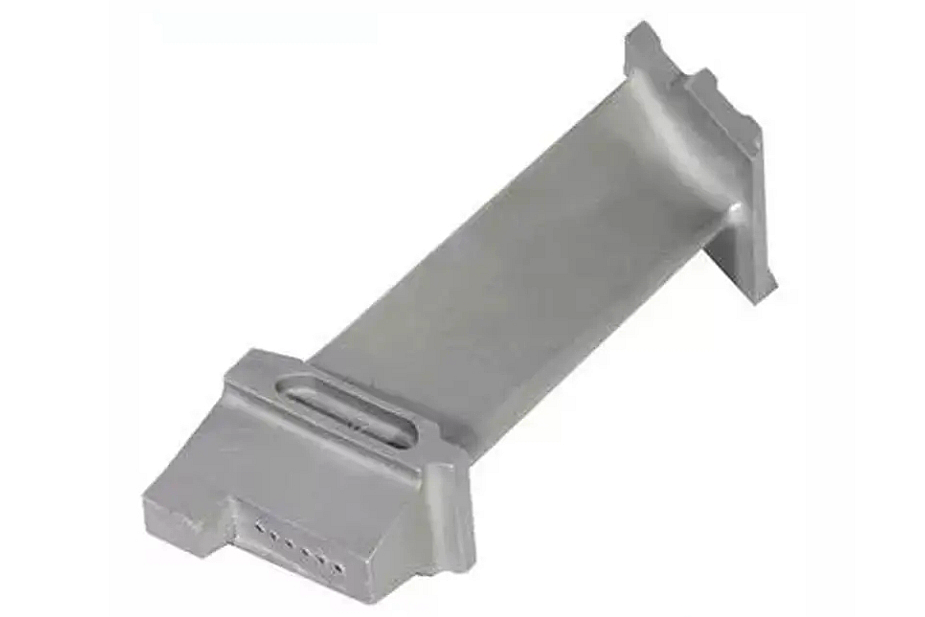
Superalloy castings are often inspected with SEM to evaluate the surface and microstructure. During the casting process, defects such as porosity, shrinkage, and segregation can occur, affecting the mechanical properties of the component. SEM enables manufacturers to detect these issues early, ensuring that the final part is free from defects that could compromise its performance, especially for critical applications like turbine blades or combustion chambers.
Forged Superalloy Parts
Superalloy precision forging involves shaping the material under high pressure, which can lead to variations in the grain structure and surface integrity. SEM is used to inspect these parts for any inclusions, surface defects, or irregularities in the grain structure. By examining these characteristics, SEM ensures that the forged part meets the required mechanical properties for high-stress environments, such as aerospace and power generation applications.
CNC Machined Superalloy Parts
After superalloy CNC machining, the surface of parts can exhibit tool marks or residual stresses that may affect performance. SEM is particularly effective in analyzing the machined surface for these irregularities, allowing manufacturers to ensure that parts meet the required specifications for smoothness, dimensional accuracy, and material integrity. This step ensures that parts function reliably in applications like gas turbines and aerospace engines.
3D Printed Superalloy Parts
Superalloy 3D printing introduces unique challenges like layer bonding issues and porosity. SEM can be used to examine the quality of layer bonding and identify defects like voids, which are crucial to the structural integrity of 3D-printed components. By inspecting these parts at a microscopic level, SEM ensures that 3D-printed superalloy components meet the material properties necessary for high-performance applications, such as aerospace, where reliability and performance are critical.
Comparison of SEM with Other Inspection Processes
While SEM is an invaluable tool in superalloy castings manufacturing, it is essential to understand how it compares to other standard inspection methods.
SEM vs. X-ray Inspection
X-ray inspection primarily detects internal defects, such as voids or cracks within a material, particularly in thicker parts. While X-ray can provide insight into the internal structure of superalloy parts, SEM offers much higher resolution, allowing for detailed surface-level inspection and microstructural analysis. SEM’s ability to provide surface and compositional information makes it a more comprehensive tool for assessing material quality. In addition, X-ray checking is invaluable for internal defect detection, particularly when dealing with thicker sections of superalloy components.
SEM vs. Metallographic Microscopy
Metallographic microscopy is another method used to analyze the microstructure of materials. However, SEM offers significantly higher magnification and depth of field, making it better suited for detailed surface analysis and observing fine microstructural features. While traditional microscopy is still functional, SEM provides more in-depth and detailed insights crucial for high-performance superalloy parts. For more routine inspections, metallographic microscopy can still be effective in visualizing grain structure and phase compositions.
SEM vs. CMM Checking
Coordinate Measuring Machine (CMM) checking is commonly used to measure the physical dimensions of a part, ensuring it meets geometric specifications. While CMM provides excellent dimensional accuracy, SEM focuses on surface quality, material composition, and microstructure. These two techniques are often used together, with CMM verifying the part’s dimensions and SEM ensuring its material integrity and performance. CMM checking excels at verifying the physical shape and size of a part but does not provide insight into the material's microstructure or composition, which SEM is ideal for.
SEM vs. Ultrasonic Testing
Ultrasonic testing detects internal flaws in thicker materials, such as cracks or inclusions. On the other hand, SEM is ideal for examining the surface and microstructure of superalloy parts. While ultrasonic testing can identify internal defects, SEM is better for providing detailed surface and microstructural analysis. SEM can provide crucial data on material composition and surface integrity, making it indispensable for assessing the performance and quality of high-temperature alloys.
Industries and Applications Using SEM in Superalloy Parts Manufacturing
Superalloys are essential in industries where materials are subjected to extreme conditions. Scanning Electron Microscopy (SEM) is critical in analyzing and ensuring the integrity of superalloy components used across various sectors. SEM is particularly valuable in the following industries:
Aerospace and Aviation
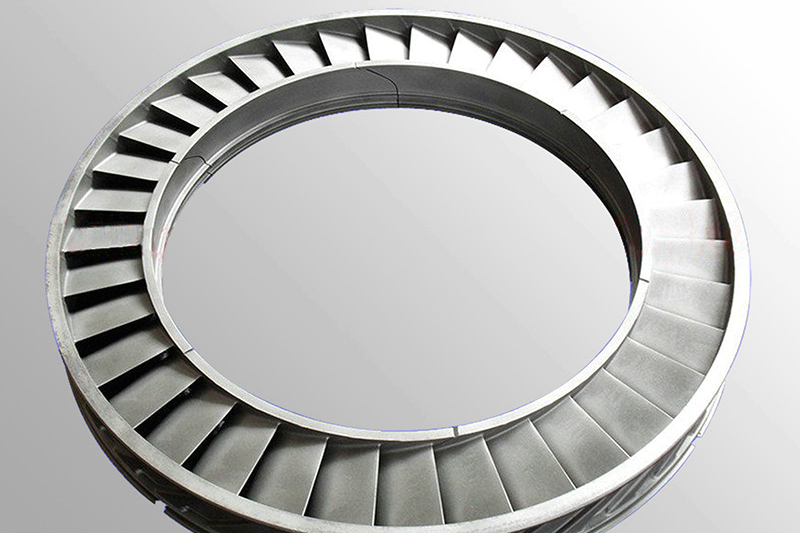
In the aerospace and aviation industry, components like turbine blades, combustion chambers, and nozzle rings must withstand extremely high temperatures and stresses. SEM helps ensure that these components are free of surface defects, have the correct microstructure, and are composed of the right materials to perform reliably in jet engines and other critical applications. For instance, superalloy jet engine components undergo SEM analysis to confirm their structural integrity, ensuring they meet stringent performance standards under high thermal loads.
Power Generation
Superalloy components used in power generation, such as turbine blades, discs, and heat exchangers, must resist thermal fatigue and corrosion. SEM ensures these components maintain structural integrity and performance over extended operational lifetimes. For example, superalloy heat exchanger parts are analyzed using SEM to detect any microstructural anomalies that could lead to premature failure or inefficiency.
Oil and Gas
In the oil and gas industry, superalloy components like pumps, valves, and heat exchangers are exposed to harsh environments, including high pressures and corrosive materials. SEM helps identify defects that could compromise performance in these demanding applications. SEM analysis is critical for ensuring the quality and reliability of parts like superalloy pump components that face extreme operational conditions, including chemical corrosion and mechanical wear.
Military and Defense
Superalloy parts used in military and defense applications, such as missile components, armor, and propulsion systems, must meet stringent reliability standards. SEM is critical in ensuring that these parts are free from defects and capable of performing in extreme conditions. For example, superalloy armor system parts are thoroughly examined with SEM to verify their microstructural integrity and ensure they meet the high-performance standards required for military applications.
Marine and Automotive
Components in marine and automotive applications, such as exhaust systems and transmission parts, are subjected to high temperatures and corrosive environments. SEM is used to verify these parts' material properties and performance to ensure long-term reliability. For example, superalloy exhaust system parts are analyzed using SEM to detect any surface defects or microstructural changes that may affect performance in high-temperature exhaust systems.
SEM is a powerful tool for ensuring superalloy components' structural integrity and performance in industries where failure is not an option. By enabling precise microstructural analysis, SEM helps manufacturers optimize the quality and longevity of critical parts across these demanding sectors.
FAQs
What is the difference between SEM and traditional optical microscopy?
How does SEM help identify material failure in superalloy parts?
What are the primary defects SEM can detect in superalloy castings?
How does Energy Dispersive X-ray Spectroscopy (EDS) enhance SEM analysis?
Can SEM be used to analyze internal and surface defects in superalloy parts?


