5 Benefits of Metallographic Microscopy Checking in Superalloy Vacuum Investment Castings
Quality control and precision are paramount in the highly specialized field of high-temperature alloy manufacturing. Superalloy parts, integral to industries such as aerospace and aviation, power generation, and military and defense, must meet stringent standards for performance under extreme conditions. One of the most vital techniques used to ensure the reliability and longevity of these components is metallographic microscopy checking. This inspection process is critical in evaluating the microstructure of superalloy parts, particularly in vacuum investment casting, forging, CNC machining, and 3D printing.

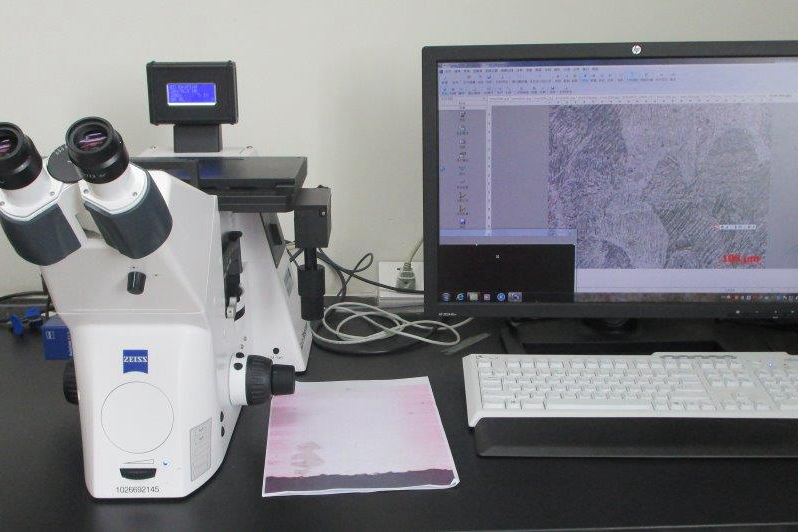
Metallographic microscopy checking involves using high-powered microscopes to analyze the grain structure, phase distribution, and any potential defects within the superalloy. This inspection process allows manufacturers to verify that the alloy’s microstructure meets the necessary strength, durability, and thermal resistance specifications—critical factors for parts used in industries like oil and gas, energy, and marine.
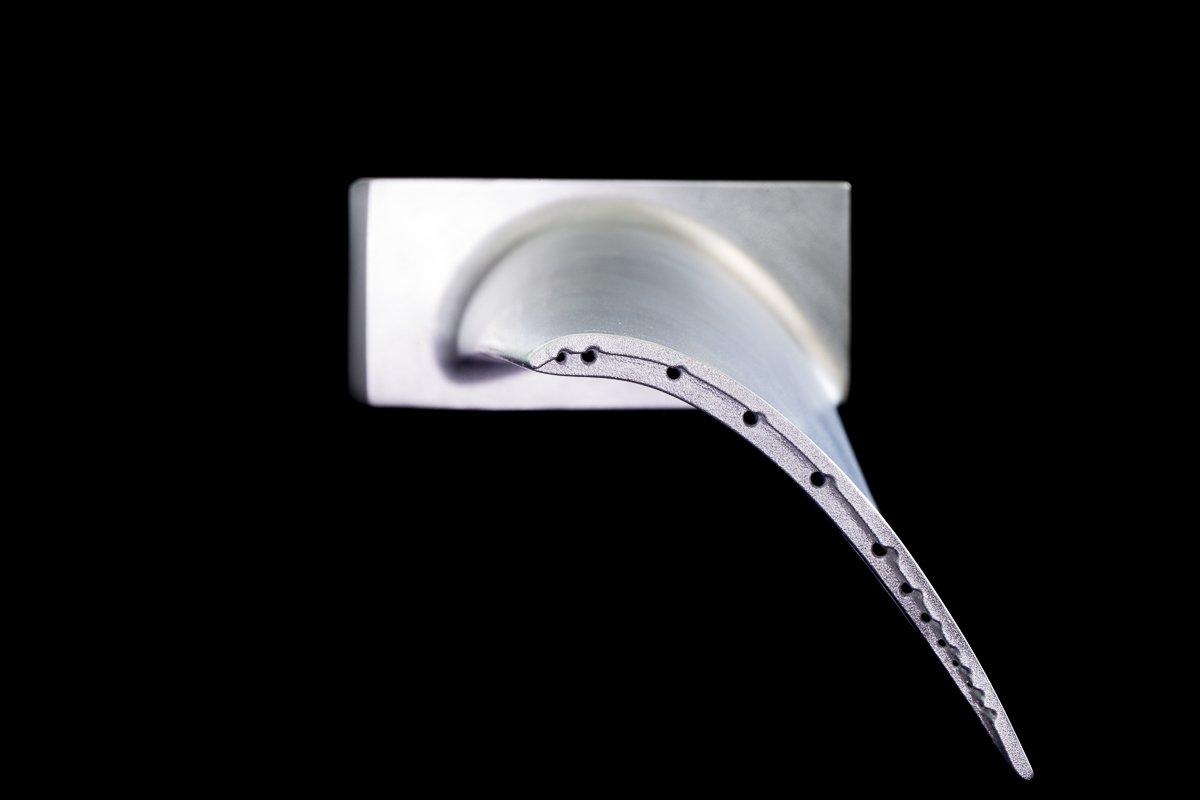
In the vacuum investment casting process, metallographic microscopy is used to assess the integrity of the casting, ensuring that there are no unwanted inclusions, cracks, or other structural flaws that could compromise the part’s performance. It is precious in evaluating the uniformity of the grain structure, which directly impacts the alloy’s ability to withstand high temperatures and stresses in critical applications such as turbine blades and combustion chambers.
Metallographic microscopy checking significantly reduces the risk of part failure in the field by identifying these microscopic defects early in the production process. This ensures that superalloy parts manufactured for the nuclear and automotive industries, for example, meet the rigorous standards for both safety and performance.
What is Metallographic Microscopy Checking?
Metallographic microscopy checking is an advanced inspection technique used to evaluate the microstructure of materials, especially metals and alloys. The process involves preparing a small sample of the material (usually a cross-section of the part), polishing it to a smooth surface, and then etching it to reveal the metal's grain structure and phase distribution. Once prepared, the sample is examined under a high-powered optical or scanning electron microscope (SEM), allowing engineers to observe the material’s internal features at various magnifications.
The primary purpose of metallographic microscopy is to understand the grain structure, phase formation, and any potential defects or inclusions that could compromise the superalloy part's strength, durability, and performance. Examining these microscopic characteristics is essential in identifying flaws such as porosity, cracks, or improper phase distribution, which can significantly affect the material’s properties, particularly under high-temperature or high-stress conditions.
The Function of Metallographic Microscopy Checking
Metallographic microscopy checking serves several crucial functions in the quality control process for superalloy parts. First and foremost, it allows for detecting microstructural defects that may not be visible to the naked eye but can significantly impact the part’s performance. By examining the material at the microscopic level, engineers can identify issues such as:
Grain Boundaries: The arrangement and distribution of grains in the alloy directly affect its strength, flexibility, and resistance to thermal fatigue. Metallographic microscopy allows for detailed grain size and shape analysis, ensuring the material meets the specifications required for its intended application. This analysis is critical when working with alloys used in vacuum investment casting, where grain structure control is vital to achieving optimal part performance.
Porosity and Inclusions: Even tiny pores or foreign inclusions in the superalloy can compromise its structural integrity. Using microscopy, these defects can be detected and quantified, helping engineers determine whether the part will withstand the operational conditions it will be exposed to. Detecting such issues is essential for ensuring the durability of parts produced using powder metallurgy turbine disc techniques, which demand highly precise material characteristics.
Phase Distribution: In many high-temperature alloys, the material is designed to have specific phases or microstructures that enhance its performance. The microscope can reveal whether these phases are distributed correctly, essential for ensuring the alloy’s desired properties are achieved. This is especially important for single crystal casting, where phase control is critical to enhancing properties such as creep resistance in turbine blades.
Cracks and Microfractures: Superalloy parts must be free of internal fractures or cracks that may worsen under stress or high temperatures. Microscopy can help detect microfractures that could eventually lead to catastrophic failure. Identifying these issues early in manufacturing is crucial for parts used in demanding applications like aerospace, where material integrity is non-negotiable.
Solidification Patterns: For casting processes like vacuum investment casting, the solidification of the molten metal can significantly influence the final part’s quality. Metallographic microscopy enables a detailed examination of solidification structures, helping engineers ensure the alloy has cooled correctly and that no undesirable structures have formed. Proper solidification control is crucial for achieving high-performance properties in complex superalloy components.
By identifying and addressing these microstructural issues, metallographic microscopy ensures that the superalloy part is free from hidden defects and will perform as expected under high stress and temperature conditions. This makes it an indispensable tool for quality control in advanced casting methods such as equiaxed crystal casting, where detailed microstructural analysis ensures the final part meets strict performance criteria.
How Metallographic Microscopy Checking Compares with Other Processes
Metallographic microscopy is often used in conjunction with other inspection methods to provide a comprehensive understanding of a superalloy part's quality. Below, we compare metallographic microscopy with some of the most common testing methods:
X-ray Checking: X-ray inspection detects internal voids, cracks, or inclusions within a material. While X-rays provide a volumetric image of the part, metallographic microscopy allows a closer look at the material’s surface and microstructure. X-ray inspection can highlight internal flaws, while microscopy offers detailed insights into grain structure and phase distribution, making them complementary techniques.
Scanning Electron Microscopy (SEM): SEM is a more advanced form of microscopy that provides high-resolution images of the material’s surface. While SEM can provide much more detailed images at higher magnifications than traditional optical microscopy, metallographic microscopy is often sufficient for inspecting general microstructural features like grain boundaries and inclusions. SEM is typically used when wonderful details are required, whereas microscopy provides a more practical approach for routine inspections.
Tensile Testing & Other Mechanical Testing: Mechanical testing methods like tensile testing provide valuable information on a material's strength, flexibility, and resistance to deformation. While mechanical tests focus on the part's overall performance under stress, metallographic microscopy checks the internal structure and integrity of the material, helping to ensure that the part will perform as expected during mechanical testing. Tensile testing provides essential data for assessing material behavior under load, while microscopy offers insights into microstructural consistency.
Glow Discharge Mass Spectrometer (GDMS) and Inductively Coupled Plasma Optical Emission Spectrometer (ICP-OES): These methods are used to determine the chemical composition of superalloy materials. While GDMS and ICP-OES provide insights into the alloy's chemical makeup, metallographic microscopy allows for understanding how those elements are distributed at the microscopic level, which is critical in assessing the material’s overall behavior under high-temperature and high-stress conditions. By combining chemical analysis with microscopy, manufacturers can better understand the alloy’s composition and how it behaves structurally during use.
Industry and Application of Metallographic Microscopy Checking
Metallographic microscopy is essential in producing superalloy parts for several key industries, including aerospace, power generation, military, and more. Some of the key applications in these industries include:
Aerospace & Aviation
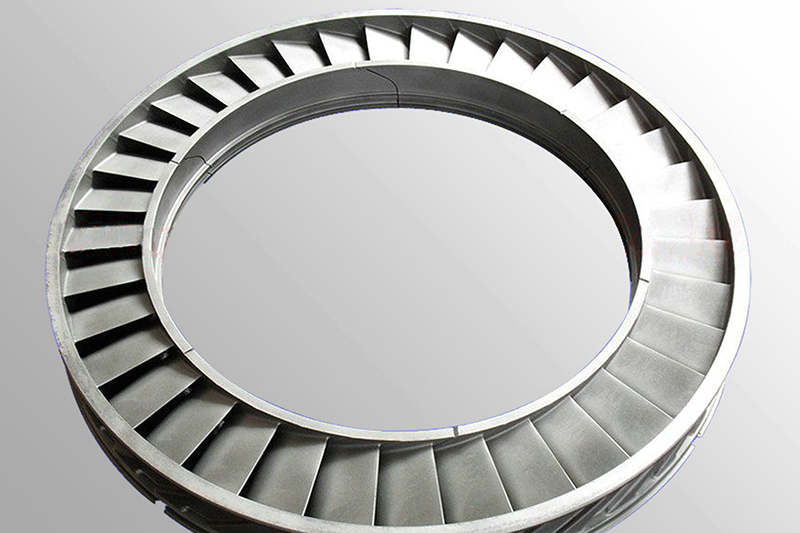
Superalloy components used in turbine engines, combustion chambers, and nozzle rings require precise control over microstructural properties. Metallographic microscopy checking ensures that these parts are free from defects that could compromise their strength and performance under extreme flight conditions. For critical components like superalloy jet engine components, accurate microstructure analysis is essential for confirming material integrity.
Power Generation
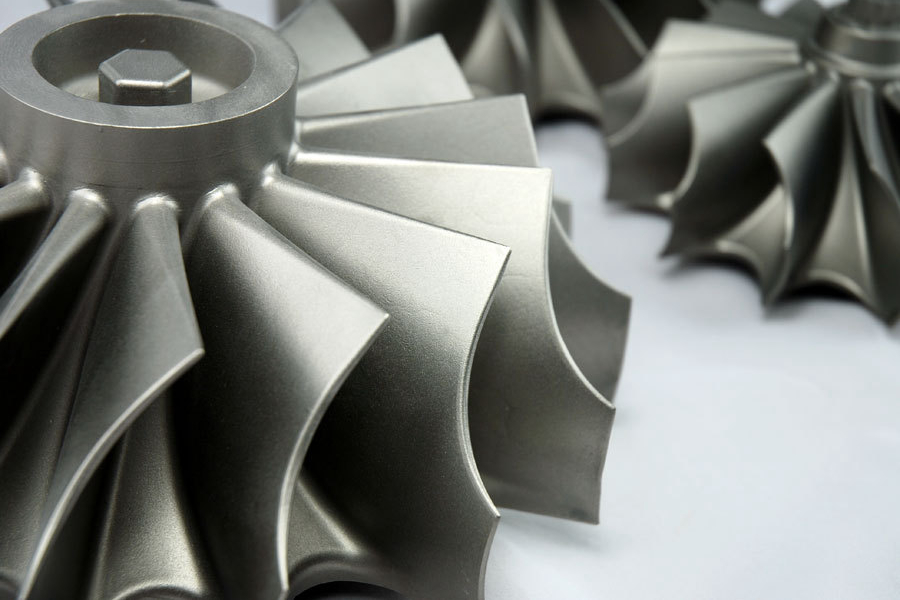
Components such as gas turbine blades, impellers, and exhaust system parts must withstand high temperatures and corrosive environments. Metallographic microscopy helps assess these critical components' durability and thermal resistance. In the power generation industry, the quality of parts like superalloy heat exchanger parts is verified through meticulous microstructural inspection to ensure that they maintain performance under demanding conditions.
Oil & Gas
Superalloy parts used in pumps, valves, and piping systems must resist wear, corrosion, and high-pressure conditions. Using metallographic microscopy, engineers can verify that these parts are free from cracks or other microstructural defects that could lead to failure. In the oil and gas industry, critical parts like high-temperature alloy pump components are carefully examined to ensure their structural integrity and reliability in harsh environments.
Military & Defense
From missile segments to armored components, superalloy parts in military applications must meet exacting performance standards. Metallographic microscopy ensures that these components perform reliably in high-stress, high-temperature environments. For example, superalloy missile segments are scrutinized for microstructural defects to ensure optimal performance under extreme conditions.
Nuclear
Superalloy components in nuclear reactors, including reactor vessel parts, control rods, and piping, must be free from structural defects to ensure safe and reliable operation. Metallographic microscopy plays a critical role in verifying the quality and integrity of these parts before they are put into service. In the nuclear industry, meticulous inspection of components like nickel-based alloy control rod modules is crucial for ensuring they meet safety standards.
Metallographic microscopy checking is an indispensable tool across these industries, ensuring the structural integrity, performance, and reliability of superalloy components that operate under the most demanding conditions.
FAQs
What is the difference between metallographic and scanning electron microscopy (SEM) in superalloy inspection?
How does metallographic microscopy help in detecting porosity in superalloy castings?
What role does metallographic microscopy play in evaluating 3D-printed superalloy parts?
Can metallographic microscopy be used to inspect high-temperature alloy parts in the automotive industry?
How do metallographic microscopy and X-ray checking complement each other in superalloy inspection?


