5 Benefits of 3D Scanning Measuring Instruments in Single Crystal Casting Turbine Vanes
In the aerospace and aviation, and power generation industries, single crystal casting is a critical process for manufacturing turbine vanes, which are crucial components in gas turbines and jet engines. These components must endure extreme temperatures and high stresses while maintaining exceptional precision and integrity. This level of performance is achieved by using high-temperature alloys, often in the form of superalloys, which are cast in a single-crystal form to maximize strength and resistance to thermal degradation.
In this manufacturing process, 3D scanning measuring instruments play a vital role in ensuring that the turbine vanes meet the stringent specifications required for their demanding applications. These instruments use advanced technologies such as laser scanning or structured light to create a highly accurate digital representation of a part’s surface geometry. This process is used throughout production, from initial prototyping to final inspection, ensuring that every part is free from defects and meets its exact tolerances. This level of precision is essential for applications such as high-temperature alloy engine components, where performance and reliability under extreme conditions are paramount.

What is 3D Scanning Measuring Instrument Checking?
3D scanning measuring instrument checking involves using sophisticated 3D scanning technology to capture the detailed geometry of superalloy parts, particularly turbine vanes, during manufacturing. The 3D scanner projects a laser or structured light onto the part’s surface and captures the reflected data. This data is then used to create a three-dimensional model that can be compared with the original design to ensure dimensional accuracy.
The process of 3D scanning is non-contact, meaning it does not physically touch the part, which reduces the risk of damaging sensitive components. The scanners can capture minute details at a high resolution, down to microns. They can record the geometry of complex shapes that would be difficult or impossible to measure with traditional contact methods such as CMM (Coordinate Measuring Machine).
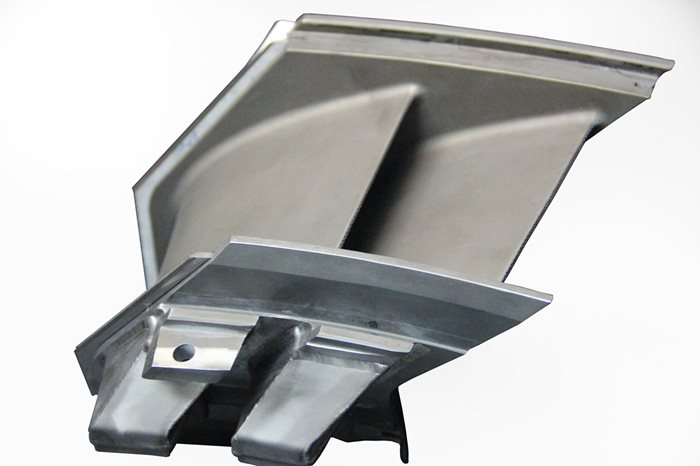
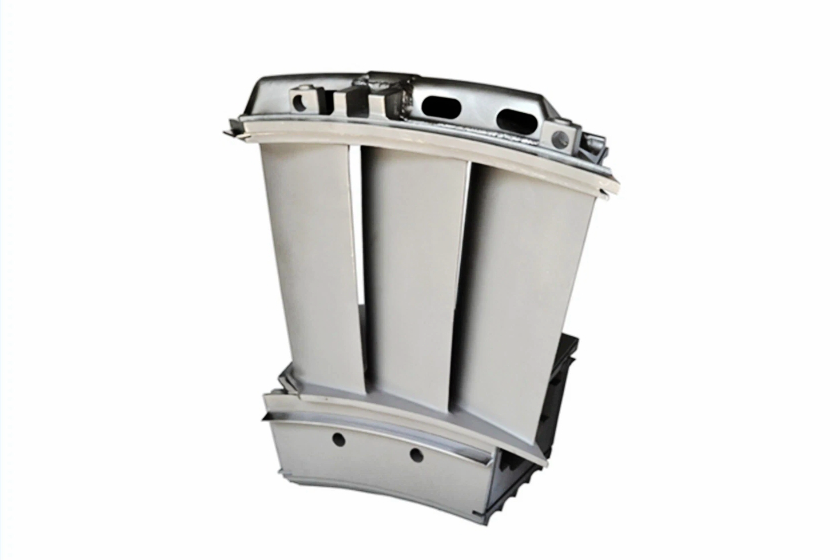
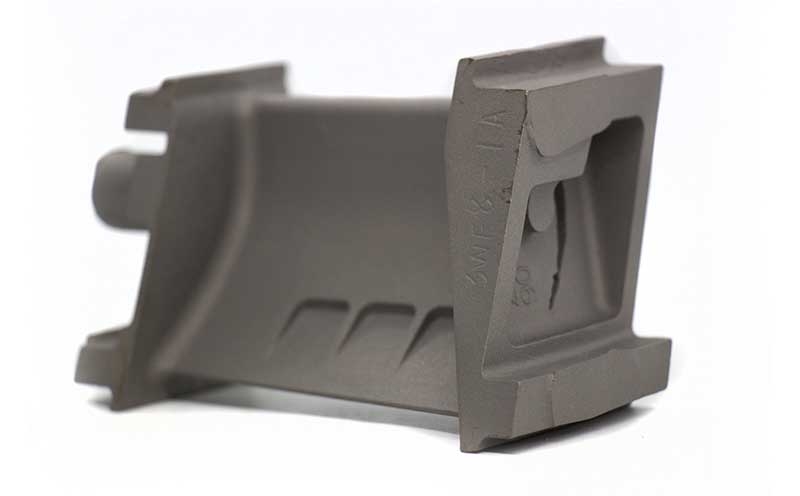
In the case of turbine vans, the precision of 3D scanning ensures that the complex contours and intricate cooling passages are fabricated to exact specifications. These components often have geometries critical for their performance in gas turbines, where even minor deviations in shape can lead to inefficiency or failure under high operating temperatures. The ability to capture these details with 3D scanning ensures high-quality manufacturing and optimal part performance.
The Function of 3D Scanning Measuring Instruments in Single Crystal Casting
The primary function of 3D scanning measuring instruments in single crystal casting is to ensure the dimensional integrity and quality of the turbine vanes. These instruments provide critical support in several areas of the manufacturing process, especially in complex casting techniques such as single crystal casting for turbine blades.
Geometric Accuracy
3D scanning allows manufacturers to verify that the turbine vanes meet the exact geometric specifications outlined in the design. This includes checking for correct curvature, taper, and angularity. For turbine components, which must fit precisely within the turbine engine, any discrepancies can cause misalignment, reduced efficiency, or even failure. Maintaining dimensional control in investment casting is crucial in ensuring the proper fit and function of the final parts.
Surface Inspection
The laser or structured light in 3D scanning is highly sensitive to surface irregularities. It can detect defects like cracks, pores, or other imperfections that may arise during the casting process. This capability is crucial in ensuring that turbine vanes, which operate in extreme conditions, are free from flaws that could compromise their structural integrity. Combined with precision pouring for complex geometries, the scanning process can enhance the overall quality control in superalloy manufacturing, preventing defects that could impact performance in critical aerospace applications.
Real-Time Data Collection
Unlike traditional inspection methods, 3D scanning can collect data in real-time, which is especially useful when producing single-crystal turbine vanes. This allows manufacturers to quickly detect issues and immediately adjust the casting process, reducing production downtime and improving overall efficiency. With tools such as vacuum heat treatment furnaces, real-time data from 3D scanning can help optimize post-processing steps like stress relief and homogenization, ensuring better part performance.
Comparing As-Built vs. Designed Specifications
One of the most significant advantages of 3D scanning is the ability to compare the actual scanned geometry of the part to its digital design model (CAD model). This comparison, often called a "CAD-to-Scan" analysis, ensures that every detail of the part matches its intended design. If any deviations are found, they can be corrected before the part moves to the next stage of production. This is particularly valuable in processes like single crystal growth, where precision is critical to achieving the desired mechanical properties in turbine blades.
Integration with CAD Software
Many 3D scanning systems are integrated with CAD software, allowing for seamless design analysis and modification. The scanned data can be used to create new iterations of the part or make necessary adjustments to the tooling and manufacturing processes, enabling quicker prototyping and more efficient manufacturing. This integration supports continuous improvement and design optimization in industries that require high precision, such as aerospace-grade metal fuel system modules.
By using 3D scanning in combination with other advanced technologies like superalloy CNC machining, manufacturers can ensure that complex, high-performance components such as turbine vans maintain the integrity and functionality required for the most demanding applications.
Superalloy Parts That Require 3D Scanning Measurement
Superalloy parts must meet exacting precision standards, particularly those used in high-performance applications such as gas turbines and jet engines. 3D scanning measurement is applied to various superalloy components to ensure they are manufactured to the highest standards. These parts include:
Superalloy Castings
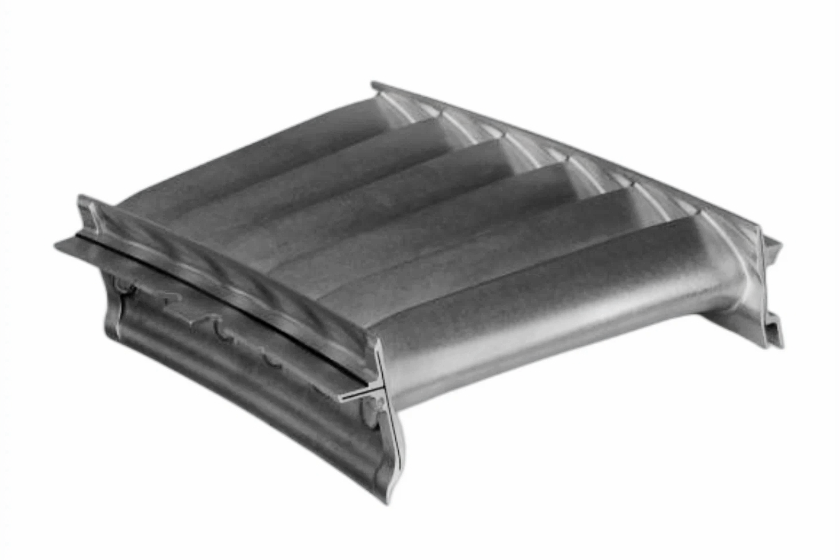
Superalloy castings, such as single crystal turbine vanes, guide vanes, nozzle rings, and other critical engine components, are typically made from high-temperature superalloys like Inconel, CMSX, or Rene alloys. 3D scanning measures these cast parts, ensuring they are free from defects and their complex geometries are accurately replicated. This measurement ensures that the casting process produces parts that meet the rigorous demands of industries such as aerospace and energy.
Forging Parts
Superalloy turbine blades and disks are often forged to achieve the required mechanical properties. The forging process produces parts with enhanced strength and toughness, which is crucial for high-temperature applications. 3D scanning is critical for verifying the dimensional accuracy of these parts, mainly when dealing with complex curves and profiles. This ensures that the final forged parts adhere to the design specifications for efficient turbine operation and durability.
CNC Machined Superalloy Parts
After superalloy castings or forging, many superalloy components undergo CNC machining to achieve precise final dimensions. 3D scanning confirms that the machined surfaces meet the required tolerances during this process. This ensures the final product conforms to its design intent, critical for applications in high-stress environments like gas turbines and aerospace engines.
3D Printed Superalloy Parts
Additive manufacturing, or 3D printing, has become popular for producing complex superalloy components, especially for rapid prototyping or low-volume production. Given the challenges in achieving precision with additive processes, 3D scanning measures printed parts and ensures they meet the required dimensional accuracy before they are integrated into larger assemblies. This ensures that 3D-printed superalloy parts will perform reliably in demanding aerospace, automotive, and energy applications.
Comparison with Other Measurement Processes
3D scanning offers distinct advantages over traditional inspection methods, such as CMM checking, X-ray inspection, and metallographic microscopy. Here’s how it compares:
Coordinate Measuring Machine (CMM) Checking: CMM is a reliable method for measuring part dimensions using a probe to make physical contact with the part. However, CMM is slower than 3D scanning, especially for complex geometries like turbine vanes. Additionally, CMM can be limited in measuring intricate internal features, where 3D scanning excels. X-ray and ultrasonic inspection methods are valuable for internal defect detection but do not offer the comprehensive geometric data that 3D scanning provides.
X-ray and Ultrasonic Inspection: While X-ray and ultrasonic inspection methods detect internal defects, they do not provide detailed geometric data like 3D scanning. These methods are essential for checking internal porosity or cracks but cannot verify the external dimensions or surface characteristics as accurately as 3D scanning.
Metallographic Microscopy: This method analyzes the material structure and microstructures of superalloys. While helpful in detecting metallurgical defects, it cannot measure geometric accuracy. 3D scanning complements metallographic microscopy, ensuring the physical dimensions are tolerable and critical in high-performance applications. X-ray inspection and 3D scanning provide a comprehensive approach to quality assurance in superalloy casting and manufacturing processes.
Industry Applications for 3D Scanning in Superalloy Parts
3D scanning is used in various industries that require superalloy parts with high levels of precision, including aerospace, power generation, military, and nuclear sectors. Some critical applications include:
Aerospace and Aviation
Turbine vanes for jet engines are subjected to extreme thermal and mechanical stress, requiring precise manufacturing to ensure optimal performance. 3D scanning helps maintain high standards in the production of these critical components. This technology ensures that superalloy jet engine components meet strict tolerance requirements, contributing to the reliability and efficiency of aerospace systems.
Power Generation
Power plant gas turbines rely on turbine blades and vanes that are highly resistant to heat and wear. 3D scanning ensures that these components are manufactured accurately, contributing to efficient power generation. Precision in superalloy heat exchanger parts is also critical, where 3D scanning helps meet the specific dimensional standards required for thermal efficiency and operational safety in power plants.
Marine and Oil & Gas
Turbine components for offshore platforms and marine turbines must be both corrosion-resistant and precise. 3D scanning helps ensure these components meet the required standards for harsh environments. For example, superalloy pump components used in offshore drilling operations benefit from 3D scanning to guarantee their performance under extreme pressure and corrosive conditions.
Military and Defense
Jet engines for military aircraft demand the highest levels of precision. 3D scanning ensures the turbine vanes and other critical components meet the stringent requirements for high-performance military engines. Components like superalloy armor system parts also undergo precise 3D scanning to ensure maximum durability and effectiveness in defense applications.
Nuclear
Superalloy turbine components used in nuclear power plants must withstand high temperatures and radiation exposure. 3D scanning ensures that these parts are fabricated precisely to operate safely and effectively in nuclear reactors. For example, precision is critical in superalloy reactor vessel components to meet safety standards and ensure long-term performance in nuclear power systems.
By leveraging advanced 3D scanning technology, manufacturers can ensure that superalloy parts are produced to the highest precision, ensuring performance and durability in demanding applications across these industries.
Frequently Asked Questions
What is the main advantage of 3D scanning over traditional measurement techniques like CMM?
How does 3D scanning help in detecting defects in superalloy turbine vanes?
Can 3D scanning be used for internal and external inspections of turbine vans?
How does 3D scanning contribute to the rapid prototyping of superalloy components?
In which industries is 3D scanning most commonly used for inspecting high-temperature alloy parts?


